5.
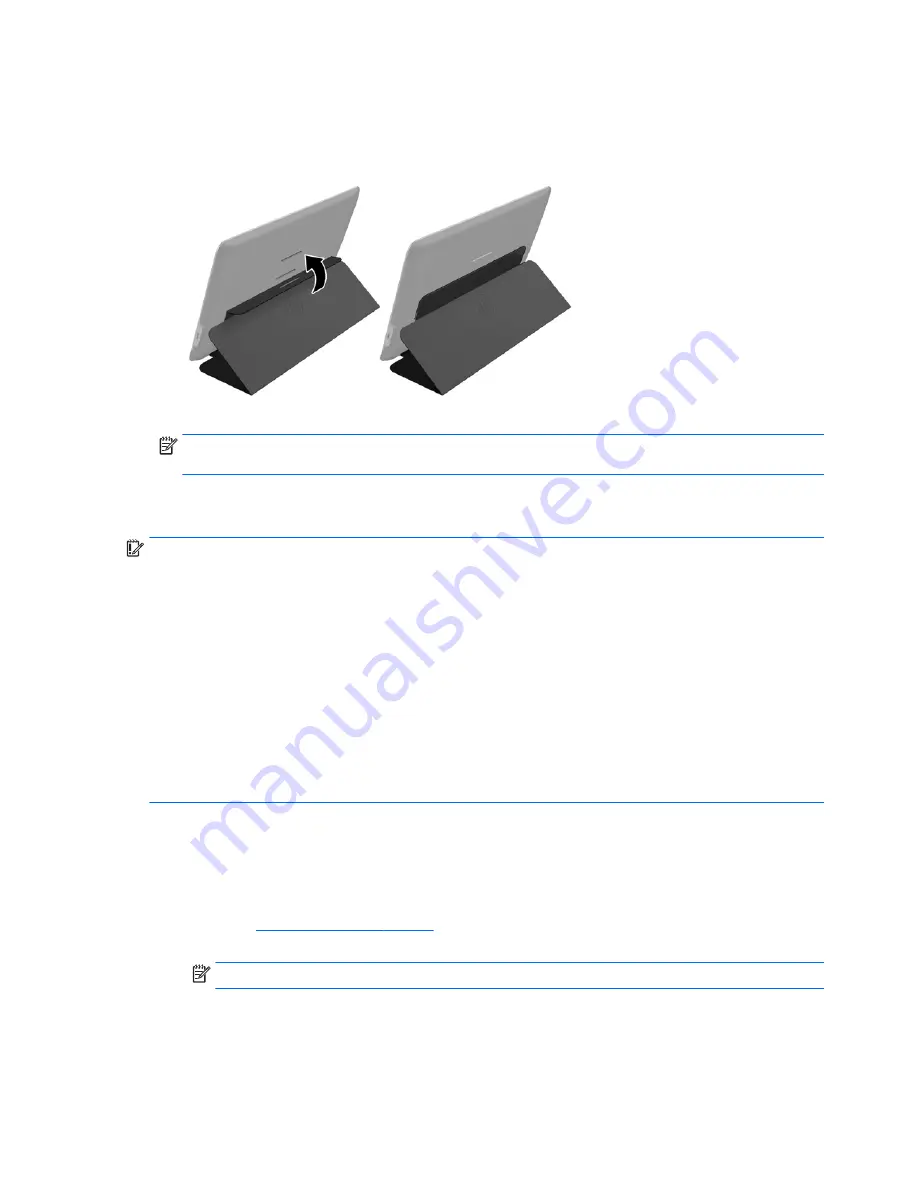
Press the ridge on the inside of the flap into the top or middle groove in the back of the monitor
to secure the stand position.
NOTE:
If you prefer the monitor to be in a more upright position, select the middle groove. For
more incline, select the top groove.
Installing Drivers and Connecting an HP Notebook Computer
IMPORTANT:
On Windows Vista and later versions, DisplayLink software interacts closely with the
primary graphics card. DisplayLink supports and tests a single graphics card (GPU) installed in a PC
from all major GPU vendors (Intel, ATI, NVIDIA, and Via). SIS graphics cards are not supported.
The following GPU configurations may exhibit compatibility issues on Windows Vista and later
versions in certain circumstances:
●
NVIDIA SLI in SLI mode
Other GPU configurations, including the following, are currently unsupported and will not function on
Windows Vista and later versions.
●
Crossfire
●
SLI not in SLI mode
●
Multiple WDDM graphics drivers active at once
Do not turn on power to the monitor until you have installed the drivers on your computer and
connected the monitor to the computer. To set up the monitor:
1.
Install the drivers using one of the following sources:
●
Insert the disc included with the monitor into an optical drive on your HP computer.
●
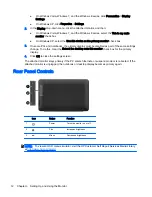
Go to
http://www.hp.com/support
and follow the on-screen instructions to locate and
download the drivers for the monitor.
NOTE:
This source provides the most up-to-date drivers.
8
Chapter 3 Setting Up and Using the Monitor


