


Create an Ethernet connection
To create an Ethernet connection:
1.
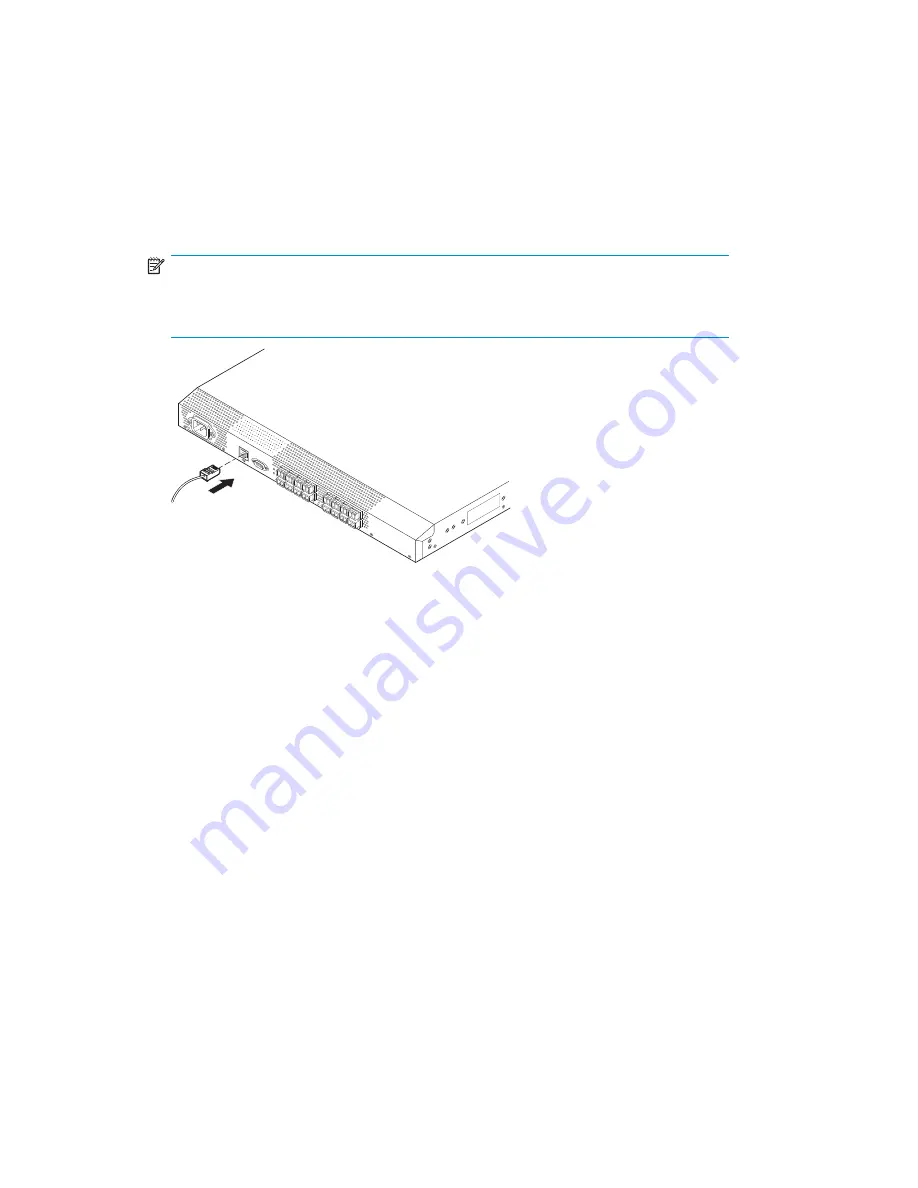
Connect an Ethernet cable to the Ethernet port and to the workstation, or to an
Ethernet network containing the workstation, as shown in
Figure 22
on page 58.
NOTE:
Figure 22
shows the 4/16 SAN Switch; however, this procedure is similar
for all SAN Switches.
0016b
!
IO
IOI
ATT
EN
TIO
N:
Max
imum s
crew le
ngth
for
rack
mou
nting
to b
e 5mm
or 1
3/6
4 in
.
Figure 22 Connecting the Ethernet cable
Once the Ethernet cable is connected, access the switch remotely via the CLI or the
integrated Advanced Web Tools GUI software.
2.
Log in to the switch via Telnet, using the admin account.
Modify the FC domain ID (optional)
You can modify the FC domain ID. The default FC domain ID is 1. If the switch is not
powered on until after it is connected to the fabric, and the default FC domain ID is
already in use, the domain ID for the new switch is automatically reset to a unique value.
If the switch is connected to the fabric after it has been powered on, and the default
domain ID is already in use, the fabric segments.
To determine the domain IDs that are currently in use, issue the
fabricshow
command.
The number of domains is determined by your domain fabric licensing.
To modify the domain ID:
1.
Issue the
switchdisable
command to disable the switch.
2.
Issue the
configure
command. The prompts display sequentially: enter a new
value or press
Enter
to accept each default value.
58
Installing and configuring SAN Switches
Содержание AA-RWF3A-TE
Страница 1: ...HP StorageWorks SAN Switch installation guide Part number AA RWF3A TE Fifth edition May 2007 ...
Страница 7: ...Supported HBAs 145 Glossary 147 Index 157 SAN Switch installation guide 7 ...
Страница 10: ...10 ...
Страница 64: ...64 Installing and configuring SAN Switches ...
Страница 90: ...90 Managing SAN Switches ...
Страница 117: ...Japanese notice Korean notices SAN Switch installation guide 117 ...
Страница 146: ...146 SAN Switch technical specifications ...
Страница 156: ...156 Glossary ...


