Configuration
60
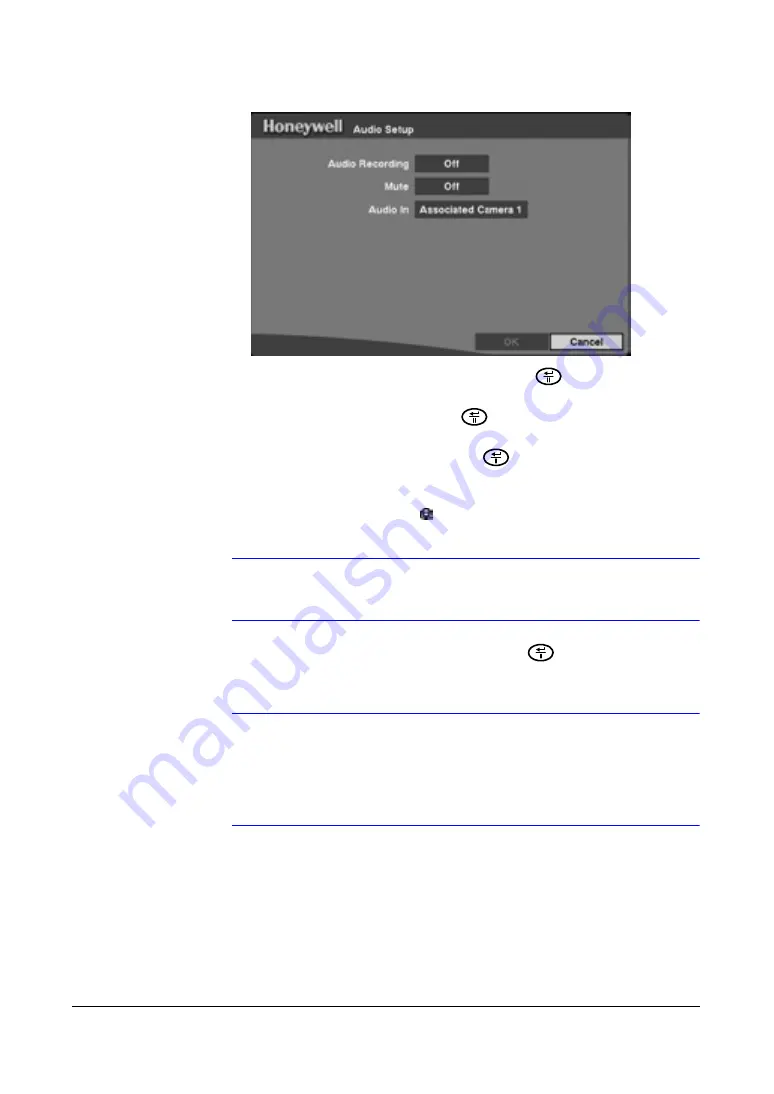
Figure 3-30
Audio Setup Screen
2.
Highlight the field beside
Audio Recording
and press
to toggle between
On
and
Off
. When turned
On
, the DVR records audio when it is recording video.
3.
Highlight the field beside
Mute
and press
to toggle between
On
and
Off
.
When turned
On
, the DVR does
NOT
play live audio or recorded audio.
4.
Highlight the field beside
Audio In
and press
to toggle through a list of
cameras.
5.
Select the camera number you would like to associate with audio input. When
Audio Recording is turned
On
, the
displays on the associated camera screen.
Note
Audio plays through the attached speaker while the DVR is
recording audio and the associated camera displays full screen.
6.
Save your changes by highlighting
OK
and pressing
. Select
Cancel
to exit
the screen without saving the changes.
Note
The DVR does
NOT
record audio when the recording speed is
set to less 15 ips (12.5 ips for PAL). The DVR may not record
audio depending on the Transfer Speed when the RASplus
(Remote Administration System) Watch application program is
connected.
Communicating with External Devices Using the RS-232C
Port
Using the RS232 setup screen, you can set up the RS-232C port to communicate with
external devices such as remote controls and dome cameras.
Содержание HRSD4
Страница 1: ...Document 800 00919 Rev F 02 08 User Guide HRSD4 Four Channel Digital Video Recorder ...
Страница 2: ......
Страница 3: ...User Guide ...
Страница 12: ...Figures 12 ...
Страница 14: ...Tables 14 ...
Страница 102: ...Configuration 102 ...
Страница 124: ...Troubleshooting 124 ...
Страница 126: ...Connector Pinouts 126 ...
Страница 127: ...Map of Screens Document 800 00919 Rev F 127 02 08 E Map of Screens ...
Страница 128: ...Map of Screens 128 ...
Страница 134: ...134 ...
Страница 135: ......


