User Manual of Explosion-Proof Bullet Camera
72
day and night separately, guaranteeing the image quality in different illumination.
Steps:
1.
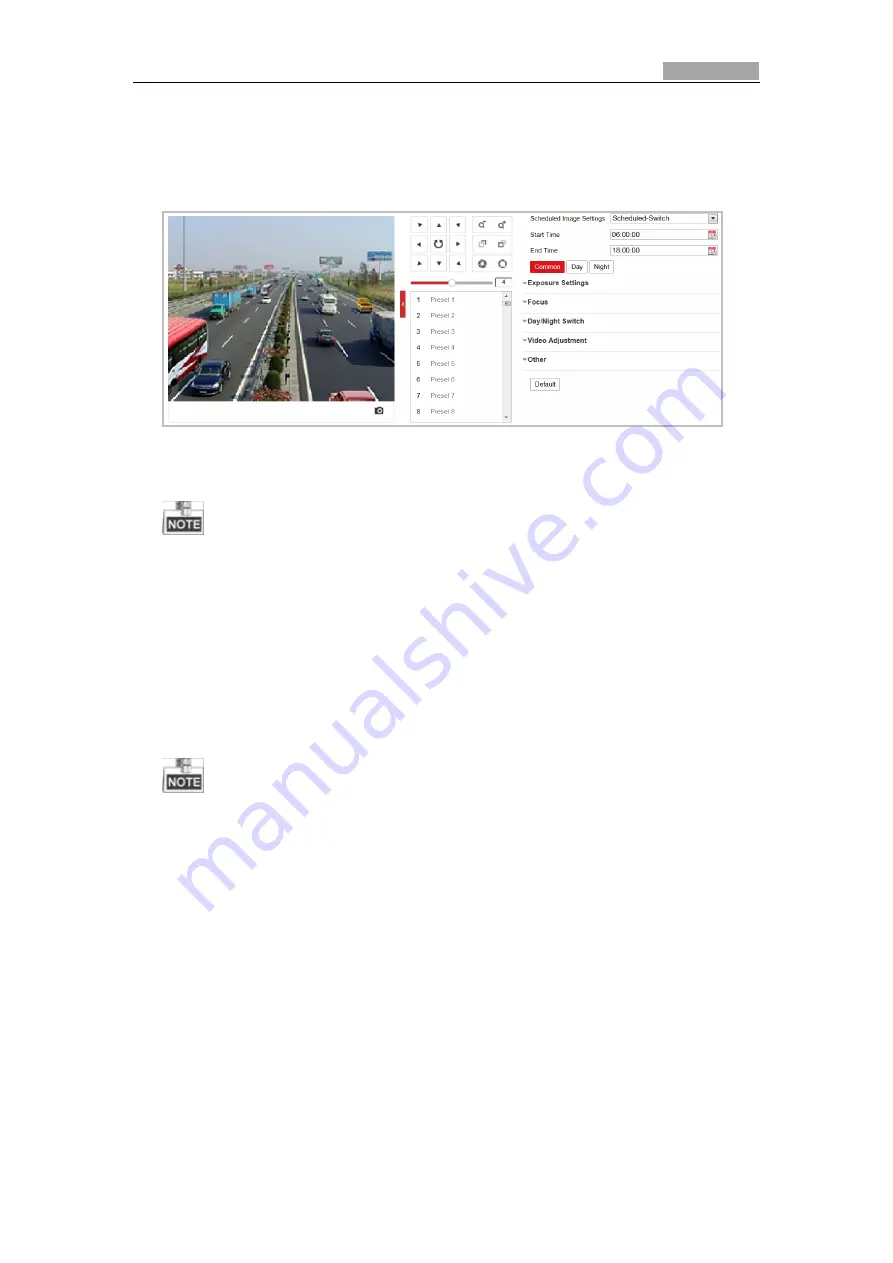
Enter the Display settings interface, and select Scheduled-Switch from the dropdown list.
Configuration > Image> Display Settings
Figure 6-34
Display Settings - Scheduled-Switch
2.
Click the calendar icon to select the start time and the end time of the switch.
The start time and end time refer to the valid time for day mode.
The time period can start and end on two days in a row. For example, if you set start
time as 10:00 and end time as 1:00, the day mode will be activated at 10 o'clock in the
morning and stopped at 1 o'clock early in the next morning.
3.
Click
Common
to configure the common parameters applicable to the day mode and night
mode. For the detailed information of each parameter, refer to section
Day/Night
Auto-Switch
.
4.
Click
Day
tab to configure the parameters applicable for day mode.
5.
Click
Night
tab to configure the parameters applicable for night mode.
The settings saved automatically if any parameter is changed. You can click Default to restore
the settings.
6.3.2
Configuring OSD Setting
s
Purpose:
The camera supports following on screen displays:
Time:
Supports for time display.
Camera Name:
Identifies the name of camera.
You can customize the on screen display of time.
Steps:
1.
Enter the OSD settings interface:
Configuration > Image > OSD Settings


