Installing the Honeywell IP Utility | 31
800-13338 - A - 03/2013
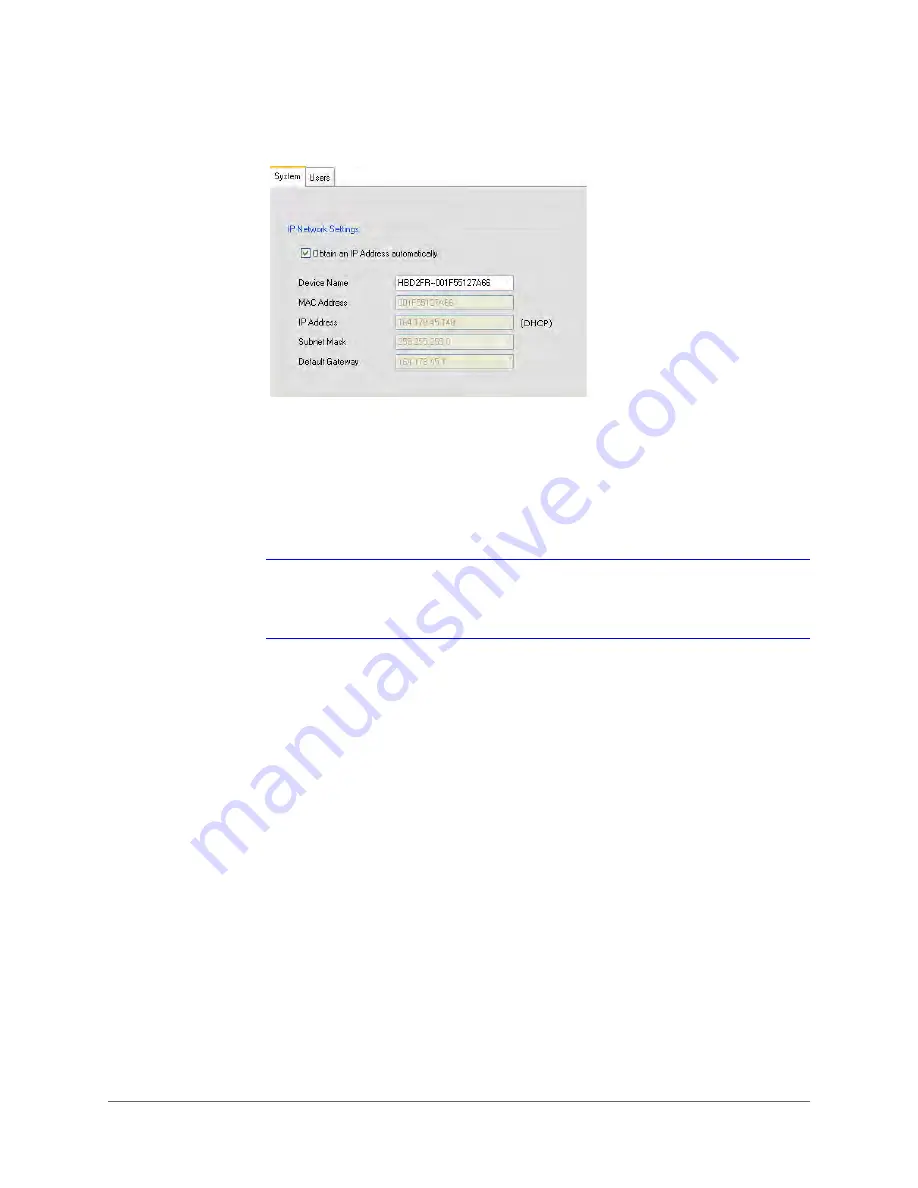
Figure 3-4
IP Network Settings Configuration
3. Enter a descriptive name for the camera in the
Device Name
field. For example,
FrontLobbyDome01
. (By default, the device name is the device type plus the MAC
address.)
4. Enter values for the
IP Address
,
Subnet Mask
, and
Default Gateway
(see
The MAC address is a factory-assigned address and is not configurable.
Note
The IP address of the camera must be in the same range as the IP address of the
workstation. For example, if the workstation’s IP address is
192.168.1.xx
, the
camera’s IP address should start with
192.168.1
(as in
192.168.1.xy
).
CAUTION
Confirm the network settings before clicking
Apply
.
Incorrect values may prevent the IP Utility from connecting to the device.
5. Click
Apply
to save the changes.
The network settings are updated and a message confirming the change appears in the
status bar at the bottom of the screen.
Содержание HBD2FR1
Страница 2: ......
Страница 3: ...User Guide ...
Страница 4: ...Revisions Issue Date Revisions A 03 2013 New document ...
Страница 12: ...www honeywellvideo com 12 HBD2FR1 X User Guide ...
Страница 14: ...www honeywellvideo com 14 HBD2FR1 X User Guide ...
Страница 18: ...www honeywellvideo com 18 HBD2FR1 X User Guide ...
Страница 34: ...www honeywellvideo com 34 HBD2FR1 X User Guide ...
Страница 76: ...www honeywellvideo com 76 HBD2FR1 X User Guide ...
Страница 80: ...www honeywellvideo com 80 HBD2FR1 X User Guide ...
Страница 81: ......


