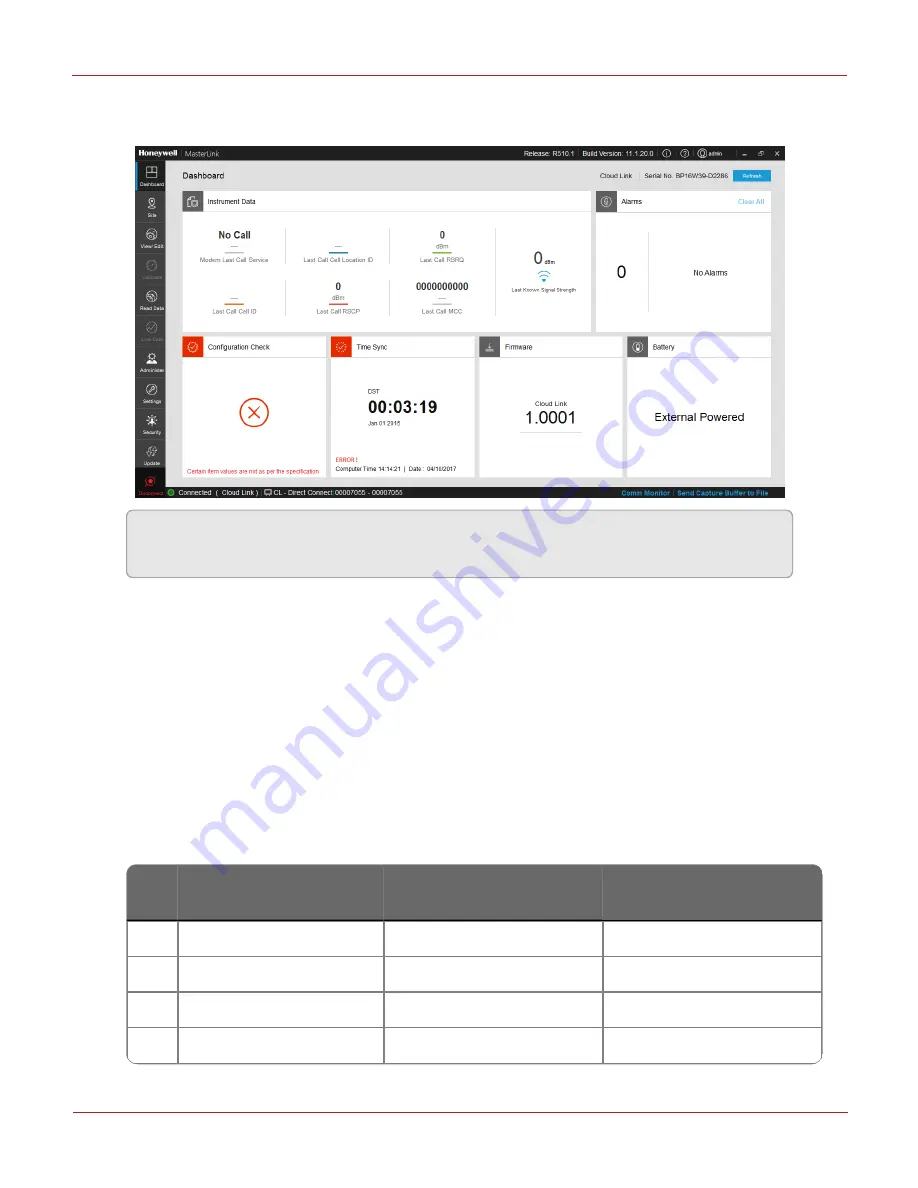
The instrument dashboard appears. The site is added to the list of sites on the Site
Management screen.
Note:
Before making any changes to the connected instrument, ensure that you wait till
the dashboard data is completely loaded.
9. Wait for the dashboard to load. Click the center of the Time Sync widget and perform a time
synchronization between the Cloud Link 4G modem and the PC by clicking Sync. You need to
perform a time sync if you see a difference in the instrument time and the host (PC) time. Othervise
you can skip this step.
10. Navigate to View/Edit > Configure by Group > Radio Configuration.
Select the check-box next to an Item number, enter a value in the text box provided and then click
on Write Item button to write the value against the item in the connected instrument/device. You
can search for a specific item number and can also modify multiple Item Numbers at once. You can
also use the Read Item button (enabled only when an item is selected) to read the currently
configured value of the item numbers.
Set the following parameters:
Item
No.
Description
Verizon
Non-Verizon
3071 Verizon enable
1 = Enable
0 = Disable
3016 Fetch Radio Parameters
1 = Set
1 = Set
3021 ModemIPType
0 = IPv4
0 = IPv4
3022 Packet Service Connection
ATD*99***3#
ATD*99#
7 Configuration
Honeywell
| 30


