8
Rudder and elevator:
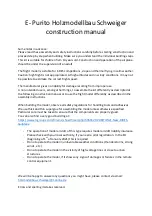
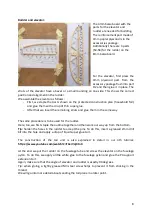
The 4mm balsa board with the
parts for the elevator and
rudder are needed for building.
The reinforcement part made of
4mm poplar plywood is in the
accessories package.
Additionally there are 3 parts
(S4-S6) for the rudder on the
8mm balsa board.
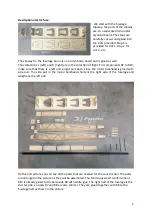
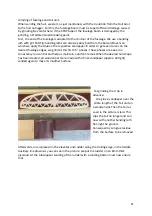
For the elevator, first press the
4mm plywood part from the
accessory package flush into part
H2 and then glue it in place. The
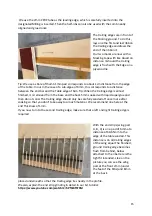
struts of the elevator have a bevel or a small rounding on one side. This shows the correct
position and alignment in the rudder.
We assemble the elevator as follows:
-
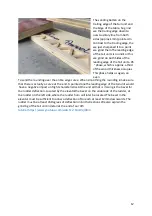
First, we staple the parts shown on the protected construction plan (household foil)
and glue them with a drop of thin super glue.
-
After that we insert the remaining struts and glue them in the same way
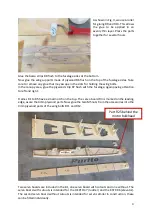
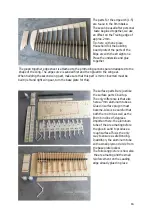
The same procedure is to be used for the rudder.
Here, too, we first staple the outline together and then work our way up from the bottom.
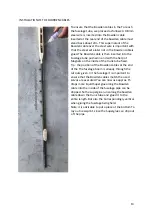
Tip:
harden the holes in the rudder to accept the pins. To do this, insert a greased 2mm drill
bit into the hole and apply a drop of liquid super glue to it.
The construction of the tail unit is also explained in detail in our 4th tutorial:
https://www.youtube.com/watch?v=F4erVqr0to4
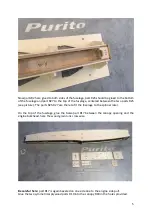
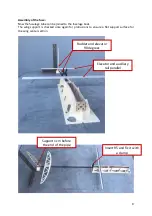
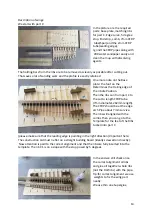
At the end we put the rudder on the fuselage tube and screw the elevator on the fuselage
pylon. To do this, we apply a little white glue to the fuselage pylon and glue the P4 support
extension to it.
Again, make sure that the angle of elevator and rudder is exactly 90 degrees.
Tip: when gluing, a lightly greased M3 steel screw helps to prevent it from sticking in the
thread.
We will go into more detail about sanding the tail plane in a later point.

