21
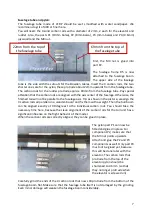
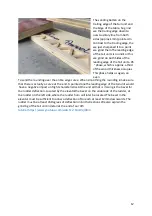
We use for that Power
connection to the hulla 5-pole
spring contact.This is also with us
as Accessories available. Like on
that Can be seen in this picture
Milled accessories too Plywood
parts that contain the Spring
cotter precisely fits into the Wing
recording takes up.For this
execution is Experience in
soldering required
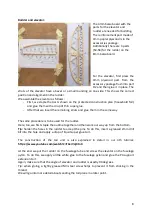
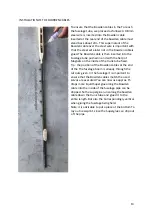
In the next step, the lower paneling of the middle section can be attached. Therefore the
planking must be adapted to the leading edge and glued in place. If the planking
corresponds to the profile of the wing cleanly, this can be done on the underside the ribs are
glued in place
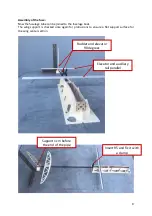
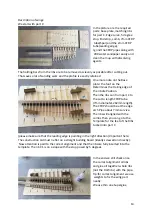
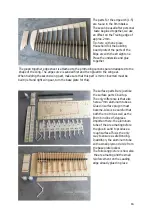
To twist the Wing ears on the
middle part to prevent are in
the Accessory package with
dowel pins a diameter of
2.5mm made of CFRP
included.These pieces come
with a Slightly sharpened
sandpaper and in the surface
center part plugged. Now can
do that too Ear can be put
on,but with a small one Gap to
the root rib
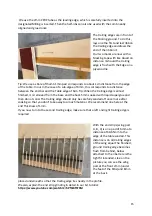
Tip: we put a 2mm balsa between the middle part and the ear and fix it in place together
with two brackets. The bottom of the ear can now be cleaned be aligned to the middle part.
Whether the two parts are exactly aligned with one another,can best be seen on the
underside of the wing. If that is the case, the pins will be on the inside of the root rib (middle
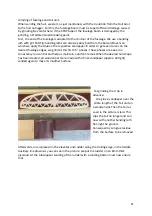
part). Now the ear should be easily removable. There are small plywood disks on the to
secure the pins Rib board. These are also on the inside of the root rib (middle part) on the
CFRP pins glued.If these transitions fit neatly, the surface parts B and C can now be
connected be glued. Use the milled, 2mm GRP connector in the accessory package for
this.The connector is fitted into the CFRP tubes and then glued in vertically

