15
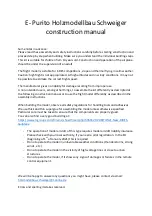
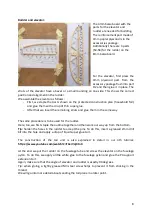
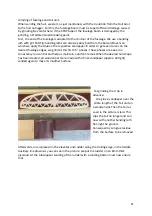
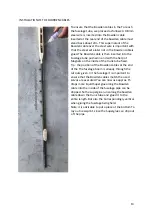
We use the 2mm CFRP tube as the leading edge, which is carefully inserted into the
designatedMilling is inserted. Then the half-ribs can also be used with the comb neatly
aligned and glued once
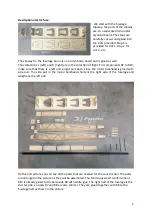
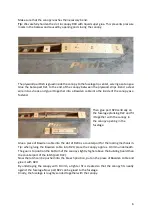
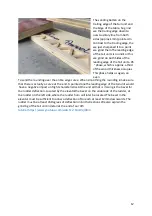
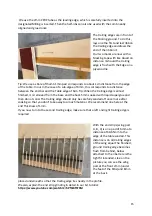
The trailing edges are in front of
the Shoring ground. To do this,
lays one the first and last ribbon
the trailing edge anddraws the
end of the ribbon it.
Our two marks are now with a
Masking tape with like Glued on
distance. It should the trailing
edge is flush with the Edge on a
ply wood lie.
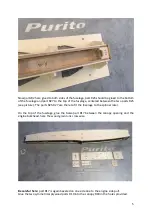
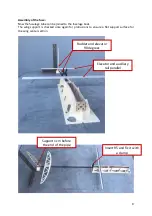
Tip: We use as Rule of thumb 1mm pad corresponds to about 1cm distance from the edge
of the table. In our In the case of a sub-algae of 6mm, this corresponds to a distance
between the end bar and the Table edge of 6cm.Tip: When the trailing edge is almost
finished, it is removed from the base and the back 5mm soaked with liquid superglue and
then do not sand. The trailing edge should only be carefully sanded off once more after
soaking so that you don't take away too much material. We recommend one here at the
end Thickness of 1mm.
If you now turn to the second trailing edge, make sure that a left and right trailing edge is
required
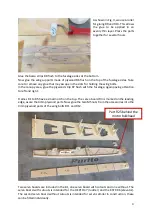
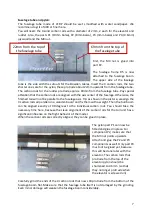
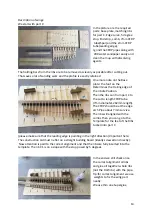
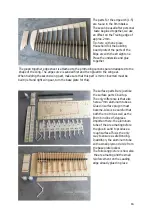
With the end strips (wing part
A, B, C) is on a pad of 6mm at a
distance of 60-65mm to the
edge of the table sanded. This
distance is on all trailing edges
of the wing equal.The finished,
ground trailing edge becomes
flush from behind, below
attached to the ribs.Here is the
tight fit intended. Like on the
picture you can see the wing
part at the front 2mm (under
the feet of the Ribs) and 8mm
at the back
placed underneath so that the trailing edge lies neatly in the profile.
We also explain the end strip grinding in detail in our 1st tutorial:
https://www.youtube.com/watch?v=hPf9JKf5TbM

