TECHNICAL DESCRIPTION
22
2.01
•
25.03.2010
2.2.3
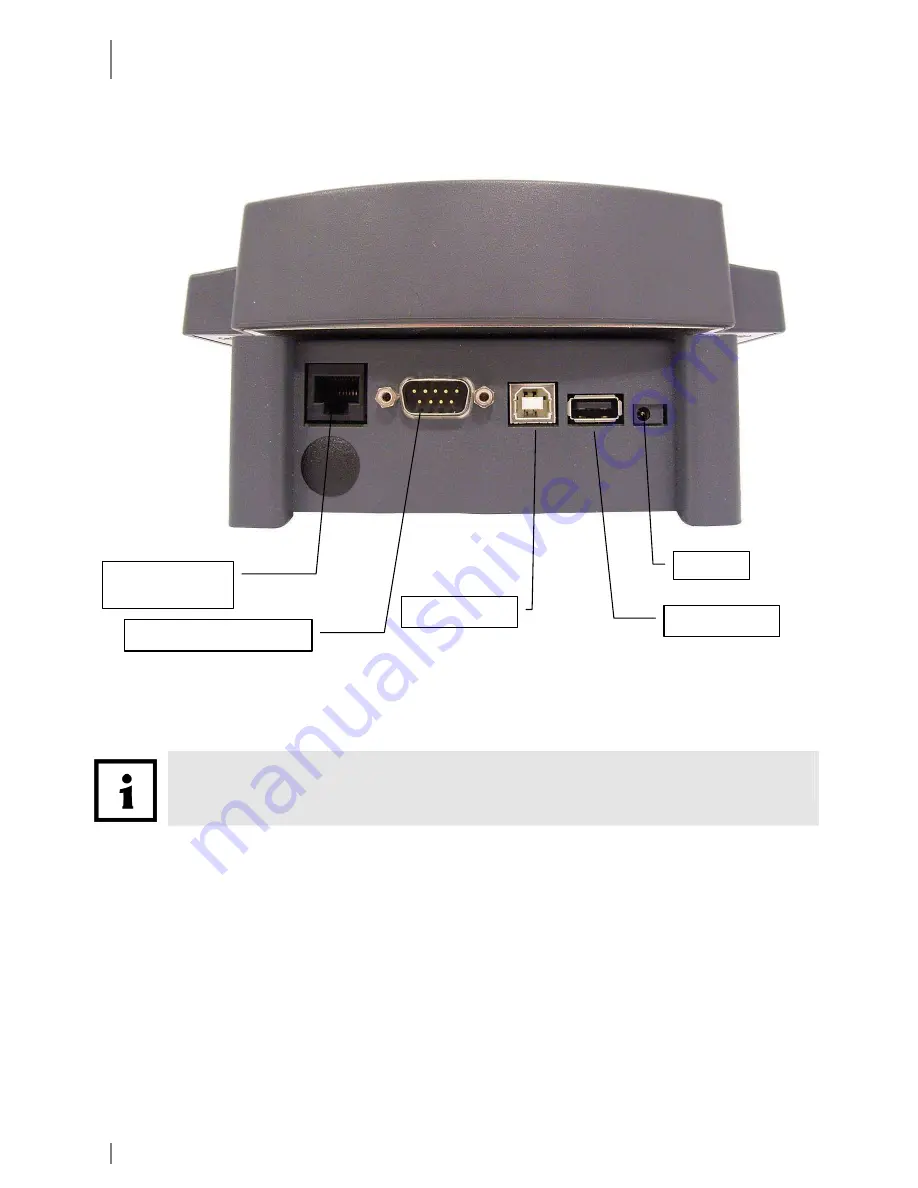
Rear View of Desktop Cradle
Fig. 9: Rear view of desktop cradle; location of connections
*The Ethernet connection only works when your device equipment supports
this function.
USB–A type
USB–B type
Power
RJ45 connection
for Ethernet
Serial Interface


