HOBO MX pH and Temperature Logger (MX2501) Manual
U.S. and International Sales: 1-508-759-9500 3
www.onsetcomp.com
Reed Switch:
This is used in conjunction with the magnetic
switch on the mounting end cap.
LEDs:
The blue LED blinks every 4 seconds when the logger is
logging (unless Show LED is disabled as described in
Configuring
the Logger
). The blue LED blinks every 8 seconds if the logger is
waiting to start logging because it was configured to start On
Button Push or with a delayed start. The blue LED blinks every 4
seconds when an alarm is tripped (unless the Show LED option
is disabled). The blue and red LEDs blink once when you press
the magnetic switch to wake up the logger or blink four times
when you press the switch to start or stop logging. If you select
Illuminate Logger in the app, the red LED is illuminated for 5
seconds.
Mounting Hole:
Use the hole on the mounting end of the
logger to attach it to a cable or cord for deployment (see
Deploying and Mounting the Logger
).
Switch:
This magnetic switch on the mounting end of the logger
works in conjunction with the reed switch. Press this switch into
the gap beneath the mounting lanyard for 3 seconds to start or
stop the logger when it is configured to start or stop On Button
Push (see
Configuring the Logger
). Press this switch for 1 second
to wake up the logger (if configured with Bluetooth Always Off
as described in
Configuring the Logger
).
Downloading the App and
Connecting to a Logger
Install the app to connect to and work with the logger.
1.
Download HOBOconnect to a phone or tablet from the App
Store® or Google Play™.
Download the app to a Windows computer from
www.onsetcomp.com/products/software/hoboconnect.
2.
Open the app and enable Bluetooth in the device settings if
prompted.
3.
Wake up the logger by pushing the switch on the mounting
end of the logger into the gap beneath the mounting
lanyard.
4.
Tap Devices and then tap the logger tile in the app to
connect to the logger.
If the logger does not appear in the list or if it is having trouble
connecting, follow these tips:
•
If the logger was configured with Bluetooth Always Off
(see
Configuring the Logge
r), make sure the logger is
awake by pressing the switch for 1 second. This brings
the logger to the top of the list if you are working with
multiple loggers.
•
Make sure the logger is within range of your mobile
device or computer. The range for successful wireless
communication is approximately 30.5 m (100 ft) in air
with full line-of-sight.
•
Change the orientation of your device to ensure the
antenna is pointed toward the logger. Obstacles between
the antenna in the device and the logger may result in
intermittent connections.
•
If your device can connect to the logger intermittently or
loses its connection, move closer to the logger, within
sight if possible. If the logger is in water, the connection
can be unreliable. Remove it from water for a consistent
connection.
•
If the logger appears in the app, but you cannot connect
to it, close the app and then power down your device to
force the previous Bluetooth connection to close.
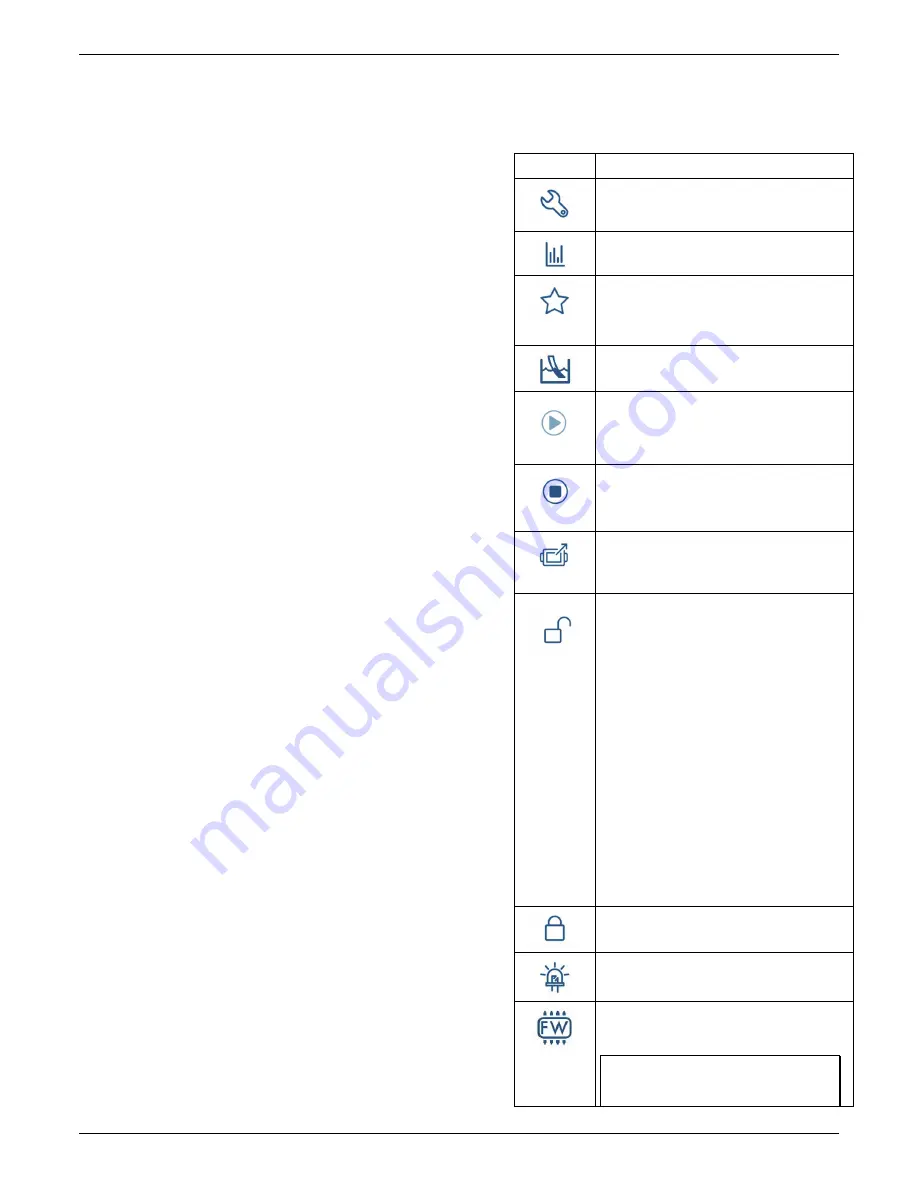
Once the logger is connected, you can:
Tap this:
To do this:
Specify logger settings and save them onto the
logger to start logging. See
Configuring the
Logger
.
Tap to view live data.
Mark the logger as a favorite. You can then filter
the list of devices to show only loggers marked as
favorites.
Calibrate the logger. See
Calibrating the Logger
.
Start logging if the logger was configured to start
with a button push. See
Configuring the Logger
.
Stop logging data (this overrides any Stop
Logging settings described in
Configuring the
Logger
).
Download logger data. See Downloading Data
From the Logger.
Lock the logger. Set a password for the logger so
that it is not mistakenly stopped or reconfigured.
Tap the icon, enter a password, and then tap Set.
Once a password is entered on a phone or tablet,
that mobile device is the only one to
“remember” it. This means you can connect to
the logger without entering a password on that
mobile device, but you must enter a password on
all other mobile devices. For example, if you set
the password for the logger with your tablet and
then try to connect to the device later with your
phone, you must enter the password on the
phone but not with your tablet. Similarly, if
others attempt to connect to the logger with
different devices, they are also required to enter
the password.
To reset a password:
•
Press the Start/Stop button for 10 seconds,
or
•
Tap Manage Password and then tap Reset.
Manage Password. Reset your existing password
or set a new password for the logger.
Illuminate the logger LEDs for 5 seconds.
Update the firmware on the logger. A logger
readout will be completed automatically at the
beginning of the firmware update process
Important:
Before updating the firmware on
the logger, check the remaining battery level
and make sure it is no less than 30%. Make


