6) KNEE : Knee OFF/ON/AUTO
The on setting provides natural gradation in bright portions.
At the auto setting,
gradation in bright components is automatically optimized even with scene changes.
Knee is fixed to on in the Auto CAM mode.
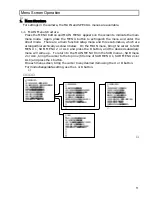
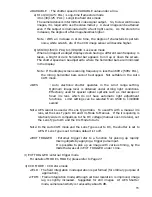
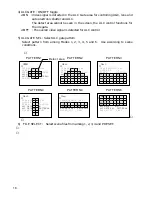
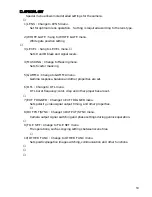
7) SHADING MODE mode : Auto shading setting
COLOR
: Minimize vertical shading in image. Use for general scenes.
x
x
x
x
x
x
LUMINANCE: Equalizes vertical RGB signal levels. Use for special optics such
as microscope or inspection devices.
FLAT
: Equalizes overall image RGB signal levels. Effective for
microscope perimeter shading and inspection devices.
If shading is large or random, compensation error increases. In such cases, adjust
for uniform lighting.
8) AUTO SHADING
Press R for automatic shading adjustment. See further description on Page 36.
9) AUTO BLACK: Press R for automatic black balance adjustment.
10) FILE SELECT: Select scene file from among 1, 2, 3 and 4.
5. ALC
1) PEAK/AVE : Set auto level control for Peak or Average in 4 steps of 50/50, 25/75,
18/85 or 0/100. At high Average setting, background may be difficult
to see in picture bright components. Increasing the Peak setting may
render spotlighted components easier to see.
2) OVER RIDE : Auto iris level setting
ALC level setting in range of -128 to 127 (about
r
2 F stops). Press R and L for
respectively higher or lower video level settings. Press both L and R for about 2
seconds to set to 0.
3) SPEED: AGC and AES response speed
SLOW : Slow response to scene light variations. Allows a stable image when a
strong light source, e.g., vehicle headlights, enters the scene.
STANDARD :
Normal
setting
FAST
: Quick response to scene light variations. Use where variations are
sudden, such as when changing a microscope magnification.
17

