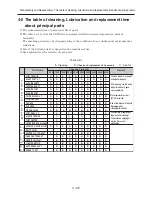


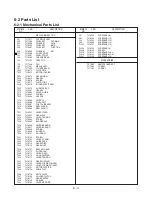


5 - 6
Adjustment > VCR Mechanism Adjustment
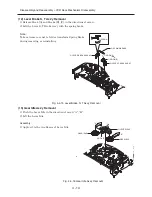
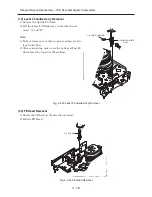
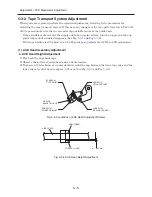
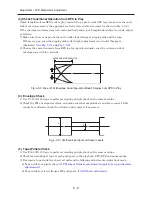
b. ACE Head Tilt Adjustment
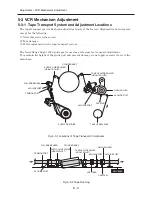
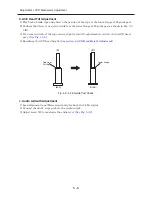
1) Play back a blank tape and observe the position of the tape at the lower flange of #8 guide post.
2) Confirm that there is no curl or wrinkle at the lower flange of #8 guide post as shown in Fig. 5-3-
5 (B).
3) If a curl or wrinkle of the tape occurs, slightly turn tilt adjustment screw (A) on the ACE head
ass’y.
(See Fig. 5-3-3)
4) Reconfirm the ACE head height.
(See section a. ACE Head Height Adjustment)
c. Audio Azimuth Adjustment
1) Load alignment tape (Mono scope) and play back the 7 kHz signal.
2) Connect channel-1 scope probe to the audio output.
3) Adjust screw (B) to maximize the audio level.
(See Fig. 5-3-3)
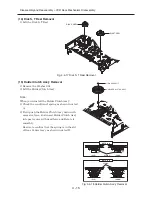
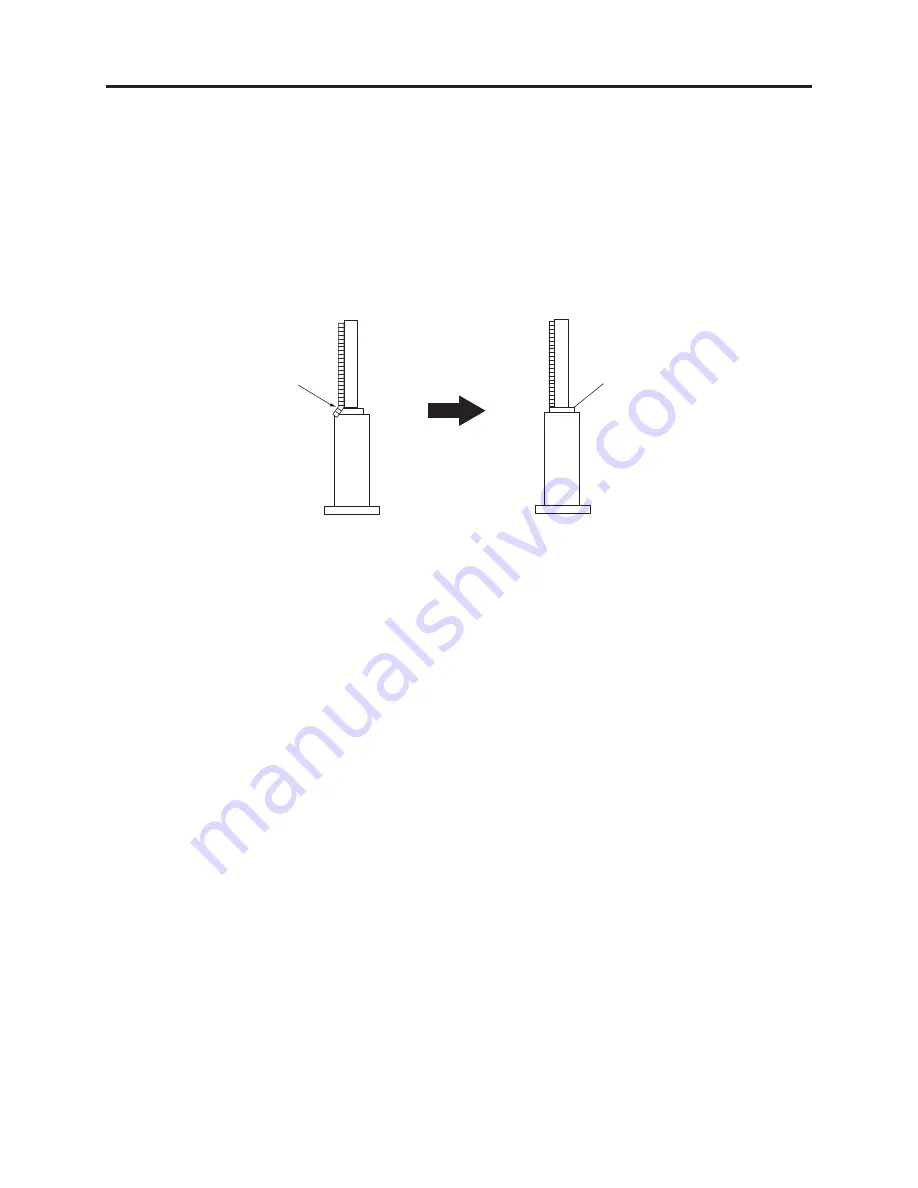
Fig. 5-3-5 #8 Guide Post Check
(A)
(B)
(BAD)
Wrinkle or
Curling
(GOOD)
Lower flange
Содержание DV-RF7U
Страница 88: ...4 3 2 1 A B C D E F A B C D E F 8 7 6 5 4 3 2 1 8 7 6 5 C 2 CONDUCTOR SIDE ...
Страница 89: ...4 3 2 1 A B C D E F A B C D E F 8 7 6 5 4 3 2 1 8 7 6 5 C 3 C 2 Jack P C B COMPONENT SIDE ...
Страница 90: ...4 3 2 1 A B C D E F A B C D E F 8 7 6 5 4 3 2 1 8 7 6 5 C 4 CONDUCTOR SIDE ...
Страница 93: ...Copyright Hitachi Ltd 2004 All rights reserved I Digital Media Division Tokai TK No 0417E DV RF7U ...


