


52
SCREEN menu
Item
Description
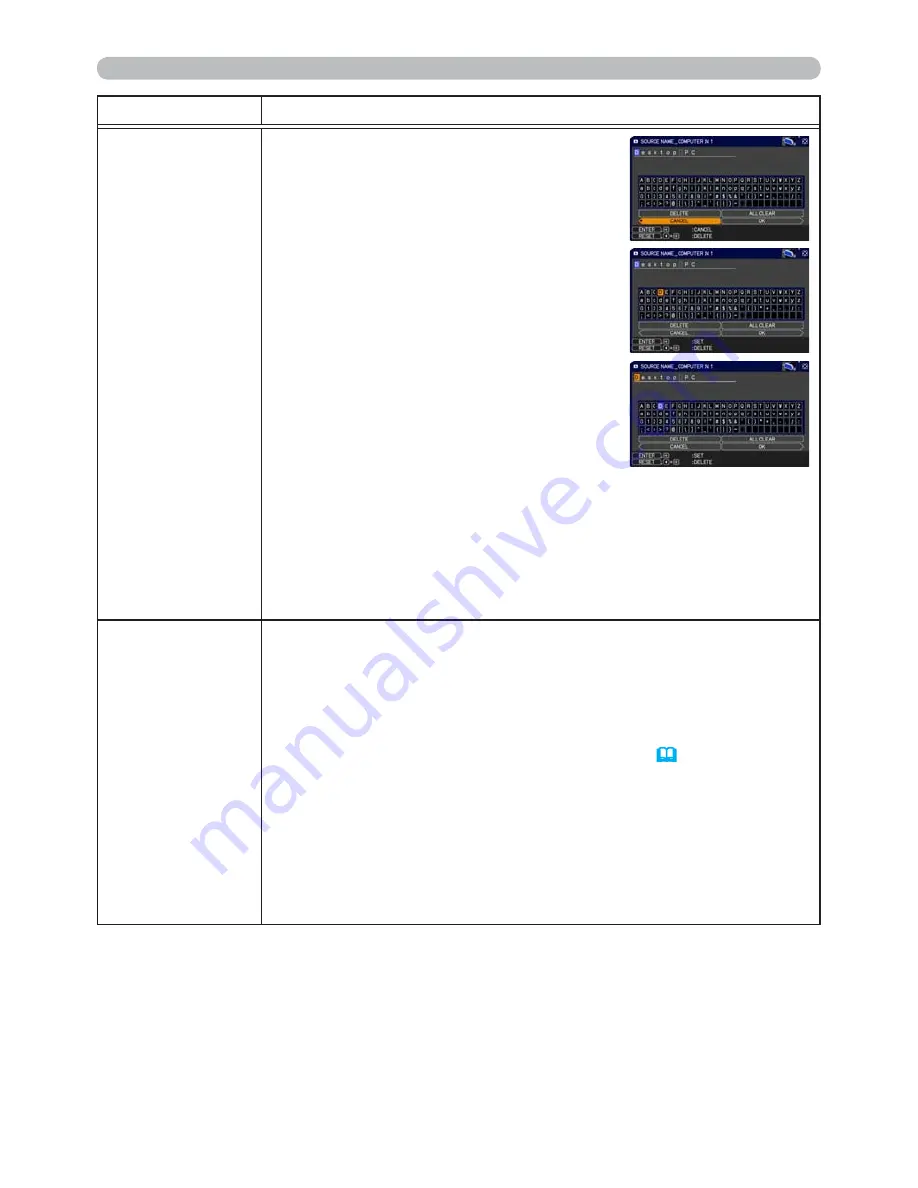
SOURCE NAME
(
Continued
)
(6) The current name will be displayed on
the
rst line. Use the
▲
/
▼
/
◄
/
►
buttons
and the
ENTER
or
INPUT
button to
select and enter characters. To erase 1
character at one time, press the
RESET
button or press the
◄
and
INPUT
button
at the same time. Also if you move the
cursor to DELETE or ALL CLEAR on
screen and press the
ENTER
or
INPUT
button, 1 character or all characters will
be erased. The name can be a maximum
of 16 characters.
(7) To change an already inserted character,
press the
▲
button to move the cursor to
the
rst line, and use the
◄
/
►
buttons to
move the cursor on the character to be
changed.
After pressing the
ENTER
or
INPUT
button, the character is
selected. Then, follow the same procedure as described at the
item (6) above.
(8) To
nish entering text, move the cursor to the OK on screen and
press the
►
,
ENTER
or
INPUT
button. To revert to the previous
name without saving changes, move the cursor to the CANCEL
on screen and press the
◄
,
ENTER
or
INPUT
button.
TEMPLATE
Using the
▲
/
▼
cursor buttons switches the mode for the template
screen.
Press the
►
cursor (or the
ENTER
) button to display the selected
template, and press the
◄
cursor button to close the displayed
screen.
The last selected template is displayed when the
MY BUTTON
allocated to the TEMPLATE function is pressed
(
58
)
.
TEST PATTERN
Ù
DOT-LINE1
Ù
DOT-LINE2
Ù
DOT-LINE3
Ú
Ú
STACK
Ù
MAP2
Ù
MAP1
Ù
CIRCLE2
Ù
CIRCLE1
Ù
DOT-LINE4
You can turn a map upside down and scroll it horizontally when
MAP1 or MAP2 is selected. To invert or scroll the map, display
the guidance by pressing the
RESET
button on the remote three
seconds or more when MAP1 or MAP2 appears.
(continued on next page)


