


15
|
Basic Features
USER MANUAL
Basic Features
Wizard
Switch-on...
Account App Manag...
Eco Setting Multi-scree...
Settings
General
Picture
Sound
3D
Channel
Network
System
About
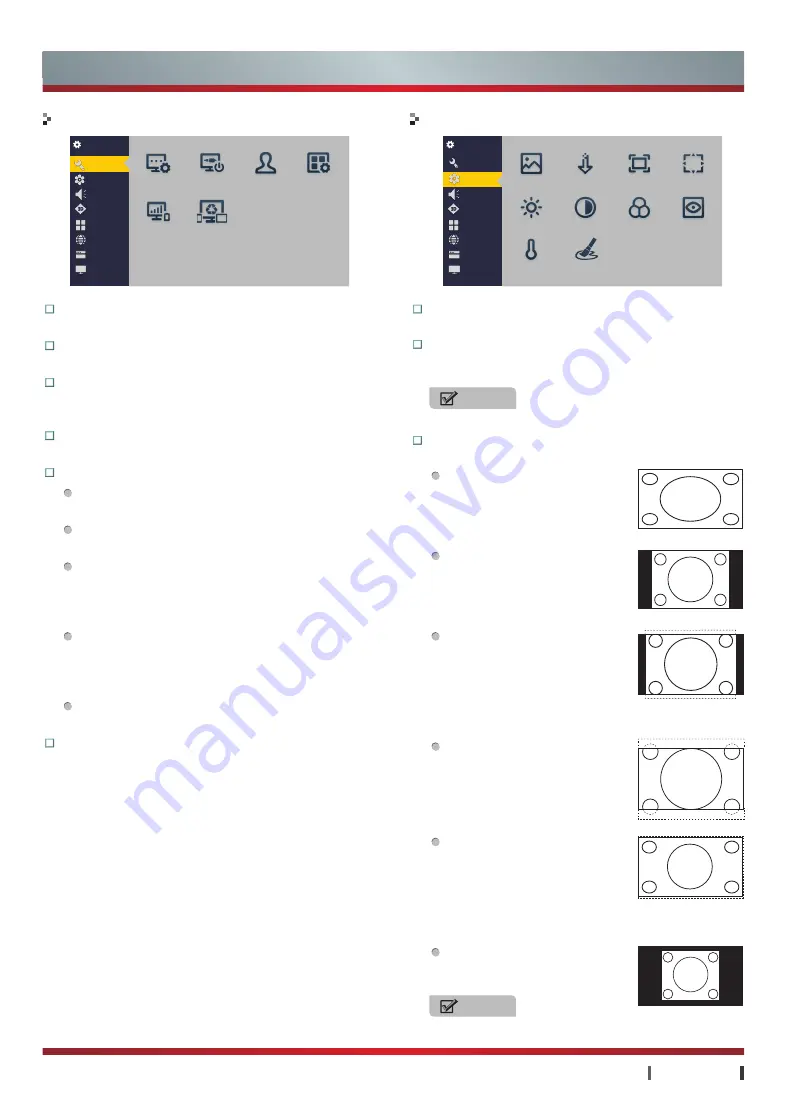
General
Picture
Wizard:
You can learn about the main function of
TV, basic operation methods.
Switch-on Source:
You can select Homepage or
different boot source mode.
Account:
You can manage the account of Hisense.
(For more information, see "Account" of Advanced
Features)
App Management:
You can manage the installed
applications.
Eco Setting:
Bright Light:
Maximum backlight brightness,
with optimum picture expression.
Soft Light:
Minimum backlight brightness,
suitable for use in night.
Stereoscopic Frequency:
The backlight brightness
increases with the increase of picture image
brightness. The backlight brightness decreases
with the decrease of picture image brightness.
Comfort Frequency:
The backlight brightness
decreases with the increase of picture image
brightness. The backlight brightness increases
with the decrease of picture image brightness.
Custom:
The function enables any adjustment of
backlight brightness.
Multi-screen Service:
Turn on or off the Multi-
screen Service function. (For more information, see
"Multi-screen Interaction" of Advanced Features)
Picture Mode:
The picture modes including: Standard,
Stadium, Game, Cinema, Concert, Studio and Custom.
3D NR:
It can optimize the picture signal from time
and space; reduce the outside noise interference
and return the pure initial signal.
NOTE
If the TV has no signal, this option is not available.
Zoom:
You can set the zoom mode: Full Screen,
Standard, Zoom1, Zoom2, Smart Zoom and Dot To Dot.
Full screen:
This selection will
allow you to view a picture in
full screen. (In HDMI mode,
1920×1080 resolution displays
for Dot To Dot)
Standard:
This selection will
allow you to view a picture
with an original 4:3 aspect ratio,
black bars will appear on both
the left and right of the screen.
Zoom 1:
This selection will
allow you to view a 16:9 picture
with a 14:9 aspect ratio. Black
bars will appear on both the
left and right of the screen and
clips off part from the top and
bottom.
Zoom 2:
This selection will
allow you to view the picture
without any alteration, while
f i l l i n g t h e e n t i r e s c r e e n .
However, the top and bottom
of the picture will be cropped.
Smart Zoom:
This selection
will allow you to view the
picture to display the entire
contents in the horizontal
direction by non-linear scaling
technology, the 4:3 screen to
full-screen viewing.
Dot To Dot:
This selection will
allow you to view the actual
size of the picture.
NOTE
The options of the Zoom varies with different source.
Settings
General
Picture
Sound
3D
Channel
Network
System
About
Picture Mode 3D NR
Zoom
Geometry
Brightness
Contrast
Color
Sharpness
Color Temp...
Hue


