End-of-line programming
58/70
Open command line
Ø
Connect your netX device to your programming PC/laptop via serial
(UART), standard Ethernet or debug interface (see section
page 47]).
Ø
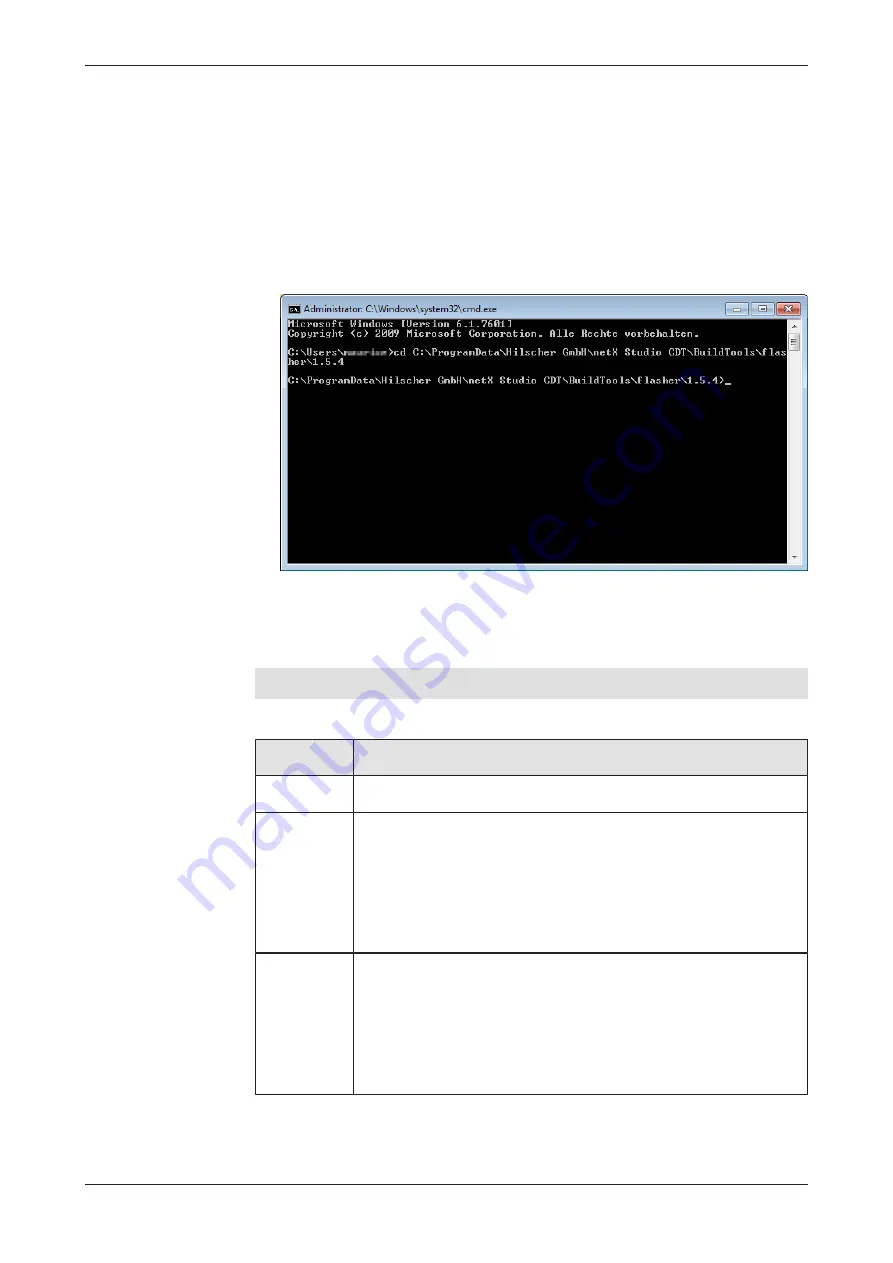
Open a command prompt and change to the directory where the
cli_flash.lua
file is located. If you are using the flasher script
included in the
netX Studio CDT
installation, this is
C:\ProgramData
\Hilscher GmbH\netX Studio CDT\BuildTools\flasher
\1.5.4
Figure 12: Prompt in flasher script location
Syntax, commands and parameters
The general syntax is as follows:
lua5.1.exe cli_flash.lua [command] [parameter 1] [parameter 2] ...
[parameter n]
The most relevant commands (also called “modes”) are:
Command
(mode)
Description
info
Connects to a netX device, detects the chip type and lists the interfaces
that the flasher can use on this chip type to access a flash device.
flash
Writes a specified file to the specified flash destination. Must be followed
by the following parameters (optional parameters are indicated in curly
brackets):
{interface}
[bus]
[unit]
[chip select]
{offset}
[file]
Note
: If you omit the
interface
parameter, you will have to select the
interface from a menu that appears before you can start the
flash
action.
If you omit the
offset
parameter, the flasher tool will automatically use
the default offset
0x0
(start of the flash unit).
read
Reads specified flash area and writes output to file. Must be followed by
the parameters (optional parameters are indicated in curly brackets):
{interface}
[bus]
[unit]
[chip select]
{offset}
[size]
[file]
Note
: If you omit the
interface
parameter, you will have to select the
interface from a menu that appears before you can start the
read
action.
If you omit the
offset
parameter, the flasher tool will automatically use
the default offset
0x0
(start of the flash unit).
netX 90 | Production guide
DOC190101PG03EN | Revision 3 | English | 2019-07 | Released | Public
© Hilscher 2019


