15
This option allows setting brightness and back-light time for the display. In order to change parameters:
Press the following key combination: starting point - MAIN SCREEN: enter the
MENU
with
, get to the option named
Controller settings
with
, enter the
Controller
settings
menu
with
, get to the option named
Display
with
, enter the
Display
option
with
, choose appropriate parameters with
or
, edit with
, change values
with
or
, accept values with
(a continuous sound signal), return to the main screen with
.
6.3 Sounds
This options allows to switch sound signals for controller key and controller alarms on and off. In order to change parameters: Press the following key combination: starting point -
MAIN SCREEN: enter the
MENU
with
, get to the option named
Controller settings
with
, enter the
Controller settings
menu
with
, get to the option named
Sounds
with
, enter the
Sounds
option
with
, choose appropriate parameters with
or
, edit with
, change values with
or
, accept values with
(a
continuous sound signal), return to the main screen with
.
6.4 Language
This option allows you to choose one of the available language versions for the controller. In order to change language:
Press the following key combination: starting point - MAIN SCREEN: enter the
MENU
with
, get to the option named
Controller settings
with
, enter the
Controller
settings
menu
with
, get to the option named
Language
with
, enter the
Language
option
with
, choose the appropriate language version with
or
, accept
and leave the
Language
option with
(a continuous sound signal), return to the main screen with
.
Language versions available:
Polish, English, German, French, Portuguese, Spanish, Dutch, Italian, Czech, Slovak, Romanian, Swedish, Norwegian, Finnish, Danish,
Estonian, Lithuanian, Latvian, Slovenian, Hungarian, Croatian, Russian.
6.5 RS485 port
This option allows setting the parameters relating to the controller communication through monitoring.
7.
Manual control
This option makes it possible to manually switch all the devices in a given installation scheme on. In order to switch the devices on:
Press the following key combination: starting point - MAIN SCREEN: enter the
MENU
with
, get to the option named
Manual control
with
, enter the option named
Manual control
with
, chose a device to be switched on with
or
, edit with
, switch the device on with
or
(the word
ON,
in the case of a three-way valve
-
selection of servo position [
A or B
]), accept the value with
, return to the main screen with
.
ATTENTION !Exiting the Manual control option results in returning to automatic operation regardless of the settings done.
8.
Cooling - this option is only available for flat plate solar collectors.
This option makes it possible to cool the tap water heater by switching the solar collector pumps on in a specific time interval starting from 0.00 to the time set in the “
Stop cooling at
[h]”
parameter. The cooling option will be active if cooling is on (
Night cooling – Yes
) and the T2 temperature in the heater is higher or equal to the set “
Start cooling”
temperature.
Cooling will remain active until the heater gets cooler to the
“Stop cooling”
temperature or until the set time interval ends.
When the collectors are being cooled only the P collector pump operates. All the additional devices connected to the controller are switched off.
In order to switch cooling on: Press the following key combination: starting point - MAIN SCREEN: enter the
MENU
with
, get to the option named
Cooling
with
,
enter the option named
Cooling
with
, select parameters with
or
, edit
, change values with
or
, accept values with
, return to the main screen with
.
9.
Energy Statistics
The controller has a built in module for gathering information about collectors` overheating and calculating energy generated by the collectors.
The following data record is available in the statistics option:
9.1.
Solar overheating
– information about the occurrence of solar collector overheating (date and time) – the last 50 overheating events can be saved.
9.2.
Thermal energy
– collecting and saving data on thermal energy of collectors as daily, weekly, monthly and yearly reports.
9.3.
Total energy yield
– displaying total thermal energy computed by the controller.
9.4.
Reset total energy yield
– resetting the total energy data (press the OK button twice to reset the counter)
9.5.
Reset energy statistics
– resetting the statistics (thermal energy) counter (press the OK button twice to reset the counter)
9.6.
Anode operation time
– counting the operating time of titanium anode connected to the controller. After 72 hours (time to stabilise the system) from having connected
the controller to the mains, the controller will display the date on which it has started counting the anode operating time and saving the anode operating time in days.
The controller makes it possible to save and read energy statistics for the following time intervals:
- statistics for the last 31 days starting from the date currently set in the controller,
- monthly statistics for the last 60 months, with possibility of reading the value for a chosen day of the month,
- yearly statistics for the last 10 years.
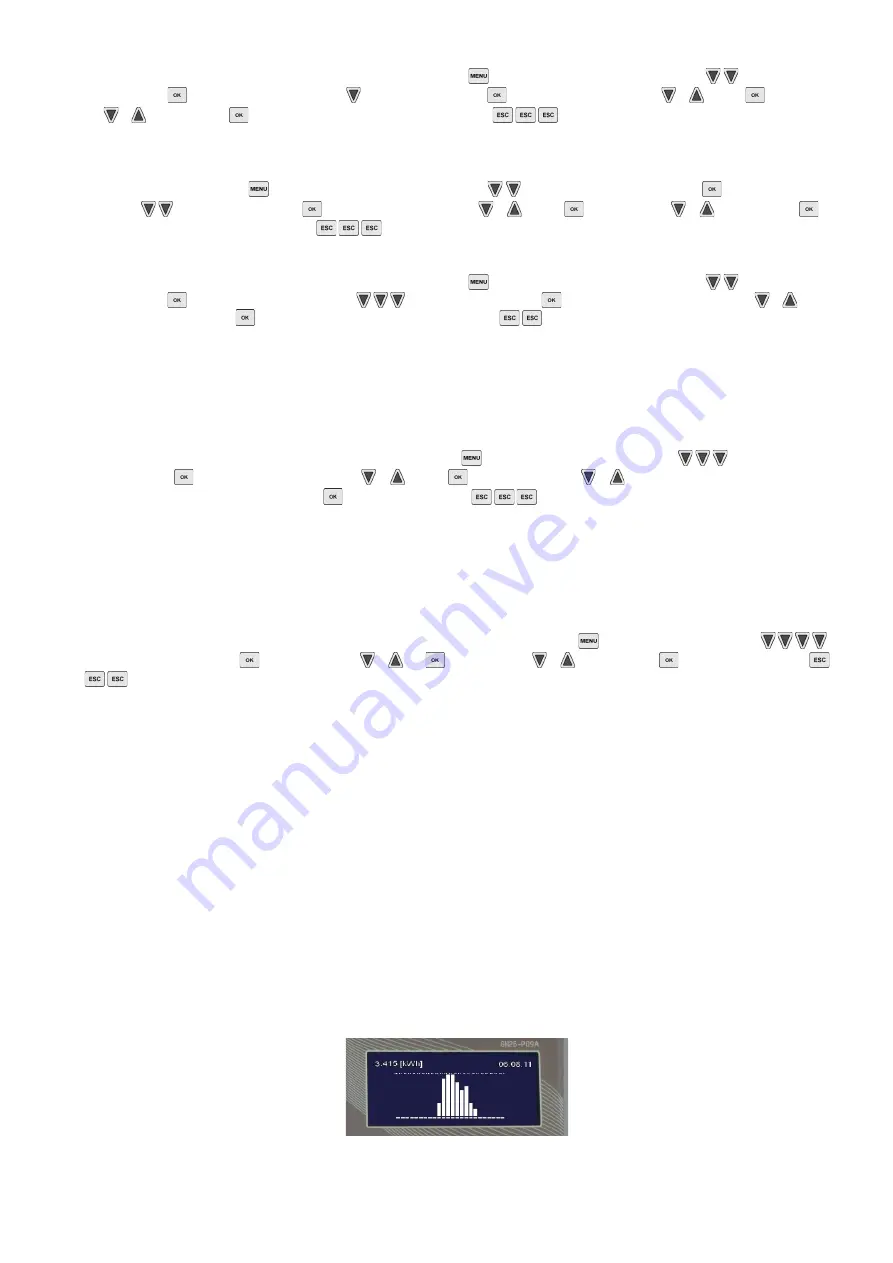
Moreover, for the daily, monthly and yearly statistics there is a possibility of graphical editing of time intervals with the use of bar diagrams.
When a graphical representation of bar diagrams is being prepared, the largest value presented in a given interval appears in the left upper corner of the screen and the height of
each bar will be scaled according to this value. Moreover, the right upper corner features date of the recording.
Fig. 23. Graphical representation of thermal energy


