Hercules Wireless N PCMCIA
HWNPCM-300
46/79 – User Manual
5.3.3.Windows XP: Sharing folders
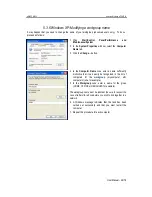
After having configured all of your computers using the Network Setup Wizard, you can now share data
located on different disk drives, as long as the user has authorized access.
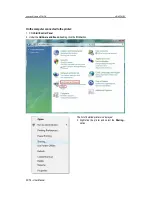
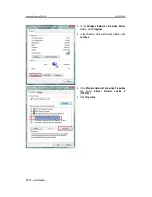
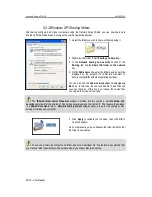
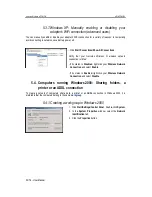
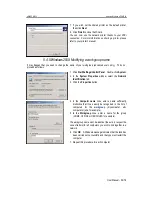
1. Select the folder you wish to share, without opening it.
2. Right-click the folder. Select
Sharing and Security...
.
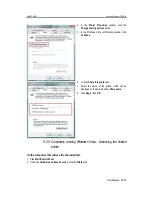
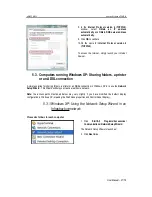
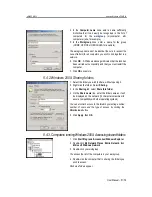
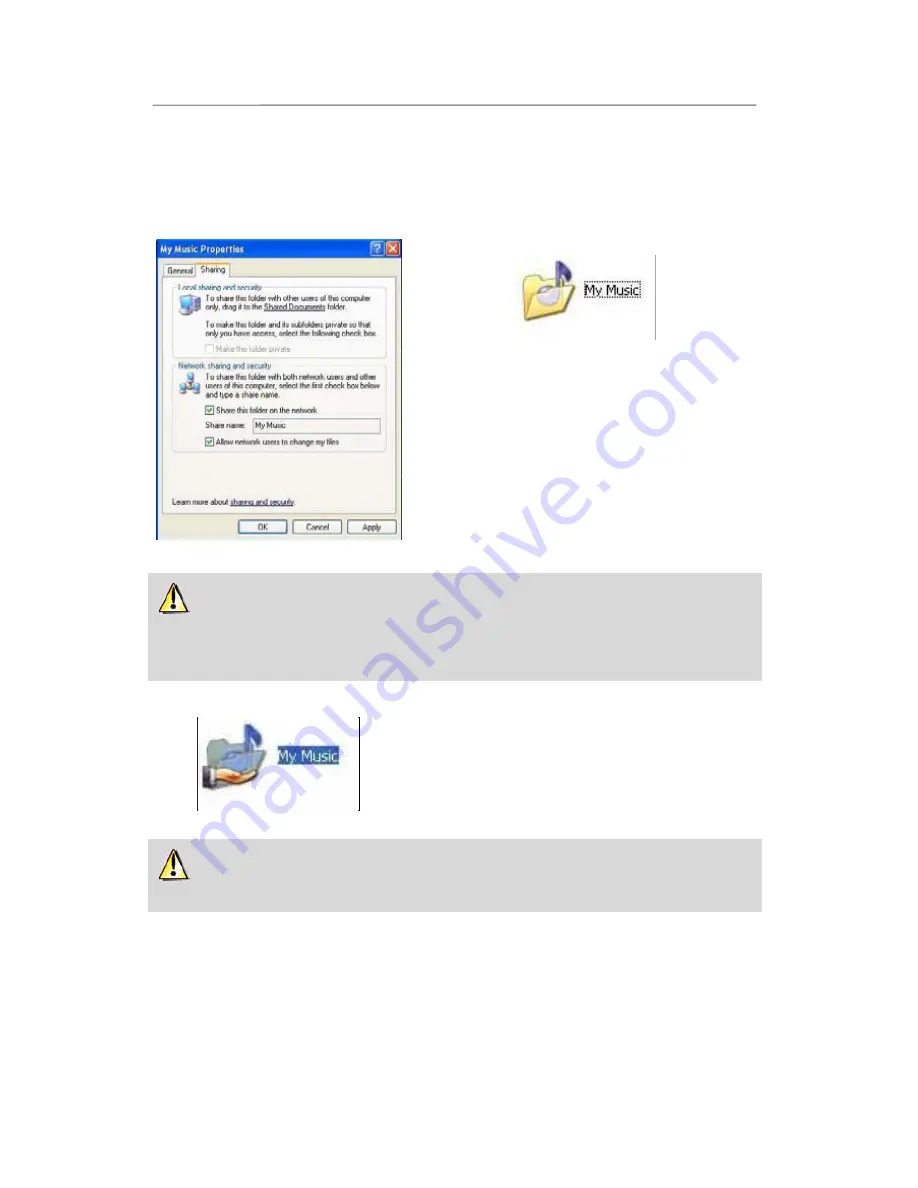
3. In the
Network sharing and security
section of the
Sharing
tab, tick the
Share this folder on the network
box.
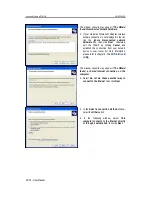
4. On the
Share name
line, enter the folder name as it will be
displayed on the network (12 characters maximum to
ensure compatibility with other operating systems).
You can also tick the
Allow network users to change my
files
box. In this case, the user will be able to read files and
save any changes. If this box is not ticked, the shared files
can only be read, and not changed.
The
[Shared folder name] Properties
window is divided into two sections.
Local sharing and
security
only allows for the sharing of files among several users on the same PC. The files are then placed
in a
Shared Documents
folder.
Network sharing and security
, however, allows for the sharing of files
among more than one computer.
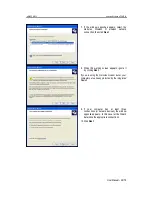
5. Click
Apply
to validate your choices, then click
OK
to
close the window.
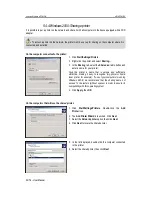
An icon representing a hand beneath the folder indicates that
the folder is now shared.
You can only share the contents of a folder, and not an individual file. We therefore recommend that
you create a folder specifically for this purpose where you will put files to be shared.

