20
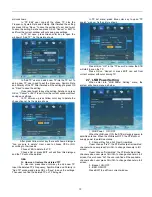
3.4. Local Time Setting
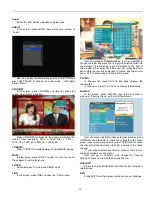
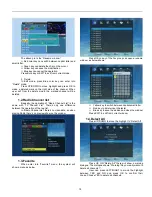
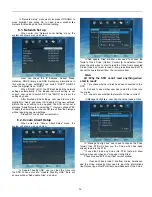
When enter into “Local Time Setting” menu, the
system will show a menu as below.
1 . GMT Usage: press Left/Right to switch ON/OFF
When GMT is ON, user can set the “GMT offset” and
“ Summer Time”. While when GMT is OFF, user cann’t set
“GMT offset” and “ Summer Time”, but “Date” and “Time”.
2 . GMT offset: press Left/Right to choose. User need
to set the GMT according to he/her own location.
3 . Summer Time: press Left/Right to switch ON/OFF
4 . Date: user need to input the date by press the
number key and press Left/Right to move the highlight to the
next position.
5 . Time: user need to input the date by number key
and press Left/Right to move the highlight to the next position.
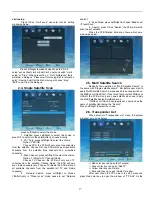
After user finished local time setting press EXIT to exit
form the current window. If the user didn’t input the time/date
properly, there will show a dialogue as “Invalid input! Continue
to edit?”. Choose YES to continue to edit, choose No to exit
from the window without saving any settings.
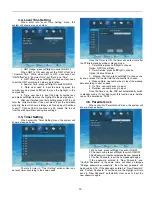
3.5. Timer Setting
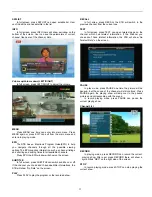
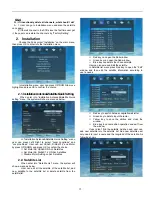
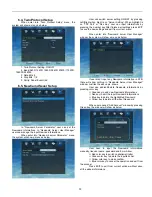
When enter into “Timer Setting” menu, the system will
show a menu as below.
There’re 8 timer in “Timer Setting” window. User can
set each timer according to their own needs.
Once the Timer is ON, the timer will work not matter
the STB is in standby mode or playing mode.
1 . Timer Mode: press Left/Right to choose
Option: OFF/ Once/ Daily
2 . Timer Service: press Left/Right to choose
Option: Channel/ Record
3 . Wakeup Channel: press Left/Right to choose one
by one or press OK to enter into the channel list to choose .
4 . Wakeup Date: use number key to input the wakeup
date according to user’s needs.
5 . On Time: use number key to input
6 . Duration: use number key to input
Once the time’s up, the STB will automatically switch
to standby mode. If user don’t want this function work, he/she
can set the duration as “00:00”.
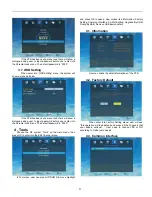
3.6. Parental Lock
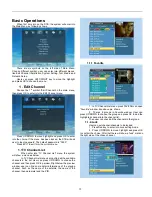
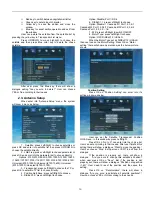
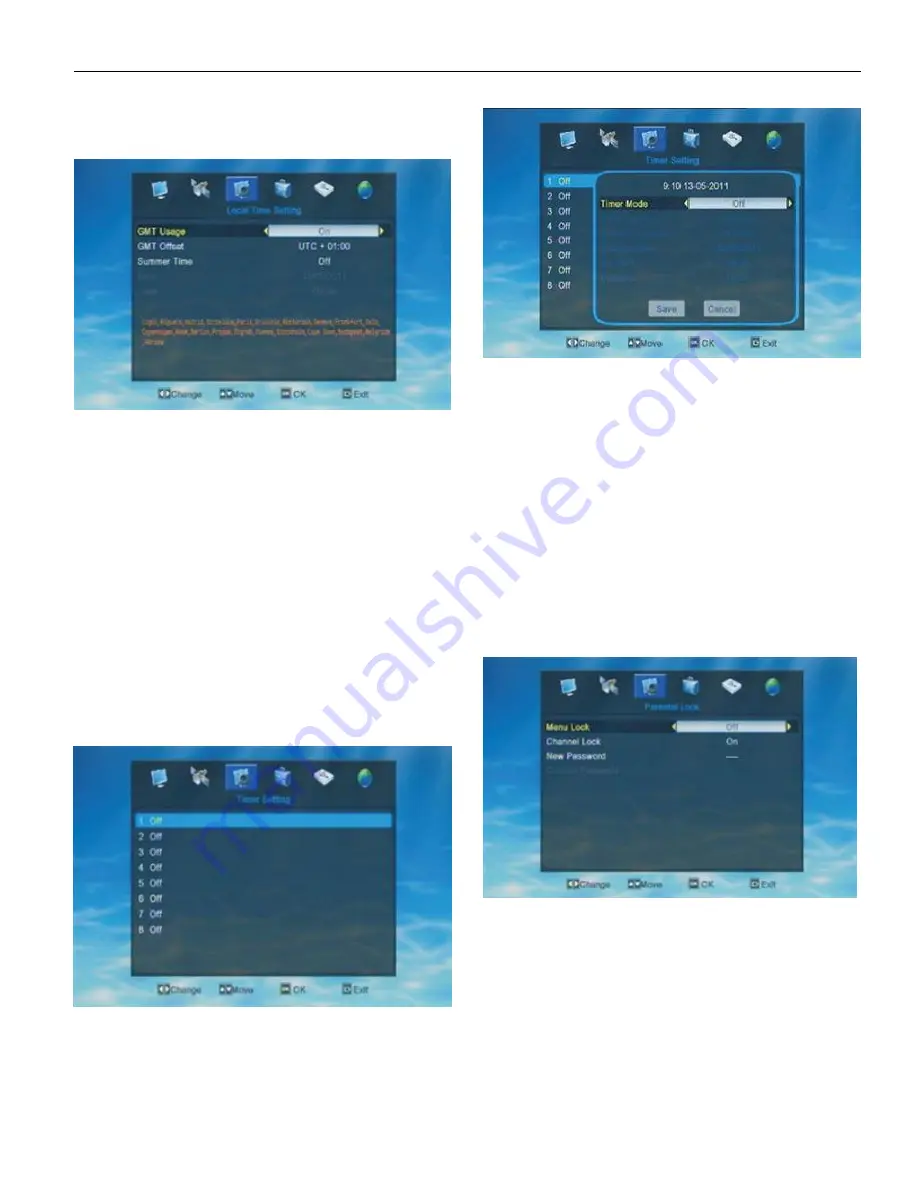
When enter into “Parental Lock” menu, the system will
show a menu as below.
1. Menu Lock: press Left/Right to switch ON/OFF.
2. Channel Lock: press Left/Right to switch ON/OFF.
3.NewPassword: input 4numbers as the new password.
4. Confirm Password: input the new password again.
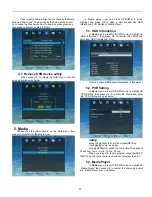
If the password entered in “New Password” and
“Confirm Password” is the same, there will show a dialogue
“Change password successfully”, then the new password will
be saved by STB. If the password entered in “New Password”
and “Confirm Password” is not the same, the highlight will turn
back to “New Password” automaticlly. User need to input the
new password again.
Содержание DVB-S2
Страница 1: ...1 DVB S2 High Definition Set Top Box ...
Страница 9: ...9 RemoteController ...

