Chapter 2 Monitor
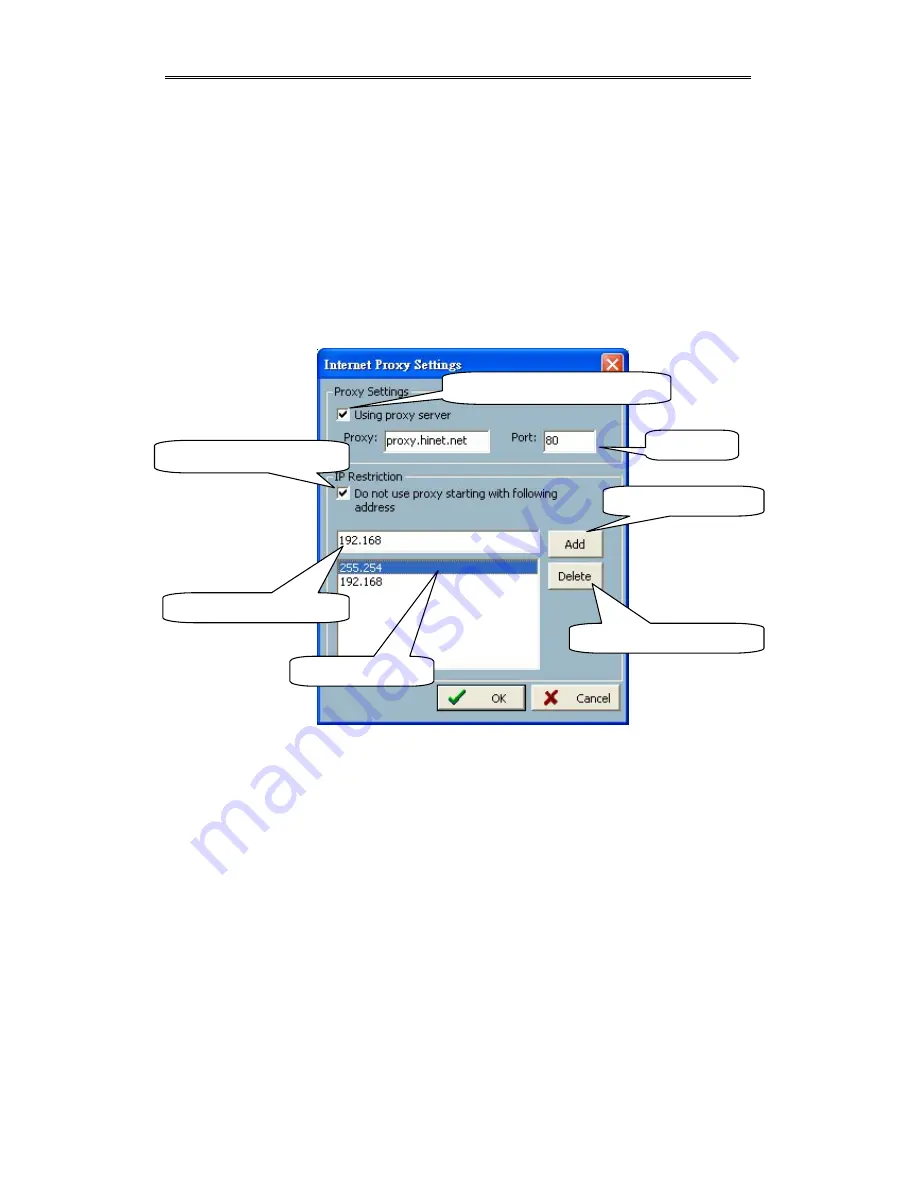
You can set the proxy server and the IP filter by clicking on the “Internet Settings”
button. This setting is helpful for connecting Visual Server / Network Camera series
product in the Intranet while the proxy server is in use at the same time.
You can enable or disable the usage of the proxy server by the check box shown in
Figure 3-12. If you enable both the proxy server and IP restriction, the listed IP
addresses will not be applied to the proxy server. Often, the listed IP address will be
the one assigned to the Visual Server / Network Camera series product in the
Intranet.
Delete an IP Address from list
Add an IP address to list
Enter IP address here to add
IP address list
Check here to enable IP filter
Set the port
Check here to enable proxy server
Figure 3-12 Internet Proxy Settings
Display Options:
In the video displaying frame of each channel, there are two status bars associated
with it. On the upper side, the status contains “Camera location” and “the time of the
remote site”. On the lower side, the status includes “Connection time” and
“Recording time”. As shown in Figure 3-13, all can be enabled or disabled
individually. The “Apply to full screen mode” can also be turned on. Once it has
been selected, the status bar in each channel will show the date, location, connection
and recording time in both displaying frame mode and full screen mode.
Содержание Net-Vision HNC800PTZ
Страница 1: ......
Страница 38: ...Figure 3 24 Single View Mode When in Multi camera Layout Back to previous layout...
Страница 60: ...Playback method Display adjustment Figure 5 2 Display By Time Normal Display Mode...
Страница 61: ...Chapter 5 Playback Frame Selection Indicator Page Control Figure 5 3 Display By Events Event Display Mode...


