


Revision D • 8/05
H
A
R
R
I
S
C
O
R
P
O
R
A T
I
O
N
4-11
4 BMX
digital Server
digital
Subnet Mask
Typically, the default subnet mask
(
255.255.255.0
) is left as is. Check with a
network administrator before making any
changes to the subnet mask.
Gateway Address
This is normally left at the
default setting (
0.0.0.0
) to prevent external
access to the VistaMax LAN. Again, check with
a network administrator before making any
changes to the gateway address.
These are all of the entries that must be changed
by VMCC in order to add a new BMX
digital con-
sole into an existing VistaMax community.
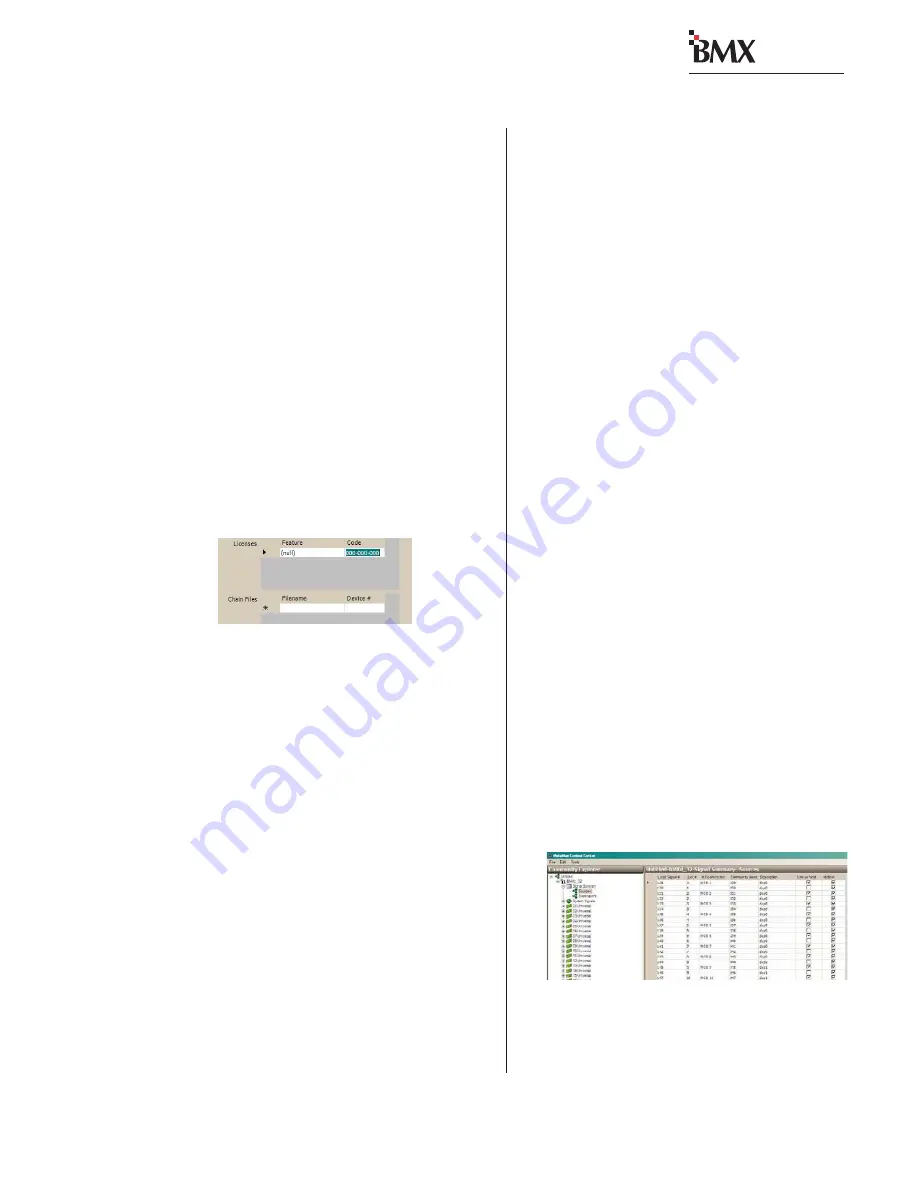
An additional entry (Licenses) may be required
if customized features must be unlocked. The Li-
cense Code is entered into the Licenses dialog box
located near the bottom of the console editing pane.
There are two parts to a License Code: the fea-
ture name and the code number. The feature name
is the name of the License (automation, router,
control extension, etc.). The code number is a nine-
digit number (e.g., 123-456-789).
To obtain a License, the Server ID number for
the console (listed in the
serverid.txt
file) must
be given to a Harris Technical Services or Sales
Representative so that they can generate a License
Code for that specific BMX
digital console.
When the
nqx.ini
file is provisioned and dis-
tributed, the console automatically restarts so that
the file changes can take effect. Use Community
Monitor to verify the new console was setup cor-
rectly. CM will list the console name, device num-
ber and its IP address.
CONSOLE SIGNAL SETUP
Having configured the
nqx.ini
file means the
BMX
digital console can safely be networked with
other VistaMax devices in the community—but it
doesn’t mean the console is “ready for air” yet.
There are a number of source and destination
parameters that need to be set properly to inte-
grate a console into a VistaMax community:
1. In Room names, Community Names and sig-
nal descriptions can be edited to specifically iden-
tify the signals.
2. The signal mode (stereo or mono) needs to be
set. All user inputs and outputs defaults are ste-
reo (odd number signals are Linked to the Next
even numbered signal), but any could be changed
to mono.
3. Set whether a signal is Hidden (cannot be
seen by other community members). Hidden sig-
nals cannot be a routed source or destination.
4. Set whether the signal is added on various
Include Lists.
5. Set whether a Universal Input module is as-
signed as a router on either the A or B input source.
Most of these settings are done in the Signal
Summary pane (shown above). To open it, click
the console name + button to open its tree, click
the Signal S button and then highlight
either Sources or Destinations. This pane is where
signal names are assigned, mono/stereo selection
is set and setting whether a signal is hidden or
available is made.
Additional signal settings are done in the mod-
ule detail pane. This pane is opened by selecting a
specific source or destination signal. In the example
Device License Entry Box
Signal Summary Pane in VMCC


