


Using the product
13
Using the product
Warning! Before applying power to the DMX PowerPort 375, read “Safety Information” on page 4 and
check that the installation is safe and secure.
Attention ! Avant de mettre le DMX PowerPort 375 sous tension, lisez la section "Précautions
d'emploi" en page 4 et vérifiez que l'installation répond à toutes les conditions de sécurité.
Do not use the DMX PowerPort 375 if the ambient temperature exceeds 45° C (113° F) or falls below -20° C
(-4° F).
Applying power
The DMX PowerPort 375 is intended to be wired to a switched AC mains power circuit. It does not have a
power on/off switch. To apply power to the unit, either apply power to the AC mains circuit to which it is
connected. If the unit’s TRUE1 power input connector is accessible, you can also use it to shut down and
apply power to the unit.
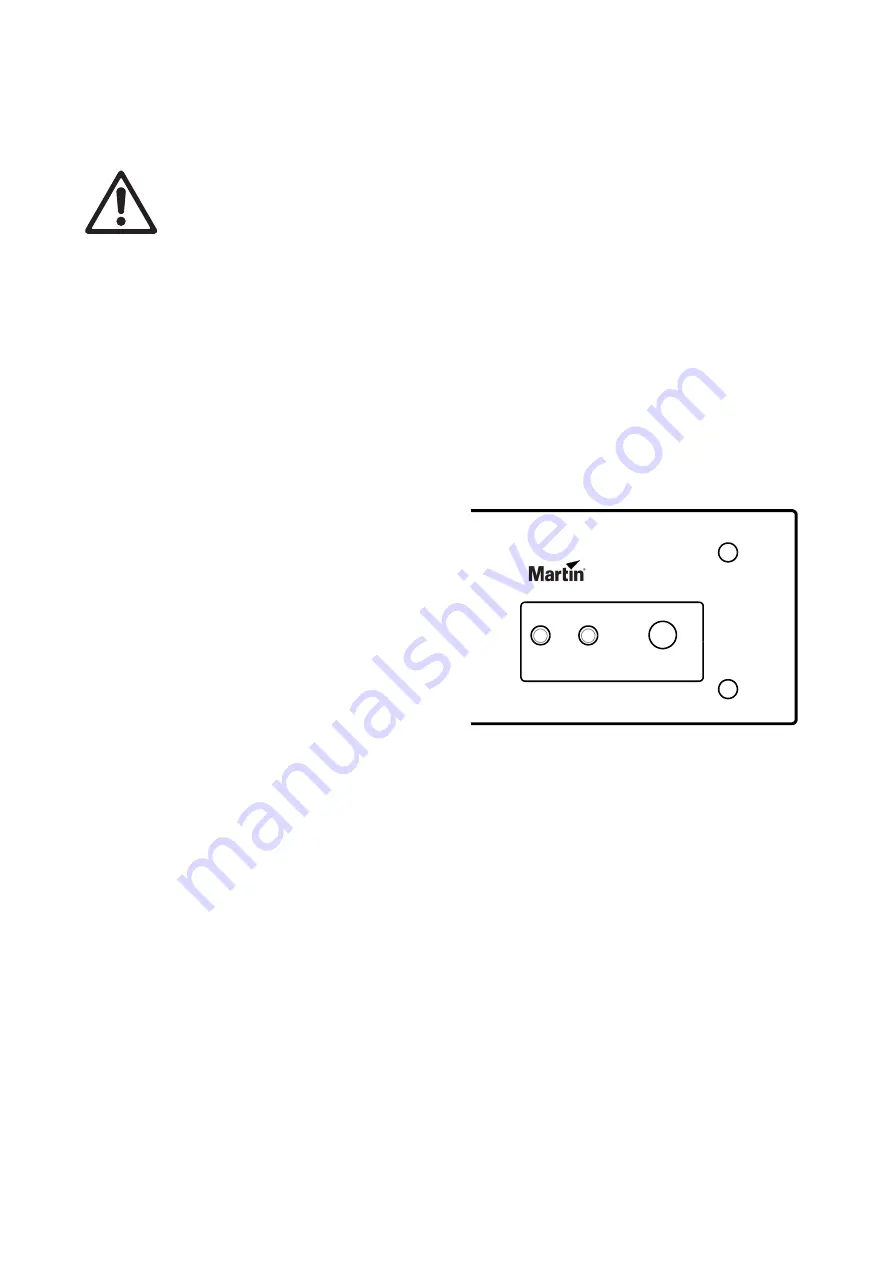
Status LEDs and control button
See Figure 6. The DMX PowerPort 375’s front
panel has two status LEDs and a control button
with the following functions:
• The
Data
LED lights yellow when DMX or
RDM data is being received.
• The
Power
LED lights green when AC mains
power is applied.
• The
Control button
lets you test that
Creative LED Video fixtures are connected
and operating correctly. If you press the
button once, all connected fixtures will
display a constant white pattern. If you press
the button again, all connected fixtures will
return to normal.
Note that you can also test Creative LED
Video fixtures remotely by sending a
highlight command via RDM.
Handling DMX and RDM
The DMX PowerPort 375 will forward all DMX and RDM traffic from the DMX IN connector to the
POWER+DATA OUT and DMX THRU connectors with zero latency. During RDM fixture discovery and RDM
fixture feedback, the DMX PowerPort 375 will route the traffic back to the DMX IN connector.
The DMX PowerPort 375 can itself also be discovered using RDM, letting you retrieve status and firmware
version remotely. When sending an ‘RDM Identify’ command to the DMX PowerPort 375, it will set its Data
LED to a flashing white pattern and set all connected fixtures to display a constant white pattern (as if the
Control button on the unit itself was pressed).
This transparent behavior allows Martin Creative LED Video fixtures connected to the DMX PowerPort 375
to be addressed and configured remotely from a lighting desk using RDM. No manual configuration of the
DMX PowerPort 375 or fixtures themselves is necessary.
Figure 6: Status LEDs and control button
DMX PowerPort 375
Data
Power
Push once: activate fixture highlight
Push again: de-activate fixture highlight
Содержание Martin DMX PowerPort 375 Series
Страница 1: ...DMX PowerPort 375 User manual...
Страница 20: ...20 DMX PowerPort 375 User Manual...
Страница 21: ......
Страница 22: ......
Страница 23: ......
Страница 24: ...www martin com...


