12
Required Parts
• Wing
• CA hinges (10)
• Aileron (left and right)
Required Tools and Adhesives
• Thin CA
• T-pins
• Drill bit: 1/16" (1.5mm)
• Drill
We recommend that you use the hinges provided.
They work extremely well when installed as described.
Even though the ailerons are large, we had absolutely
no problems.
Step 1
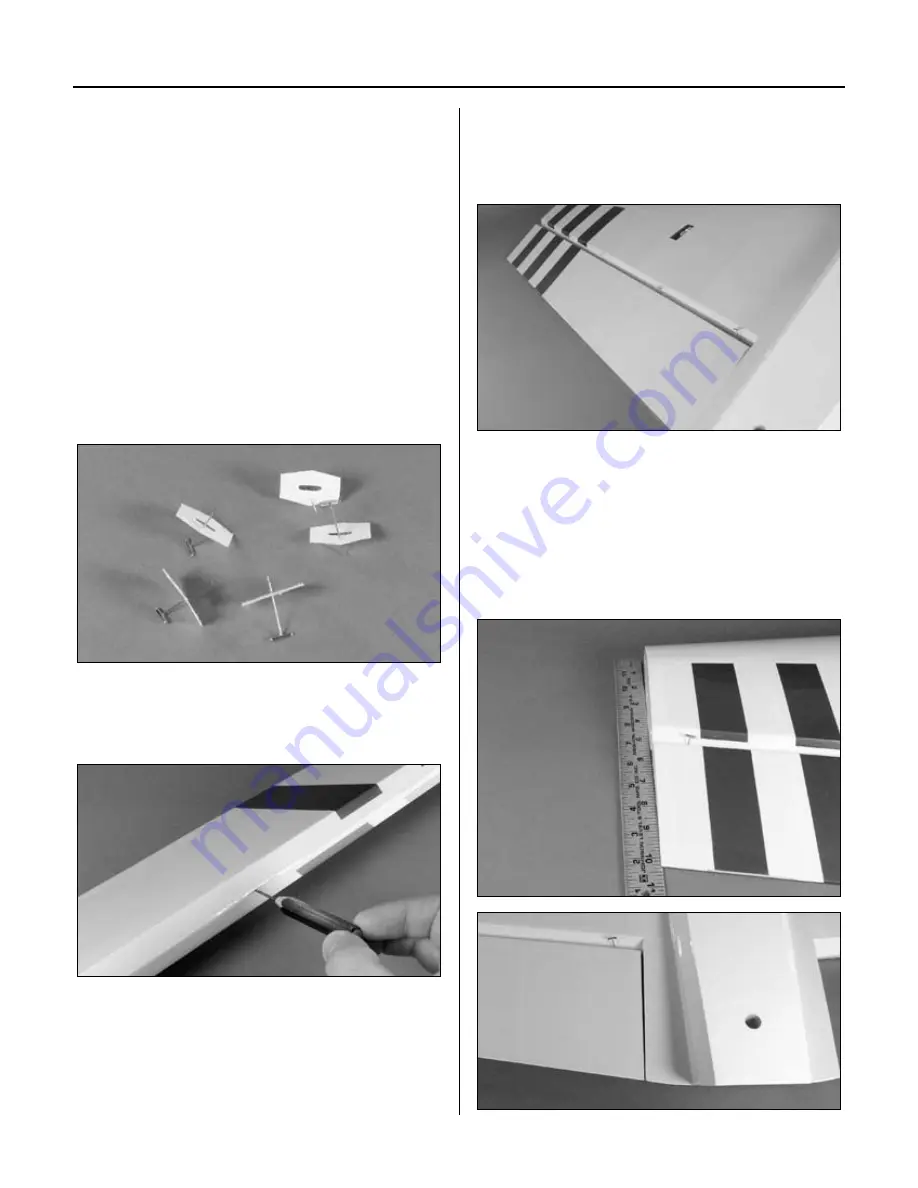
Locate 5 of the CA hinges. Place a
T-pin in the center of the hinges.
Step 2
Drill a 1/16" (1.5mm) hole in the center of each
hinge slot on both the aileron and wing.
Step 3
Place the hinges in the precut slots in the
aileron (or wing if you prefer). The T-pin will rest
against the edge when installed correctly.
Step 4
Slide the aileron and wing together. The gap
between the aileron and wing should be infinitely
small, approximately 1/64" (.4mm).
Step 5
Use a ruler to align the end of the aileron to the wing.
The aileron should set back away from the ruler slightly.
If not, they will interfere with the side force generators
when they are in place on the wing tips. Also check the
gap between the wing and aileron at the root, which
should be about 1/32"–1/16" (.8mm–1.5mm).
Section 3: Hinging the Ailerons


