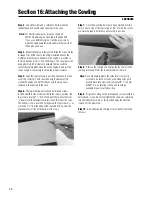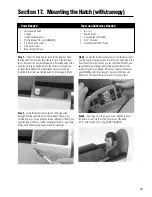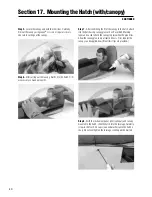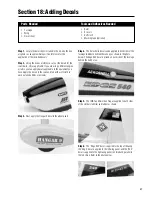
32
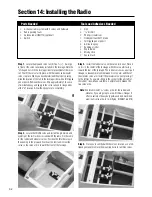
Step 1.
Locate the plywood servo rail (5/16 x 7
3
/
4
''). It will go
in front of the servo rail already installed in the fuselage. Note the
“U” shaped notch in the fuselage sides for placement of the servo
rail. Trial fit the servo rail in place, with the rudder and elevator
servos in place. When you have determined the proper spacing,
mark the location of the rail to the fuselage sides with a felt-tipped
pen or pencil. Remove the servos. Mix approximately 1/4 ounce
of 6-minute epoxy and apply to the servo rail and fuselage sides
at the “U” location. Allow the epoxy to cure completely.
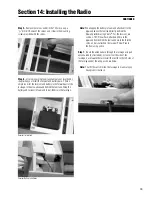
Step 2.
Locate the throttle servo and install the grommets and
eyelets per the instructions included with the radio. Do the same
for the rudder and elevator servos. Position the throttle servo in
the opening in the plywood floor near the fuel tank. Orient the
servo so the servo arm is toward the front of the fuselage.
Step 3.
Install the rudder servo on the servo rails next. Place it
so it is in the center of the fuselage, with the servo arm facing
toward the rear of the fuselage. The rudder servo uses a pull-pull
linkage so leave ample room between its servo arm and that of
the elevator servo arm. Install the elevator servo next, placing it
to the left (as if one were sitting in the cockpit of the aircraft) of
the rudder servo. Make sure there is ample room between the
two servo arms.
Note:
We recommend 1
1
/
4
'' servos arms for the rudder and
elevator. If you are going to use 3-D throws, Hangar 9
offers a variety of heavy duty gold-anodized machined
aluminum servo arms for 3-D flying. (HAN3576-3579)
Step 4.
Once you’re satisfied with the servo’s location, use a felt-
tipped pen/pencil to mark the mounting holes for all three servos.
Section 14: Installing the Radio
• 4-channel radio system with 5 servos and hardware
• Radio packing foam
• Antenna tube (HAN112) (optional)
• Switch
• Drill
•
1
/
16
” drill bit
• Phillips screwdriver
• Hobby knife with #11 blade
• Felt-tipped pen or pencil
• 6-minute epoxy
• Rubbing alcohol
• Paper towels
• Mixing stick
• Epoxy brush
Parts Needed
Tools and Adhesives Needed
Содержание EDGE 540
Страница 52: ...52 ...
Страница 53: ...53 Template Cut Out of Cowl Bottom MDS 1 48 ...
Страница 54: ...54 ...
Страница 55: ...55 ...
Страница 56: ... 2000 Horizon Hobby Inc www horizonhobby com ...
Страница 57: ...57 ...
Страница 58: ...58 ...
Страница 59: ...59 ...

