19
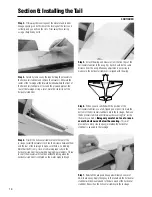
making sure you align it with the reference marks made
previously. Then align the stab so that it is square with the wing
when sighted from the front. Wipe away any excess epoxy with
rubbing alcohol and a paper towel. Be sure there is no epoxy in
the area where the two tail pieces will go. Hold in position with
masking tape. Allow the epoxy to cure.
Step 8.
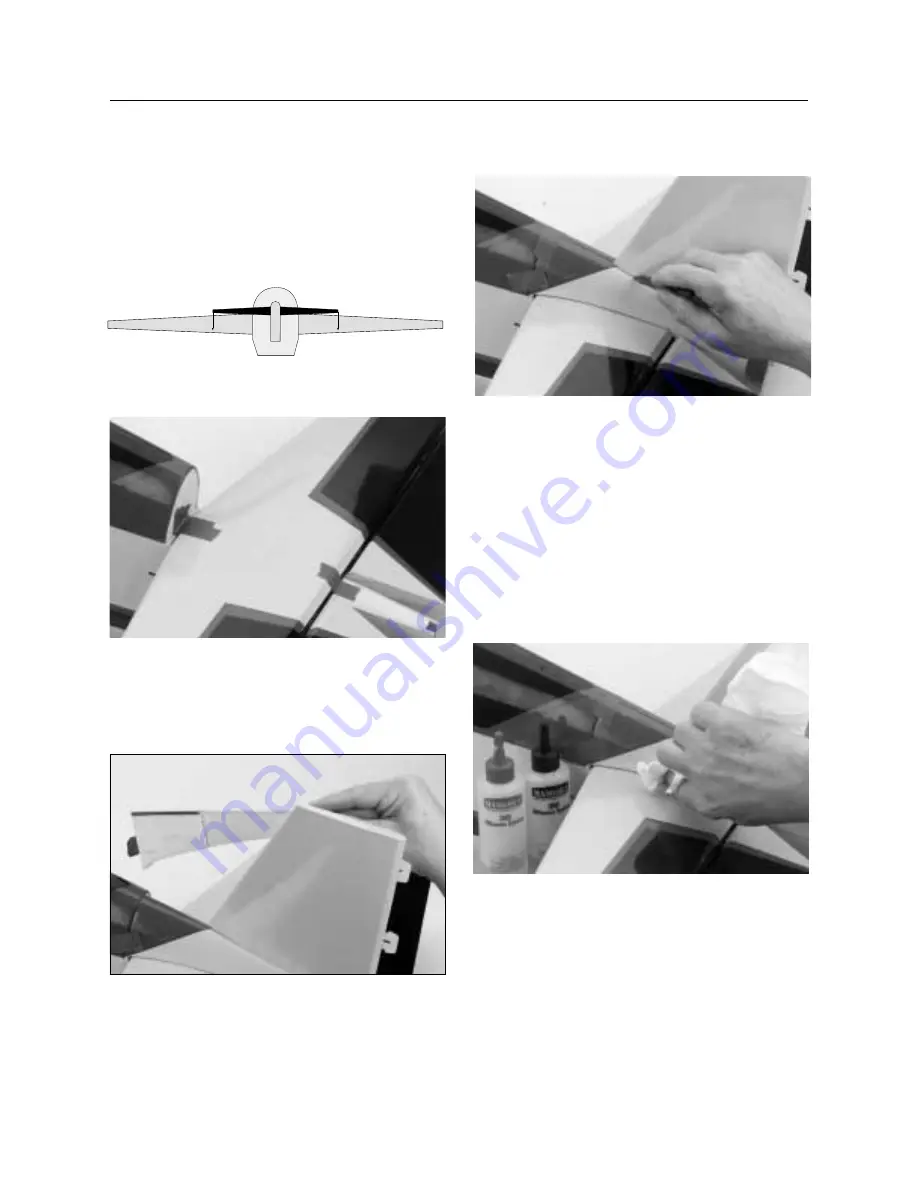
Carefully remove the tape holding the rudder to the
vertical stabilizer. Trial fit the vertical stabilizer to the fuselage
and trial fit the two fin fairing blocks. Some trimming of the
fairing blocks may be necessary to obtain a good fit. Hold in
place with masking tape.
Mark the position where the vertical stabilizer meets the
tailpieces with a felt-tipped pen or pencil. The mark should leave
a slight indentation in the covering. Carefully remove the vertical
stabilizer and tail pieces. Remove the covering 1/8” from where
you made the marks, using the procedure as described in Step 6.
Caution:
Do not cut into the wood below the covering.
This will weaken the structure.
Step 9.
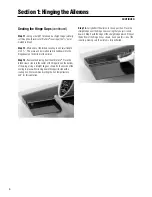
Mix approximately 1 ounce of 30-minute epoxy and
apply to the vertical stabilizer and tail post where it contacts the
fuselage and horizontal stabilizer. Be sure to apply epoxy to the
base of the vertical stabilizer. Insert the vertical stabilizer into the
fuselage tail area and wipe away any excess epoxy with rubbing
alcohol and a paper towel
Step 10.
Mix approximately 1 ounce of 30-minute epoxy.
Apply epoxy to both fairing blocks and mount to the horizontal
and vertical stabilizers. Wipe away any excess epoxy. Use
masking tape to hold the two fairing blocks in place.
Section 6: Installing the Tail
CONTINUED
Содержание EDGE 540
Страница 52: ...52 ...
Страница 53: ...53 Template Cut Out of Cowl Bottom MDS 1 48 ...
Страница 54: ...54 ...
Страница 55: ...55 ...
Страница 56: ... 2000 Horizon Hobby Inc www horizonhobby com ...
Страница 57: ...57 ...
Страница 58: ...58 ...
Страница 59: ...59 ...

