9
Hangar 9 Christen Eagle II 90 ARF
Tail Installation
Required Parts
Fuselage
Stabilizer with elevators
Rudder with fin
Black-covered balsa block
Bottom wing (right and left)
12mm x 420mm aluminum tube
1. Locate the stabilizer and elevators. Separate the
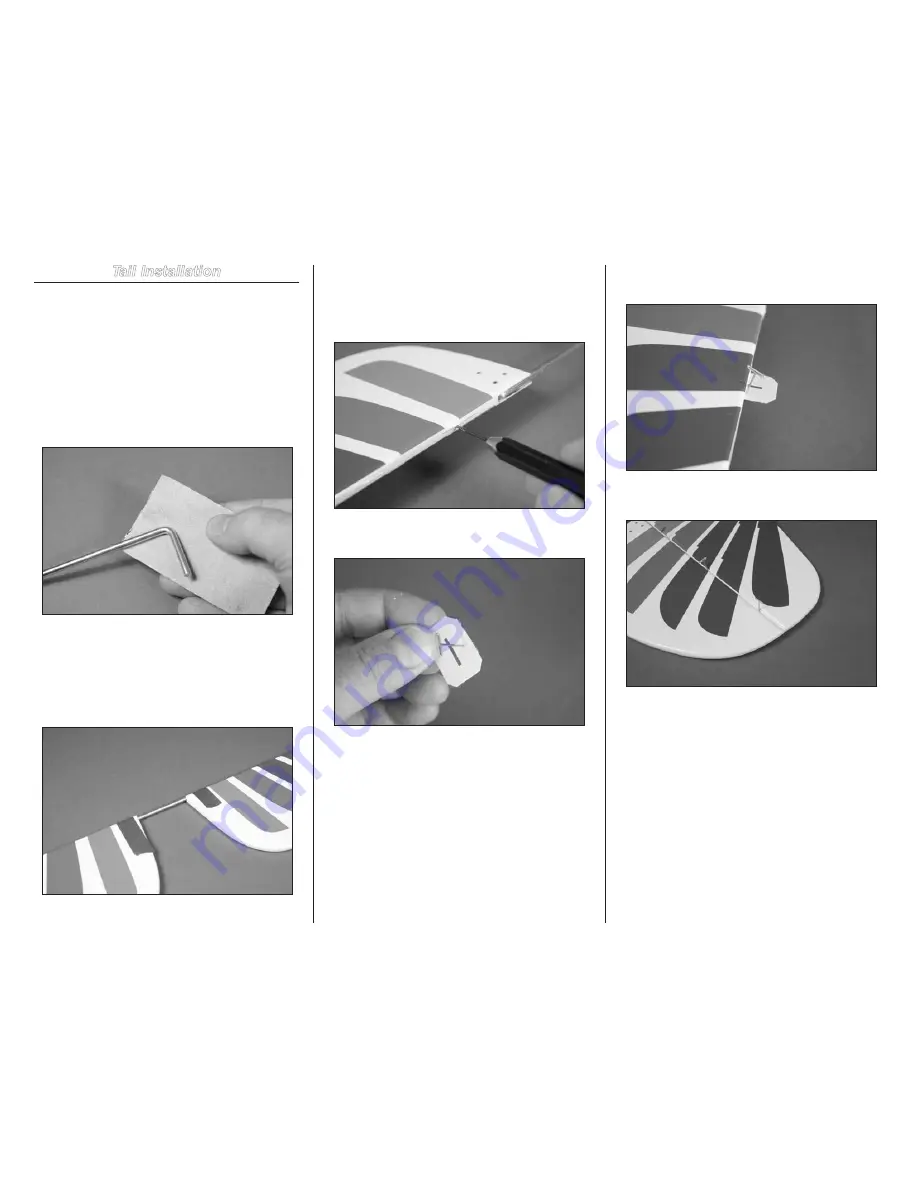
elevators from the stabilizer. Remove the joiner wire and use
medium grit sandpaper to roughen the wire where it contacts
the elevators.
2. Mix a small amount of 5-minute epoxy. Apply the epoxy
to the joiner wire and to the elevators where the joiner wire
is installed. Place the joiner wire into each elevator half and
use a paper towel and isopropyl alcohol to remove any excess
epoxy. Use low-tack tape to keep the joiner wire in position
until the epoxy fully cures. Use a straight edge along the hinge
line to keep the elevators aligned while the epoxy cures.
3. Remove the tape from the elevators. Use a drill and
1/16-inch (1.5mm) drill bit to drill a hole in the center of each
hinge slot in the elevators and stabilizer. This provides a tunnel
for the CA to wick into when installing the hinges, creating a
better bond between the hinges and surrounding wood.
4. Place a T-pin in the center of the six elevator hinges.
This will help center the hinges in the elevator and stabilizer.
5. Place the hinges in the elevator, resting the T-pin
against the leading edge of the elevator.
6. Fit the elevators to the stabilizer. Check that the ends
of the elevator and stabilizer align, and that the trim aligns.


