14
If you have not already done so, you must now install the driver for the connected printer. To do this, open the
Add Printer
Wizard
once installation of the printer port is complete. Follow the wizard‘s instructions or install the printer driver on your PC
according to the manufacturer‘s instructions.
Once the installation has been completed successfully, you will fi nd the printer installed in the
Printers and Faxes
window.
5. Connecting a USB storage medium to the network
This device allows you to make a USB storage medium available to the entire network. First, connect the USB storage medium
to a USB port on the router.
We recommend using USB port 1 for the storage medium. Next connect the router and, if necessary, the storage medium to the
mains.
5.1. Confi guring the router
From the start page, which can be accessed by clicking
Home
, select
General Setup
and then
File/FTP
Server in the menu on
the left.
An overview of connected storage media can be found by choosing the
Storage Status
menu item. Here you can view
information, such as size, fi le system and used and free storage space. If the connected storage medium is not listed in this
table, it was not correctly identifi ed. Check whether the storage medium is connected properly. The fi le system being used
could be another reason. Once the storage medium has been connected, it has to be formatted to the FAT fi le system before it
can be used.
5.1.1 Formatting the storage medium
Warning! Formatting causes all existing data on the storage medium to be lost.
Select the
Storage Tools
menu item. This page allows you to format the USB storage medium, which is connected to
USB port 1
.
Select the desired fi le system in the
Tool
column and click
Format
.
If there no storage medium is displayed in the table, click on
Auto Partition & Format
to format the storage medium.
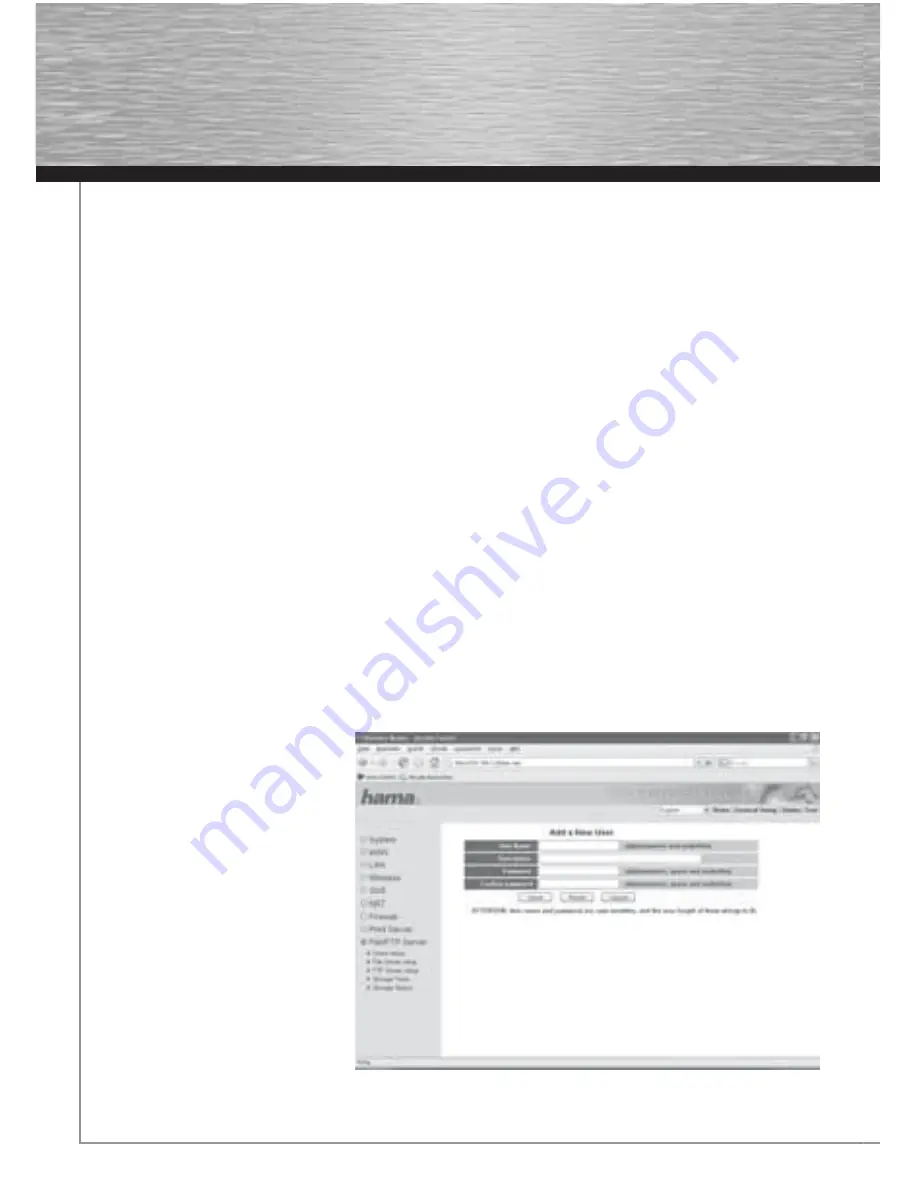
5.1.2 Creating/changing/deleting user accounts
To access the connected storage medium, you must enter a user name and password. You must create a user account for every
person that should have access. To do so, switch to the
User Setup
menu item.
Here, you can create, change or delete user accounts. Click
Add
to create a new user.
User Name:
Enter the desired user name
with a maximum of 20 characters. Letters,
numbers and underscores are allowed.
Description:
Additional description of the
user (optional).
Password:
Password with a maximum of
20 characters to access the shared storage
medium. Letters, numbers, spaces and
underscores are allowed.
Confi rm Password:
Confi rm/retype
password.
Click
Save
to save your entries.
To make changes to an existing user
account, select it in the
Select
column and
click
Edit
.
To delete a user account, select the user
in the
Select
column and click
Delete
Selected
, or click
Delete All
to delete all
user accounts.


