21
This television support Personal Video Recorder (PVR) and time shift functions when a compatible
USB storage device is connected. PVR allows you to record digital TV programs for playback at a
later time. Time Shift allows you to pause live TV and then fast forward or rewind until you catch
up to the live TV stream again. PVR and Time Shift functions are only available on Digital TV input
source and cannot be used to record analog TV or other input sources.
Setting up and Connecting a Storage Device
The first step to using PVR functionality is to set up and connect a compatible USB storage device
such as a flash drive or external disk. External hard disks will require their own power supply as the
USB port in the TV may not be used to power large devices.
To prevent accidental data loss, it is not recommended that you connect a disk drive to the
television for PVR that already contains data. It is best to use a newly formatted and dedicated disk
for recording.
PVR File System
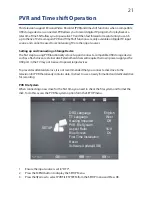
When connecting a new drive for the first time, you need to check the file system and format the
disk. To do this, access the PVR file system option form the SETUP menu.
This television support Personal Video Recorder (PVR) and time shift functions when a compatible
USB storage device is connected. PVR allows you to record digital TV programs for playback at a
later time. Time Shift allows you to pause live TV and then fast forward or rewind until you catch
up to the live TV stream again. PVR and Time Shift functions are only available on Digital TV input
source and cannot be used to record analog TV or other input sources.
Setting up and Connecting a Storage Device
USB port in the TV may not be used to power large devices.
To prevent accidental data loss, it is not recommended that you connect a disk drive to the
television for PVR that already contains data. It is best to use a newly formatted and dedicated disk
for recording.
PVR File System
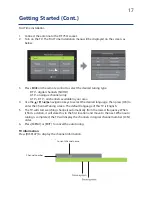
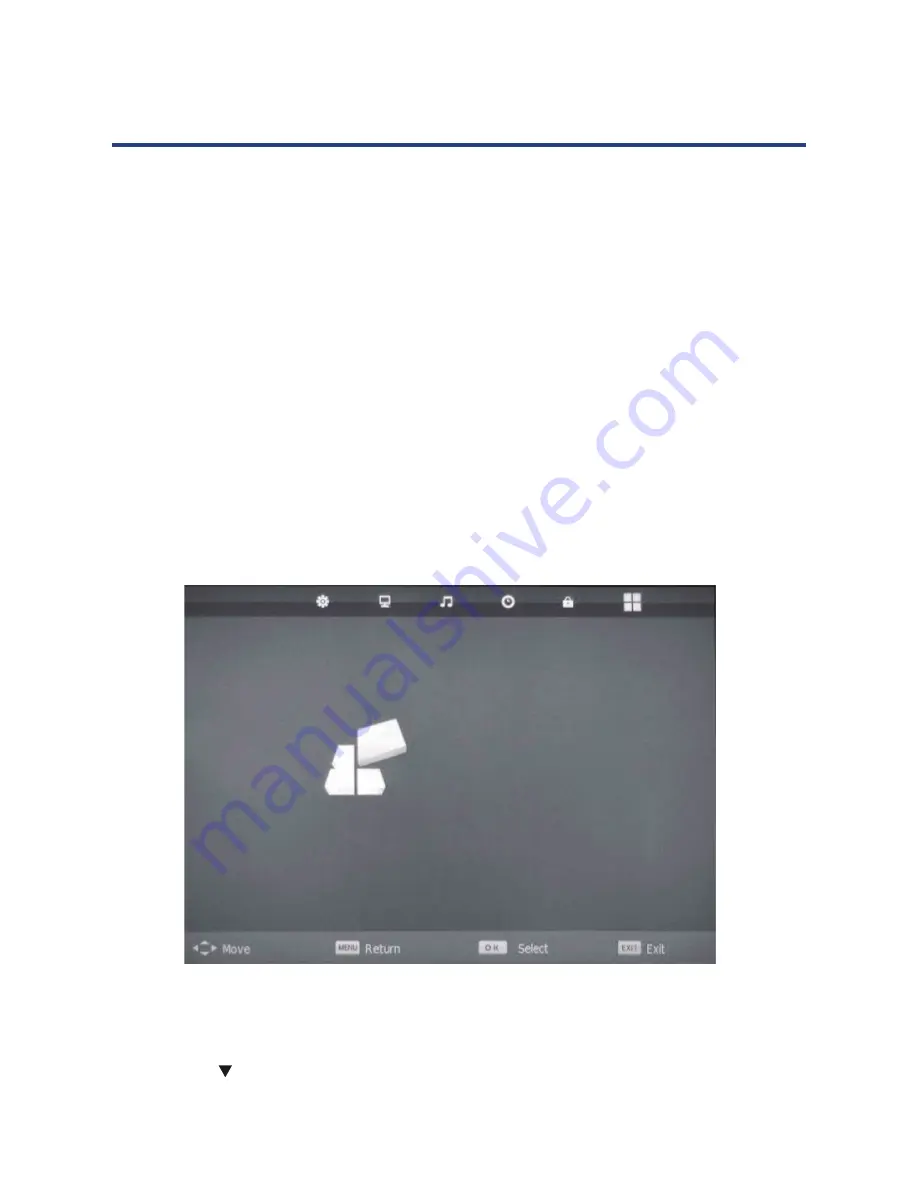
1. Ensure the input source is set to “DTV”.
2. Press the MENU button to display the SETUP Menu.
3. Press the
arrow to select PVR FILE SYSTEM from the SETUP menu and Press OK.
PVR and Time shift Operation
This television supports Personal Video Recorder (PVR ) and time shift functions when a compatible
USB storage device is connected. PVR allows you to record digital TV programs for playback at a
later date. Time shift, allows you to pause live TV and then fast forward or rewind until you catch
up to the live TV stream again. PVR and time shift functions are only available on Digital TV input
source and cannot be used to record analog TV or other input sources.
Setting up and Connecting a Storage Device
as the USB port in the TV may not be used to power large devices.
To prevent accidental data loss, it is not recommended that you connect a disk drive to the
television for PVR that already contains data. It is best to use a newly formatted and
dedicated disk for recording.
PVR File System
the disk. To do this, access the PVR File System option from the SETUP menu.
1. Ensure the input source is set to “DTV”.
2. Press the MENU button to display the SETUP Menu.
3. Press
the arrow to select PVR FILE SYSTEM from the SETUP menu and press OK.
patible USB storage device is connected. PVR allows you to record digital TV prog
ayback at a later date. Timeshift, allows you to pause live TV and then fast forwa
nd until you catch up to the live TV stream again. PVR and timeshift functions ar
available on Digital TV input source and cannot be used to record analog TV or
input sources.
ing up and C onnecti ng a Stora ge De vice
PVR File System
er supply as the USB port in the TV may not be used to power large devices.
event accidental data loss, it is not recommended that you connect a disk drive
elevision for PVR that already contains data. It is best to use a newly formatted and
dedicated disk for recording.
SETUP
OSD Language English
TT Language West
Hearing Impaired Off
PVR File System
Aspect Ratio 16:9
Blue Screen On
First Time Installation
Reset
Software Update(USB)
the disk. To do this, access the PVR File System option from the SETUP menu.
1. Ensure the input source is set to “DTV”.
2. Press the MENU button to display the SETUP Menu.
PVR and Time Shift Operation
21
1. Ensure the input source is set to “DTV”.
2. Press the MENU button to display the SETUP Menu.
3. Press the
arrow to select PVR FILE SYSTEM from the SETUP menu and Press OK.
PVR and Time shift Operation
Содержание GVA26LEDCP
Страница 1: ...Instruction Manual 26 66cm HD LED LCD TV COMBO GVA26LEDCP...
Страница 45: ...45 Notes...
Страница 46: ...46 Notes...
Страница 47: ...47 Notes...

