47
Recor
ding
Recording_01_03
Recording
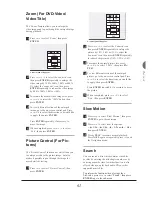
Guide to Recording Options (p.96)
2
When completed, press
SETUP
to exit the
Setup menu.
3
Press
HDD/DVD
to select ‘HDD’ (hard drive)
as the target medium.
4
Press
TV/MODE
or
SOURCE
to select ‘TV’
as the signal source.
By default, pressing
TV/MODE
allows you to switch to TV
directly. However, if you have activated the ‘SCART Bypass’
mode earlier through Setup menu, you can only press
SOURCE
to switch to TV.
If you press
SOURCE
, you may need to press the button
more than once to switch to ‘TV’.
5
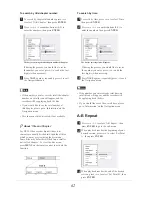
Press
CH
5
and
CH
6
to select desired
channel.
Recording_01_02
Note
• You can press number buttons (0-9) to select a
channel. When completed, press
ENTER
for
con
fi
rmation. (For Channel 6, press
6,
then
EN-
TER
. For Channel 55, press
5
,
5
and
ENTER
.)
6
Press
=
RECORD
to start recording.
7
Press
PAUSE/STEP
to pause recording
Press
<
STOP
to stop recording.
8
Press
=
RECORD
again
if you need to start
another recording session.
Recording from VCR/V8
Camcorder
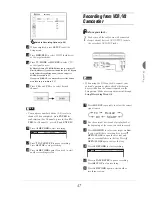
Before you start....
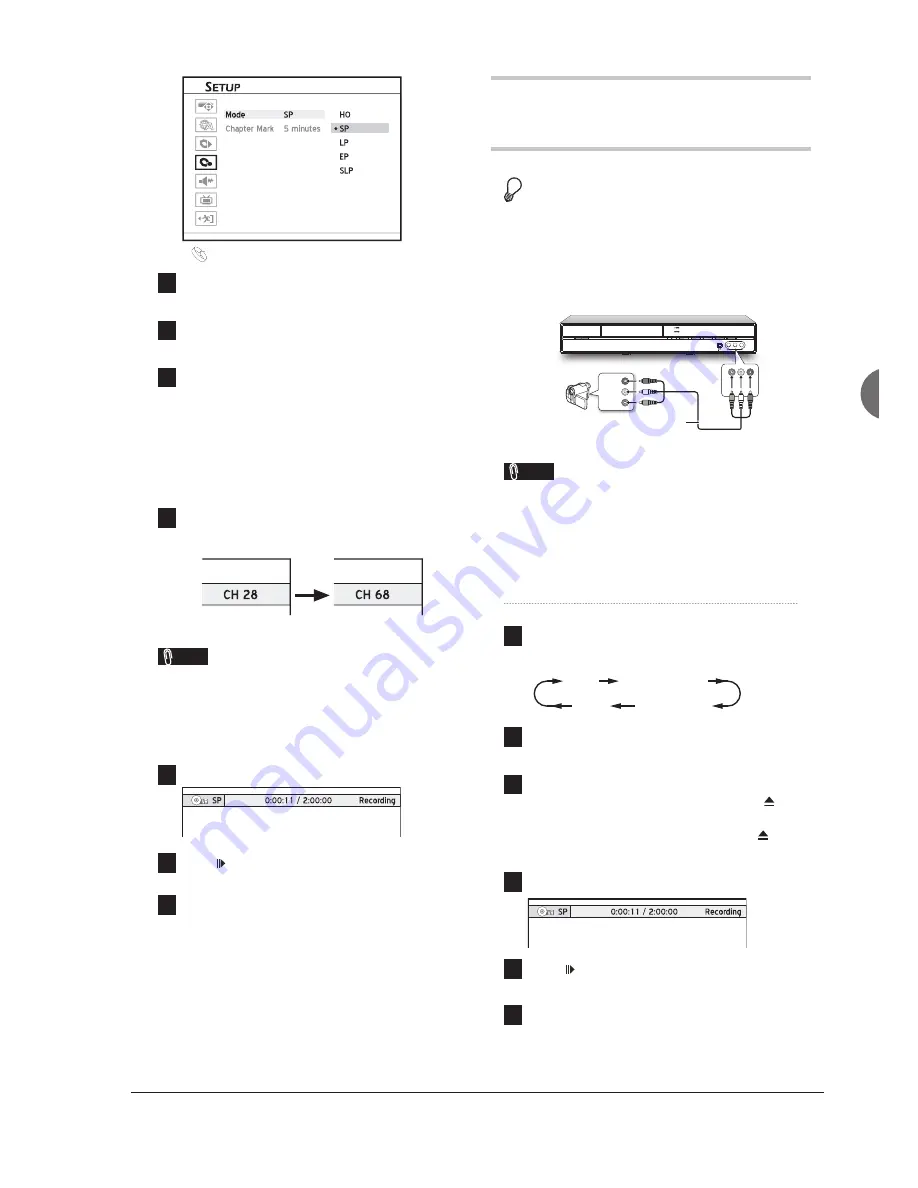
1.
Make sure all the cables are well connected
from external device’s AV OUTPUT jacks to
the recorder’s AV INPUT jacks.
L
R
VIDEO
OUT
AUDIO
OUT
Camcorder
Audio/Video Cable
Note
• When using the S-Video jack to connect your
external equipment, please check whether you
have switched on the connection mode in the
Setup menu. Make necessary adjustment through
Setup
Recording
Front AV
.
1
Press
SOURCE
repeatedly to select the correct
signal source.
Recording_02_03
TV
Front AV
DV
SCART
2
Cue the external device and start playback at
the beginning of the scene you wish to record.
3
Press
HDD/DVD
to select your target medium.
If you would like to record on disc, press
OPEN/CLOSE
to open the disc tray, and
place a recordable disc in the tray. Press
OPEN/CLOSE
again to close the tray.
4
Press
=
RECORD
to start recording.
5
Press
PAUSE/STEP
to pause recording
Press
<
STOP
to stop recording.
6
Press
=
RECORD
again
to start another
recording session.

