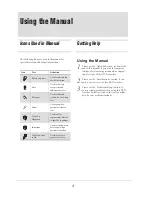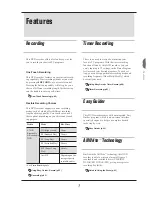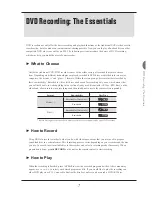
13
Getting Started
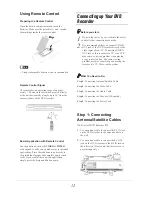
Step 3: Connecting the
Audio Cable
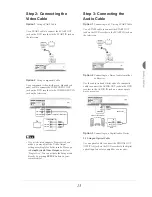
Option 1
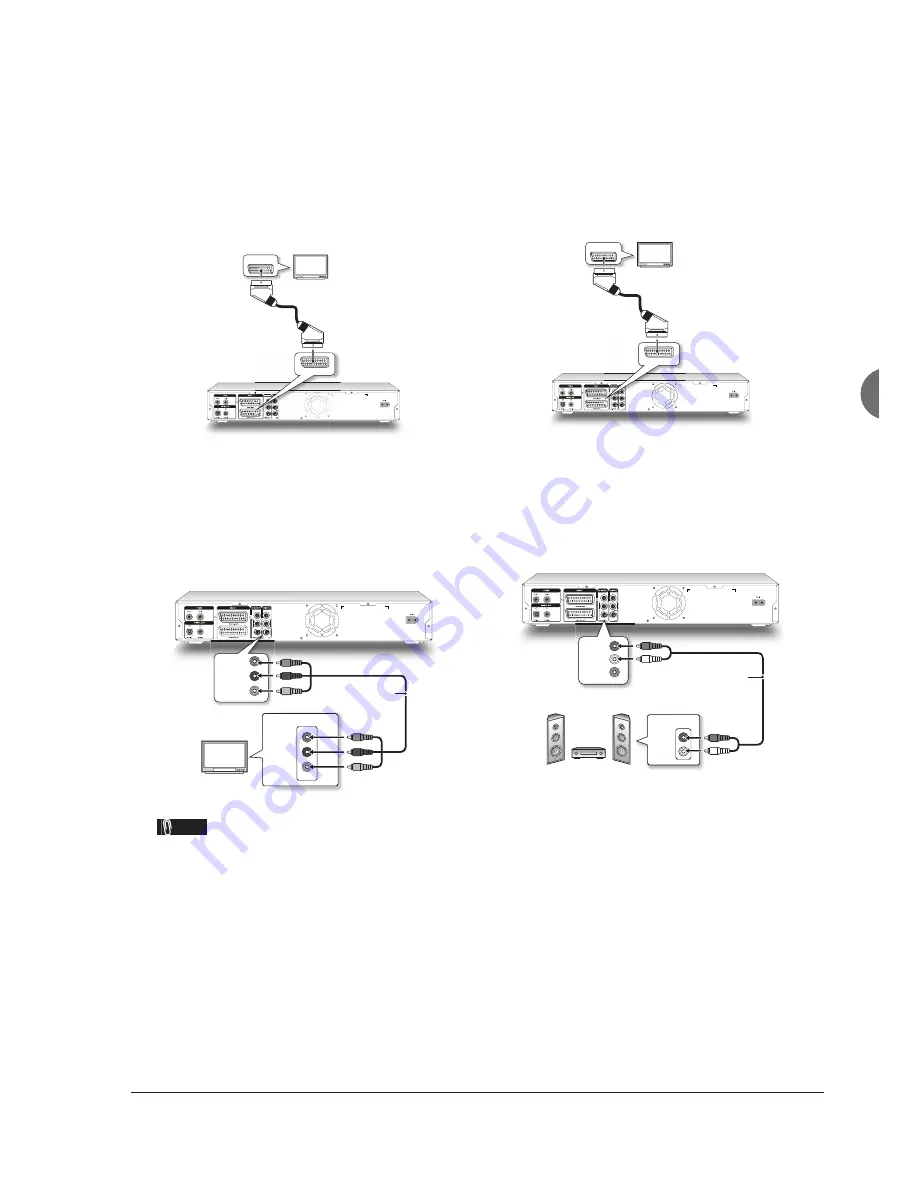
Connecting to a TV using SCART Cable
Use a SCART cable to connect the SCART OUT
jack on the DVD recorder to the SCART IN jack on
the television.
T V
SCART OUT
SCART IN
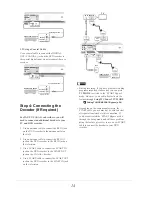
Option 2
Connecting to a Stereo Audio Ampli
fi
er
or Receiver
Use the audio (red and white) ends of a composite
cable to connect the AUDIO OUT jack on the DVD
recorder to the AUDIO IN jack on a stereo ampli-
fi
er or a receiver.
Audio cable
IN
RIGHT
DVD
LEFT
VIDEO
R
L
Stereo audio amplifier
or receiver
Option 3
Connecting to a Digital Audio Device
3.1 Using an Optical Cable
Use an optical cable to connect the DIGITAL OUT
(OPTICAL) jack on the DVD recorder to the digital
optical input on a stereo ampli
fi
er or a receiver.
Step 2: Connecting the
Video Cable
Option 1
Using SCART Cable
Use a SCART cable to connect the SCART OUT
jack on the DVD recorder to the SCART IN jack on
the television.
T V
SCART OUT
SCART IN
Option 2
Using Component Cable
Use a component video (with green, blue and red
ends) cable to connect the COMPONENT OUT
jack on the DVD recorder to the COMPONENT IN
jack on the television.
Component video cable
Y
CB / PB
CR / PR
COMPONENT IN
Y
CB / PB
CR / PR
T V
Note
• If your television supports ‘Progressive Scan’
mode, you may adjust the ‘Video Output’
setting accordingly for better results. Please go
to
Setup System Video Output
, and select
‘Progressive’. You can activate the Setup menu
directly by pressing
SETUP
button on your
remote control.

