Model T23092 (Mfd. Since 04/11)
-6
-
The following is a list of items shipped
with your tool. Before beginning setup, lay
these items out and inventory them.
If any non-proprietary parts are missing
(e.g. a nut or a washer), we will gladly
replace them; or for the sake of expediency,
replacements can be obtained at your
local hardware store.
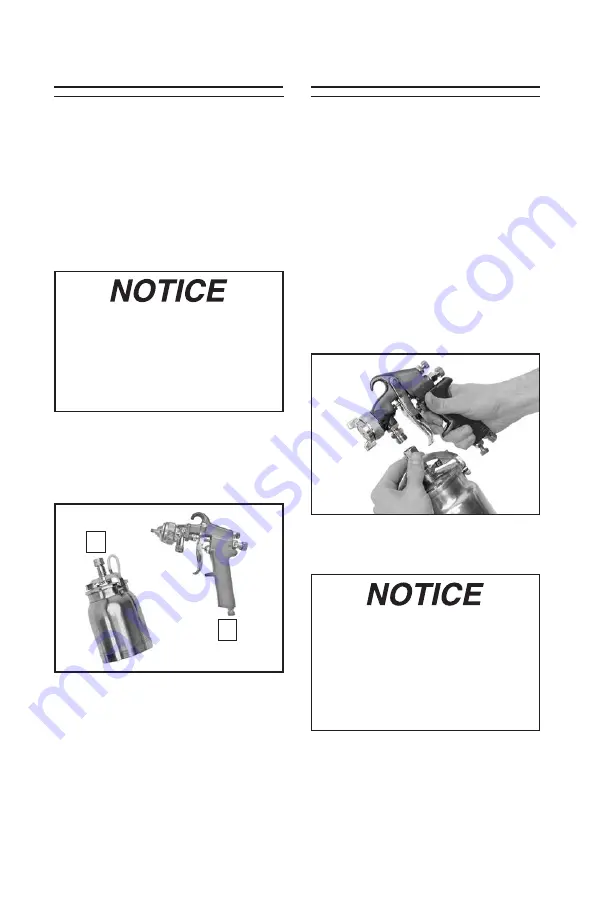
Box 1 (Figure 2) Qty
A. Fluid Cup ............................................1
B. Spray Gun Body ................................1
C. Multi-Wrench (not shown) ..................1
If you cannot find an item on this
list, carefully check around/inside
the tool and packaging materials.
Often, these items get lost in pack-
aging materials while unpacking or
they are pre-installed at the factory.
Figure 2. Inventory.
A
B
Assembly
Prior to assembly and use of the spray
gun, it is essential that all parts be thor-
oughly cleaned and dried. Please refer to
Cleaning on Page 12 for more detailed
instructions.
Make sure all connections are tight enough
to prevent air leaks but not so tight as to
damage the tool.
Attach the gun body to the fluid cup
assembly, as shown in
Figure 3. Make
sure the connection is tight to prevent
leaks.
Figure 3. Example of attaching spray gun
body to fluid cup.
For the best results, use a hose that
will be dedicated for spray use only.
Do not use a hose that has been
used with an in-line oiler or other
possible contaminant. Always install
an air pressure regulator between
the air hose and the gun.
Inventory
Содержание T23092
Страница 20: ......


