Page 10
SKU 65162
For technical questions, please call 1-800-444-3353.
Mount both Axles (50) near the boom
4.
end of the frame and secure with
Lock Pins (82).
Place a Tire (52) over the four studs
5.
on each Hub. Secure the Tires to
the Hubs, using four Lug Nuts (53)
per Tire. The lug nuts must be snug.
Inflate the tires to 65 PSI.
Slightly raise the Jacks, remove the
6.
Jack Stands, then lower the Jacks.
Block the tires and tighten the Lug
Nuts to at least 90 Ft-Lbs.
Attach Seat (73) to the Seat Bottom
7.
Plate (10) and secure both Seat and
Plate to the post on top of Hydraulic
Oil Tank.
Attach the Control Support (3) to the
8.
Frame Assembly (90) using four Hex
Bolts (81).
note:
The Hydraulics of this unit are
tested before shipment. There
may be hydraulic fluid present in
components. Assemble the unit in
an area that will not be damaged
by leaking hydraulic fluid. It is
recommended that you wrap
rags securely over the Hydraulic
connectors on all the Cylinders during
assembly. Wear splash-resistant
ANSI approved safety goggles and
other protective gear to prevent injury
from leaking fluid.
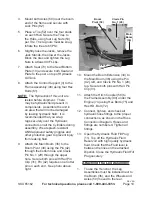
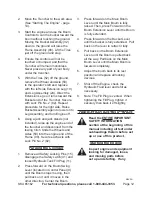
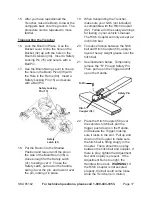
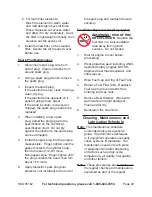
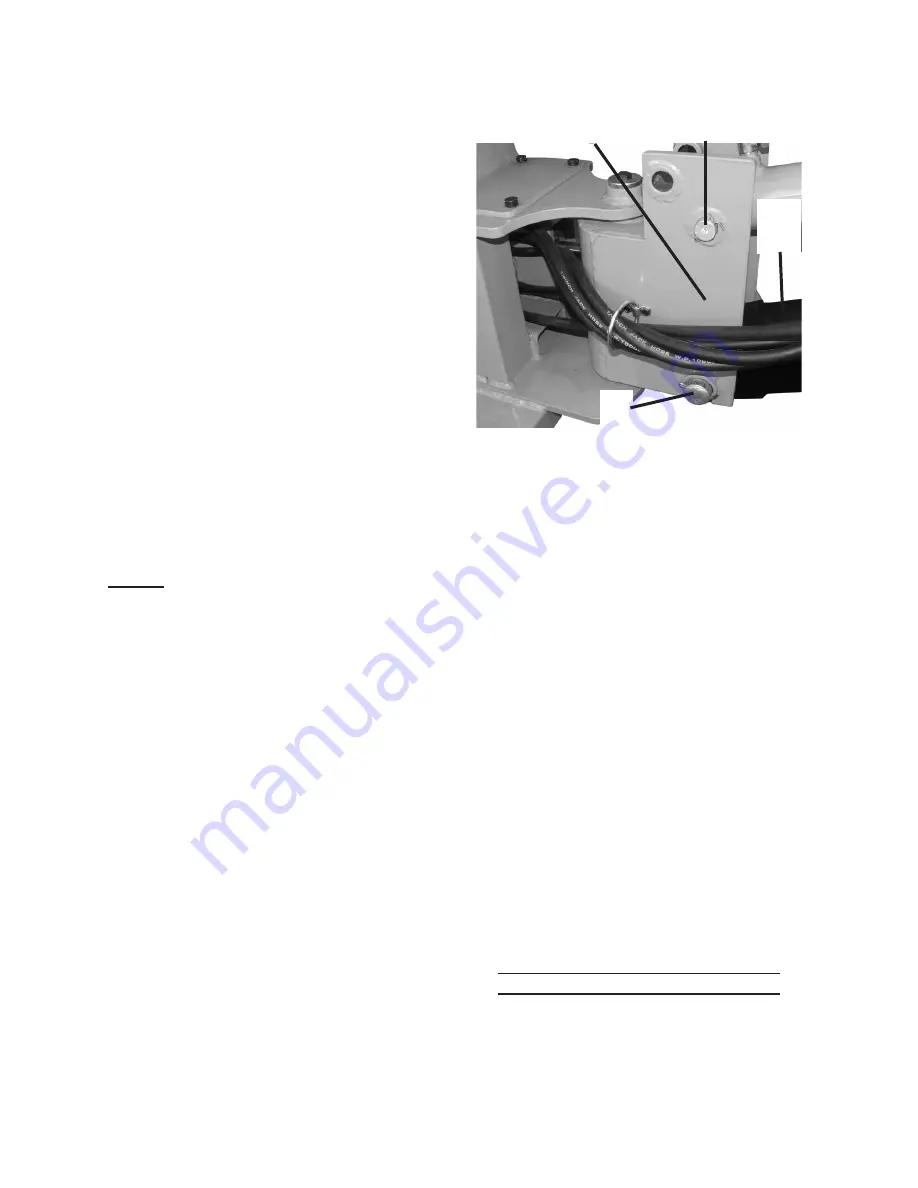
Attach the Main Boom (36) to the
9.
Boom Pivot (38) using the Pin (42)
through the bottom hole and Clevis
Pin No. 1 (29) through the upper
hole. Secure both pins with Hair Pin
Clip (31); Pin (42) requires one Cotter
pin on each end. See photo above
right.
Boom
Pivot (38)
clevis Pin
no. 1 (29)
Main
Boom
(36)
Pin
(42)
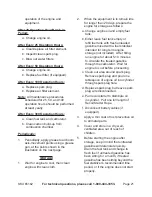
Mount the Boom Extension (34) to
10.
the Main Boom (36) using the Pin
(42), left, and Clevis Pin No. 1 (29),
top. Secure both pins with Hair Pin
Clip (31).
Attach the Hitch Coupler (58) to
11.
the Frame Assembly (90) under the
Engine (74) using Hex Bolts (75) and
Hex HD. Bolt (72).
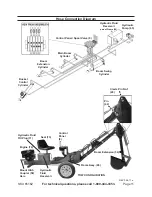
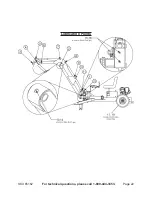
Connect, tighten, and check all
12.
hydraulic hose fittings to the proper
connections, as shown in the Hose
Connection Diagram. Hoses and
fittings are numbered. Tighten all
fittings.
Open the Hydraulic Fluid Fill Plug
13.
(11). Top off the Hydraulic Fluid
Reservoir with high quality hydraulic
fluid. Check that the Fluid level is
between the lines on the attached
Dipstick. Close the Hydraulic Fluid Fill
Plug securely.
attaching the Leg assembly
To use the Trencher, the Leg
1.
Assemblies must be installed next to
the Boom (36), and the Wheels and
Axles (50) moved to the rear.
REV 09i


