12
GENERAL ADVICE
Preparation and things to consider:
x
Bear in mind that constructing your greenhouse can take some
time
, you may need to leave it
and come back to it.
x
The more
space
available in which to work the better, a large
clean
,
clear
garage floor is ideal
or a
flat
lawn area.
x
Tidy
your work space prior to assembly. This will reduce the chances of loosing any of the
smaller components. It is a good idea to find a tub for all your nut and bolts etc…
x
When building your own brick/concrete/slab foundations ensure that they are level and square
and built to the correct outside measurements otherwise your frame will not be true and the
glass will not fit.
x
Be sure that all four sides of the constructed greenhouse are square before installing glass, and
do not install the glass until the greenhouse is in its permanent location.
x
Anchoring down your greenhouse is the
final stage
of construction (including glazing). The
greenhouse frame must be anchored to a permanent foundation. This will not only help secure
it against powerful winds, but will help prevent breakage of the glass caused by the freezing and
thawing process of the earth.
Organising your components:
x
On opening your main greenhouse box
DO NOT UNWRAP
any of the
labelled bundles
until they are required. Be
CAREFUL
not to mix-up
any of the bundles.
x
Assess each component in accordance with the
parts list
in the manual.
x
Separate like from like components.
x
If your greenhouse is a painted one there maybe a few 3mm holes in the
ends of some bars. These are jig holes used for painting and have no
bearing on construction.
x
If you are unsure what a component is try checking the length against
the parts list inside the box.
Tools advice:
x
You will find a tool kit supplied. This consists of: A pair of gloves, a
10mm spanner, a 10mm spinner and a Philips screwdriver.
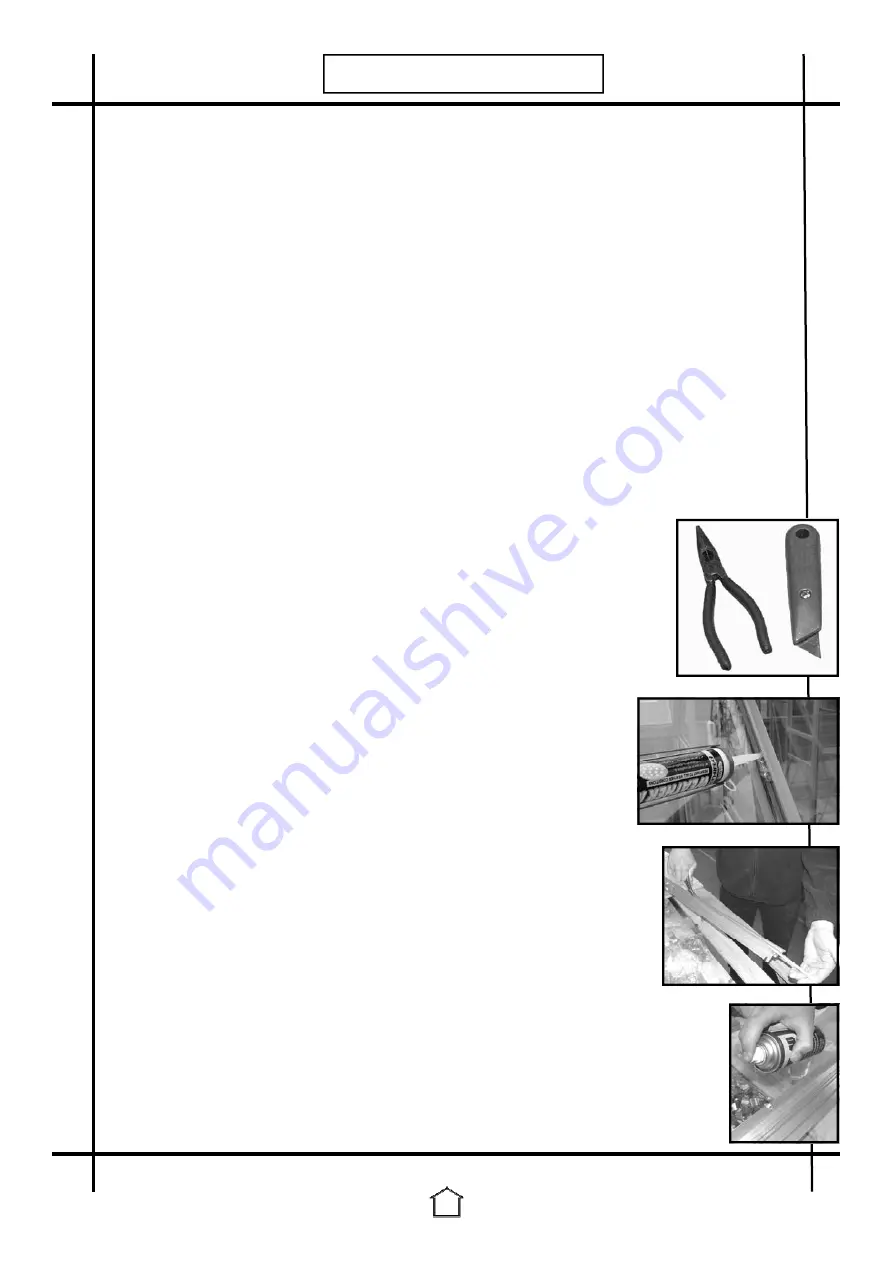
Other tools
that may be required are shown in the picture (top right).
x
You will also find a tube of silicone and a silicone gun in the box. This
can be used throughout the greenhouse to stop any leaks.
Using the manual:
x
Read
the information relevant to each stage of construction immedi-
ately
before
you begin.
Study
each drawing carefully before you
begin each stage of construction.
Glazing preparation:
x
WD40 or a similar product can be sprayed into the glazing
channels to make it much easier to insert the glazing rubber.
All rubber should be added to the glazing channels PRIOR to
any assembly.
Содержание HE-BLE
Страница 1: ...8 Wide ASSEMBLY INSTRUCTIONS ISSUE 4 Model HE BLE...
Страница 15: ...15 SIDE ASSEMBLY 303 461 461 447 447 447 303 351 588 A B D C 576 576 300 576...
Страница 20: ...20 FRONT ASSEMBLY 416 403 508 576 K M L 403 403 403 576 576 576 406 406 406 404 437 300 406 403...
Страница 21: ...21 N O P FRONT ASSEMBLY 437 588 334 334 526 375 526 300 315 588 334 300 576 430...


