


23
❏
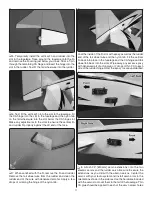
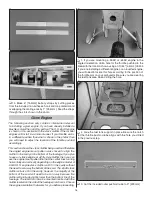
6. Remove the cowl and dummy engine (if applicable) from
the fuselage. Use a rotary tool to cutout any openings in the
cowl necessary for your power system installation. Reinstall
the engine if you removed it from the fi rewall. Thread a #2
x 1/2" [13mm] screw into each cowl mounting hole in the
fuselage and back it out. Apply a drop of thin CA glue to each
hole and allow the glue to harden. Enlarge the holes in the
cowl to 3/32" [2.4mm]. Test fi t the cowl onto the fuselage and
adjust your cutouts as necessary until the cowl is a good fi t.
When satisfi ed, install the cowl using four #2 x 1/2" [13mm]
screws and four #2 fl at washers.
❏
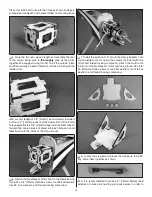
7. Install the propeller and spinner onto the motor. You may
need to enlarge the hole in the prop and spinner backplate
with a reamer or drill to match the prop shaft of your power
system. It may also be necessary to enlarge the cutouts in
the spinner cone to fi t your prop. The cone should not contact
the prop at any point in the cut out.
❏
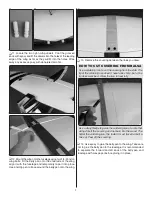
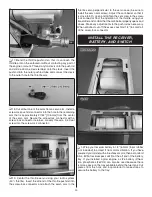
8. If you have not already discovered how to install the
canopy hatch, align the two pins at the front of the hatch
with the two holes in the fi rewall. Lay the aft end of the hatch
down against the fuselage, aligning the tabs into the slots.
Lock the hatch in place by sliding the hatch back, which will
engage the magnets.
❏
9. Admire your completed U-Can-Do SF ARF! Prepare to
move on to the fi nal sections for applying the decals, getting
the control throws set and the plane balanced.


