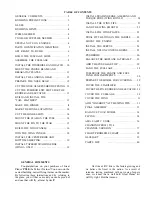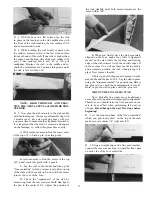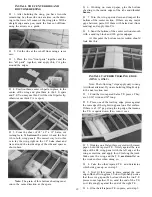
D 11. Notice that the 1/8" balsa fuse side has two
slightly rounded corners at the front of the "hatch"
area and at the front of the "stab saddle" area. Using
an X-Acto knife, cut away these rounded comers to
match the doublers.
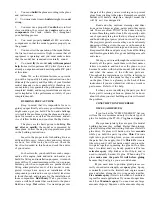
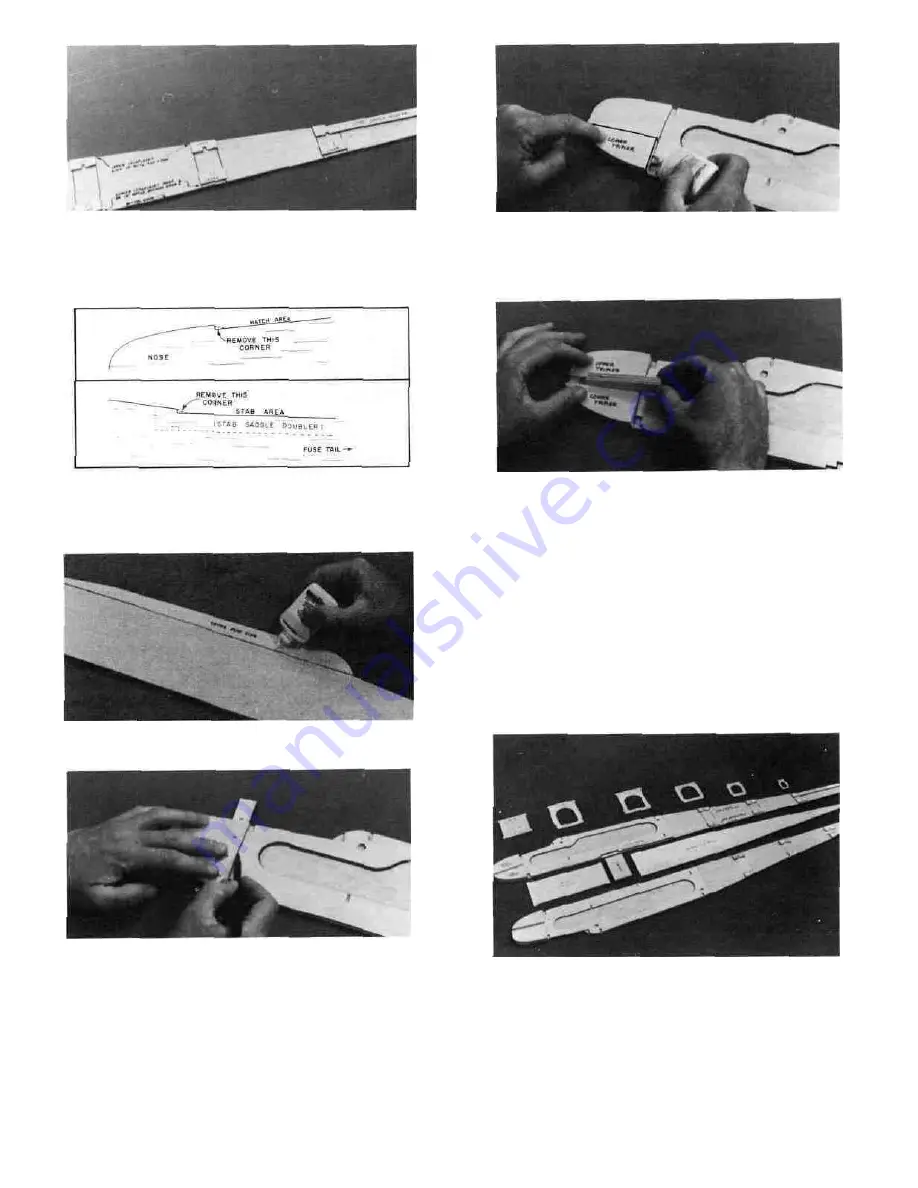
D 15. Use one of the 3/8" ply engine beams as a
spacer to position the 1/4" balsa upper tripler. Move
the upper tripler forward or back until it lines up
with the line you drew in Step 13.
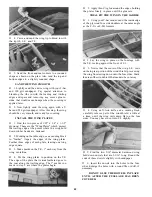
D 12. Turn the fuse side over and lay the 1/8" balsa
upper fuse side in place on the doubler, lining up
the curved "windshield" edge. Apply glue all around
the edges of this upper fuse side.
D 16. Remove the 3/8" ply spacer, then glue the upper
tripler in place with thin CA all around the edges.
D 17. Glue the fuselage doubler, upper and lower
lock-plates, upper fuse side, stab saddle doublers and
the 1/4" balsa triplers to the left inside fuselage side.
Be sure to follow the same procedure as set forth in
steps 9-16 when doing so, but don't make two Rt.
fuse sides!
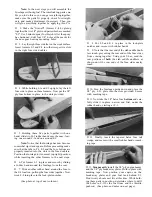
D 18. Drill or cut out the 5/16" holes in the fuse sides
for the wing hold-down dowels. If you use a drill, lay
the fuse side on a wood block for a backing to drill
into, which will prevent the balsa from tearing.
ASSEMBLE THE FUSELAGE
LI 13. Draw a straight line connecting the front edge
of the front slots in the fuse doubler.
D 14. Lay the 1/4" balsa lower tripler in place on
the fuse doubler, and line it up with the line just
drawn and the edge of the doubler Glue the lower
tripler in place with thin CA all around the edges.
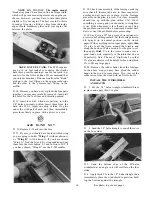
D 1. Before assembling the fuselage, make sure
that the following parts are set out within easy reach:
both fuse sides with doublers and triplers securely
glued on; formers F-l through F-6; 1/8" ply fuse bot-
tom; 3/8" ply L.G. (landing gear) plate; 1/8" balsa
fuse bottom; the tapered balsa "fuse tail wedge" and
the six #62 rubber bands provided.


