CUT THE PUSHROD EXIT SLOTS FOR
THE RUDDER AND ELEVATOR
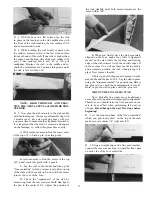
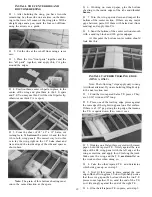
D 1. Find the location of the "Pushrod Exits" on
the fuselage plan (side view). Measure their locations
in relation to the fuse bottom and the back of F-6,
and transfer these measurements to your fuselage.
Note that the pushrod exit shown in dashed lines is
for the rudder pushrod exit on the left fuselage side.
D 2. Cut out the slots with an X-Acto knife.
This completes the fuselage construction for
now. Note that you have not yet installed the top
sheet. Set the fuselage assembly aside.
BUILD AND INSTALL THE "TAIL
FEATHERS"
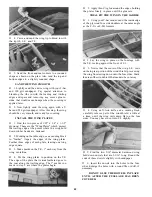
Q 1. Working on waxed paper on a flat surface, glue
the 1/4" balsa fin front to the 1/4" balsa fin rear
using thin CA. Immediately wipe off any excess glue
to make sanding easier. Apply glue to both sides of
the joint.
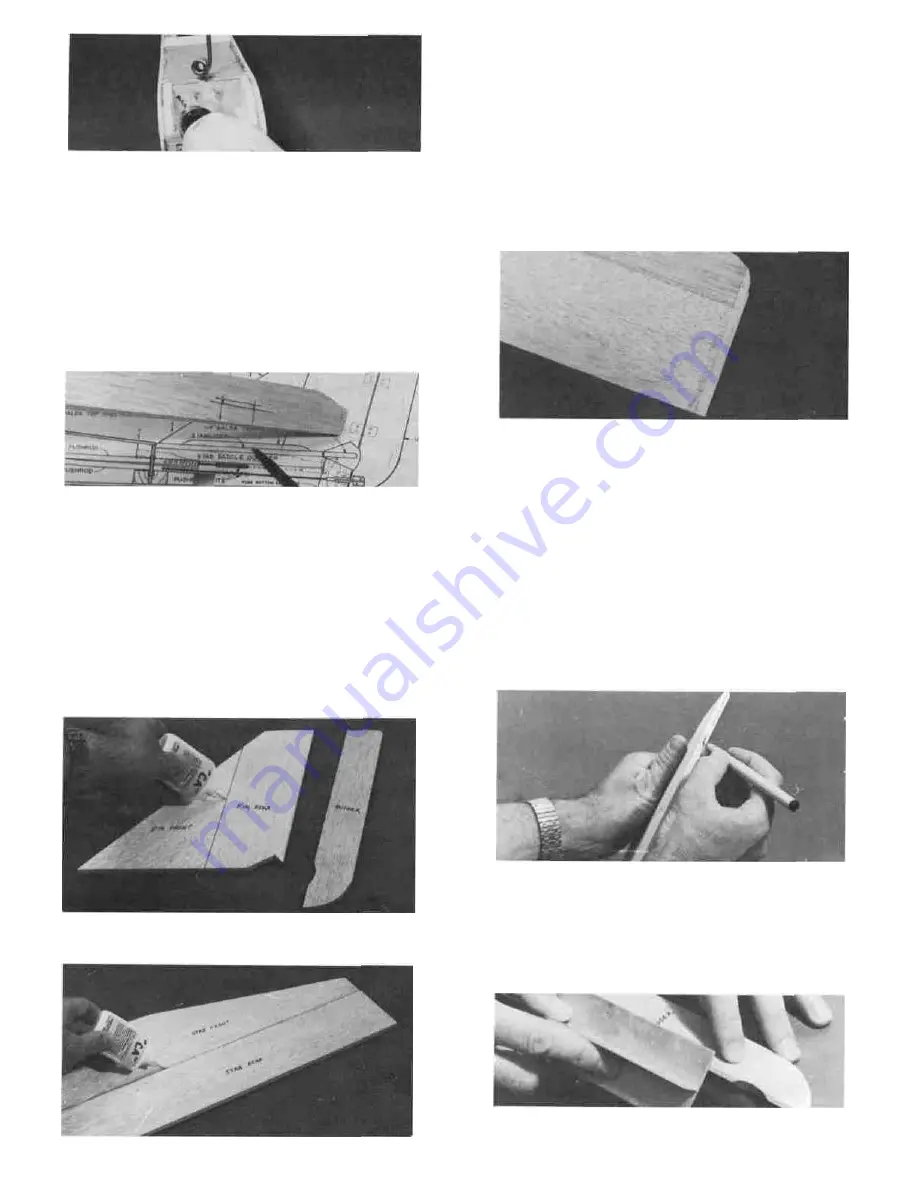
D 2. In the same manner, glue the stab (stabilizer)
front to the stab rear.
D 3. Find the two 1/4" x 1/4" x 5-7/8" balsa pieces.
These are used for the ends of the stab and elevator.
Cut a 1-3/8" length from each of these pieces and
glue them to the ends of the elevator using thin CA
glue. Sand the ends even with the elevator using a
sanding block.
D 4. Take the two remaining pieces of 1/4" x 1/4"
balsa and glue them to the ends of the stab and sand
to blend in.
D 5. Round the corners of the fin, rudder, stab and
elevator as shown on the plan.
D 6. Sand the fin and stab smooth with a T-bar
sanding block and 100 grit sandpaper.
D 7. Put the elevator and stab together and sand
the tips to the same length.
D 8. Using a sanding block, sand the following to
a rounded shape: stab leading edge (excepting the
flat center portion), stab tips, elevator trailing edge
and tips, fin leading edge, fin tip, rudder trailing
edge and rudder tip.
D 9. Using a fine point felt tip marker, carefully
draw a centerlirie all along the stab trailing edge,
elevator leading edge, fin trailing edge and rudder
leading edge.
D 10. Using a T- bar sanding block with 100 grit
sandpaper, sand the elevator leading edge and rudder
leading edge to a "V" shape. Work slowly and care-
fully so you don't sand away too much balsa. When
you have finished, the centerlines you previously
drew should remain, and the "V" shape should look
like the sketch shown above the fin on the plan.
13


