29
❏
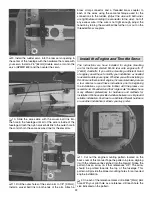
13. Using the line on the tape as your reference, measure
forward from the end of the line 1" [25.4mm]. Make a mark
on the cowl and do this for each of the lines you made. On
the mark you made drill a 3/32" [2.3mm] hole through the
cowl and into the cowl blocks. Temporarily install the cowl to
the fuselage with #4 x 1/2" [12.7mm] screws. (Don’t worry
about washers for now. You will be removing the cowl several
times for fi nal adjustments to the cowl).
❏
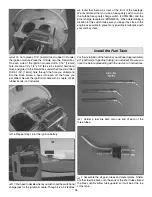
14. Make cut outs in the cowl for any parts of the engine
that might be interfering with the cowl (spark plug boot,
muffl er, etc.)
❏
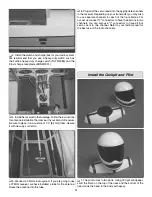
15. Locate the ABS plastic engine baffl e. Place it in front
of the cowl and mark the location of the cylinder head. Cut
this area from the baffl e. This opening will allow air to pass
over the cylinder allowing the engine to be cooled.
❏
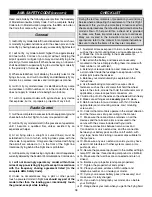
16. Slide the engine baffl e into the front of the cowl. Install
a tip extension onto a bottle of medium CA glue. Now, center
the baffl e in the front of the cowl and while holding the engine
baffl e in place, tack glue the baffl e to the cowl with the CA
glue. Use a CA glue accelerator to harden the glue quickly.
Tack the baffl e in place in three or four spots. When you have
the baffl e centered and secured, remove the cowl.


