Operation
10
311320K
Operation
Grounding
Check your local electrical code and proportioner
manual for detailed grounding instructions.
Spray gun / Dispense valve:
ground through
connection to a properly grounded fluid hose and pump.
Coupling Block
Install Coupling Block
1. Inspect coupling block gaskets for damage and
wear. Replace if necessary.
2. With gaskets in place, fit coupling block to gun
block.
3. Insert coupling block mounting screw and tighten
securely with 5/16 in. nut driver.
Manual Valves
NOTE:
Triggering gun with manual valves closed may
cause crossover if gun ports contain residual chemical.
1. Open manual valves using 5/16 in. nut driver; turn
manual valves counterclockwise approximately
three full turns. Do not open until it bottoms out.
2. Close manual valves by turning fully clockwise.
Remove Coupling Block
1. Disconnect air hose.
2. Close both manual valves.
3. Remove coupling block mounting screw (F
4. Separate coupling block from gun. Do not lose
gaskets.
5. Use gun cleaner to wipe clean mating surface of
gun block and coupling block. Cover exposed
opening with grease.
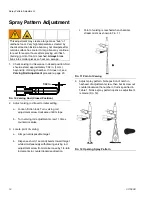
To prevent accidental gun operation, always
disconnect air supply before servicing gun or anytime
gun is not in use.
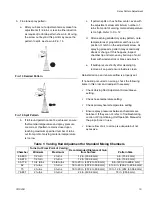
The equipment must be grounded to reduce the risk
of static sparking. Static sparking can cause fumes to
ignite or explode. Grounding provides an escape wire
for the electric current.
F
IG
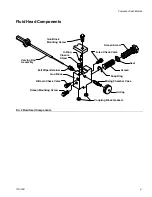
. 3 Coupling Block
Coupling Block
Gaskets
Coupling Block
Mounting Screw
Never open manual valves unless coupling block is
secured to gun or exit port is directed into flush pail.
F
IG
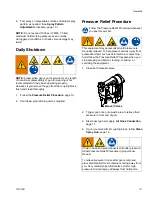
. 4 Manual Valves
To prevent release of pressurized chemical, close
both manual valves before removing coupling block.
Manual Valves


