6
309016
Operation
Startup
Always use this startup procedure to ensure that the
unit is started safely and properly.
1. Check the oil levels.
NOTE: All units are equipped with a low-oil sensor
that shuts the engine off if the oil level falls below a
certain level. If the unit stops unexpectedly, check the
oil and the fuel levels. Check the oil level each time
the unit is refueled.
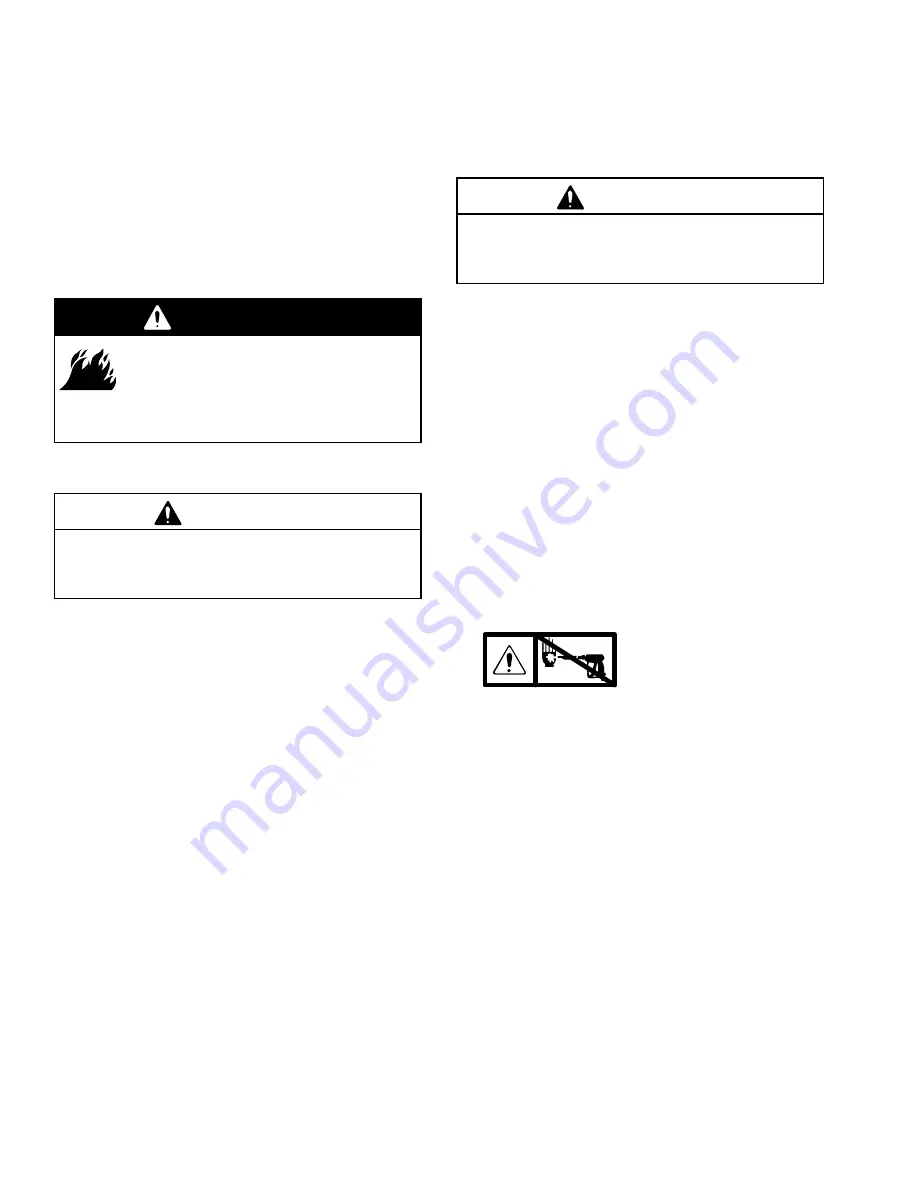
WARNING
FIRE HAZARD
Do not refuel a hot engine. Refueling a
hot engine could cause a fire. Use only
fresh and clean regular or unleaded gasoline.
Close the fuel shutoff valve when refueling.
2. Check the fuel level.
CAUTION
Never run the unit dry. Costly damage to the pump
will result. Always be sure the water supply is
completely turned on before operating.
3. Turn on the water supply.
4. Trigger the gun until water sprays from the tip
indicating that the air is purged from the system.
5. Open the fuel shutoff valve. Be sure the spark
plug ignition cable is pushed firmly onto the spark
plug. Put the switch in the ON position, and put
the throttle in the RUN position.
6. Pull the starter rope to start the engine. Brace one
foot on the pressure washer cart, and pull the
starter rope out quickly. Pull and return the rope
until the engine starts.
CAUTION
Do not allow the starter rope to snap back against
the engine. Return it gently to prevent damage to
the recoil mechanism.
NOTE: For easier starting, have one person start
the engine while another person triggers the spray
gun.
If the engine is cold, start the engine with the
choke completely closed. In cool weather, you
might have to let the engine run with the choke
closed for the first 20 to 30 seconds, then open it
completely. In warm weather, open the choke
completely as soon as the engine starts.
If the engine is warm, start the engine with the
choke completely open or partially closed. When
the engine starts, open the choke completely.
Chemical Injector Operation
NOTE: See manual 308513 for detailed chemical
injector operation and service instructions.
1.
Relieve the pressure.
See page 5.
2. Insert the chemical filter (attached with clear tubing
to the chemical injector) into the container of
chemical.
3. Install the black, large-orifice chemical tip (see
Installing and Changing Spray T ips on
page 7).
The large orifice of the chemical injector tip causes
a drop in pressure that actuates the chemical
injector. Changing back to a small diameter spray
tip deactivates the chemical injector and produces
high pressure for rinsing. The chemical filter can
be left in the chemical container during
high-pressure use. To regulate the flow rate of the
chemical, turn the chemical adjustment knob on
the injector. Maximum chemical flow is two full
turns counterclockwise from the closed (clockwise)
position.
Содержание AquaMax 804594 A Series
Страница 8: ...8 309016 Notes...


