First Steps
3-4
basicCON 4121 – User Manual
7.
Click “OK” to close the settings dialog. Optionally you can click
the “Save” button before, to save the settings for the selected
LVDS interface permanently.
8.
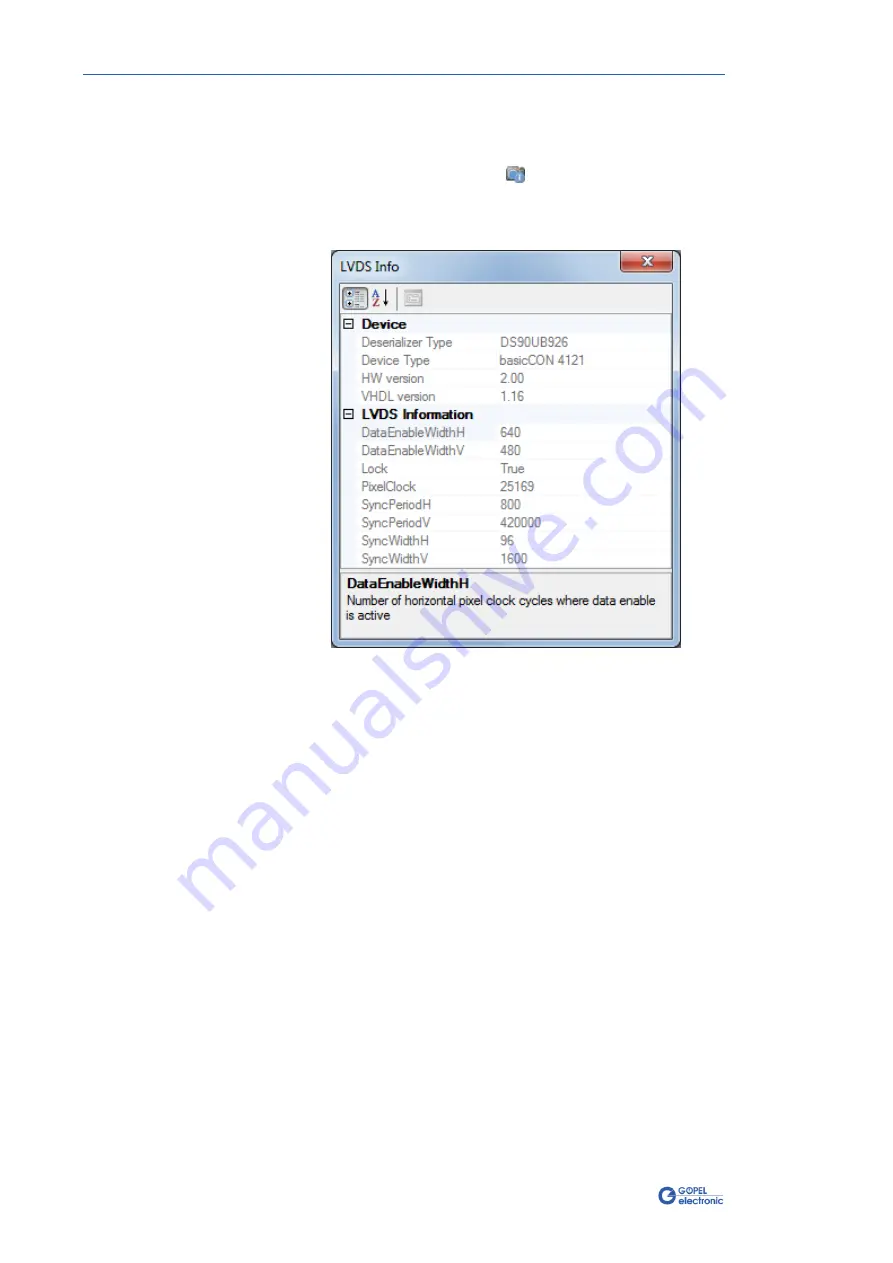
Click the LVDS info button (
) in the main window.
A window with information about the current hardware and
software version of the
basicCON 4121
as well as about the
Video signal appears:
9.
If the values of the Video signal width (presented as
“DataEnableWidthH”) and height (“DataEnableWidthV”) are
smaller than the set up frame resolution of step 6, the
capturing will fail. Then open the settings dialog and start
again with step 6, update the values accordingly, etc.
10.
Close the information window.
The device is now set up and ready to capture frames.
Figure 3-4:
Information window


