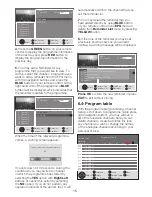
29
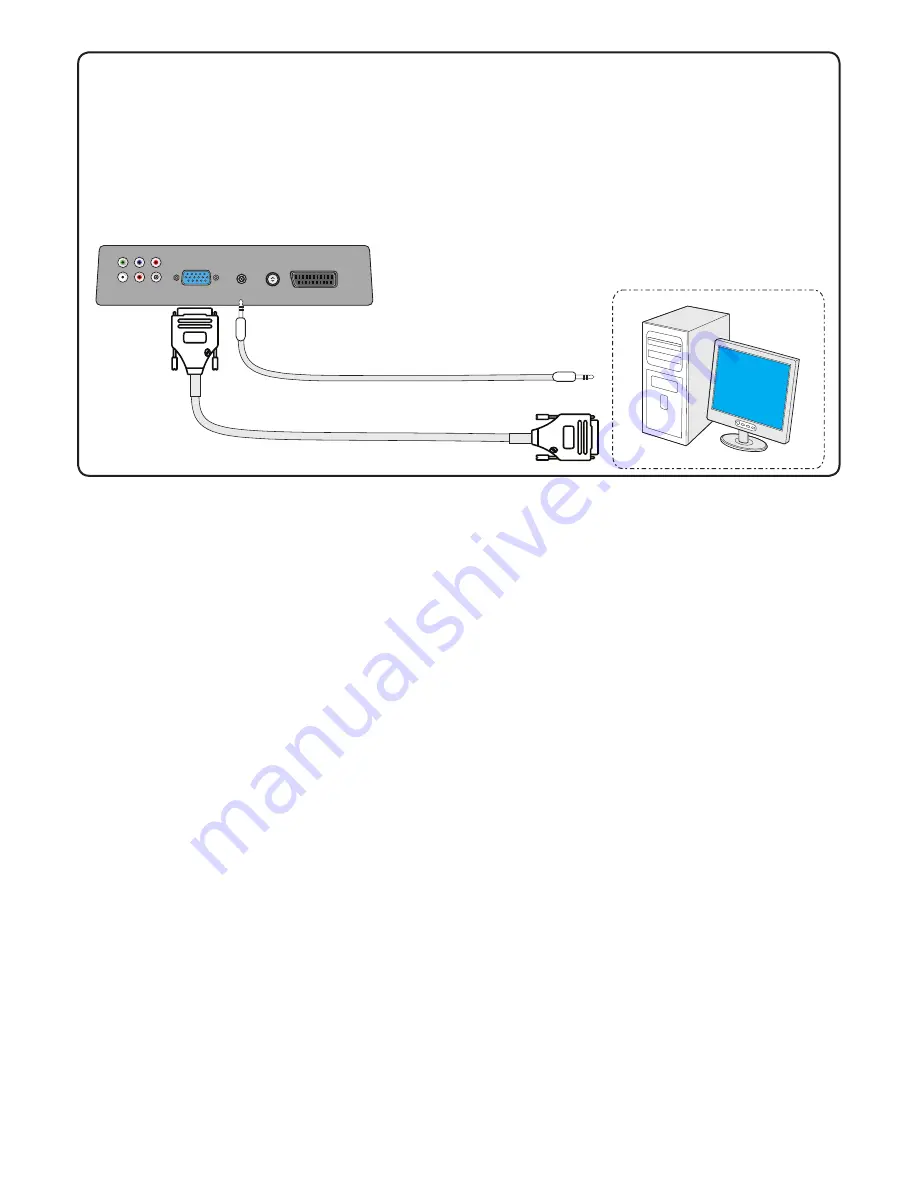
TV MAIN CONNECTOR PANEL
PICTURE CONNECTION
AUDIO CONNECTION
PC
AUDIO IN
PC IN
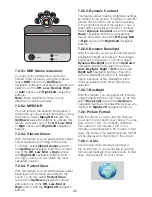
VGA
9.7-Connecting to a PC
Connect a monitor cable (15-way D-type)
cable between the PC and the PC-IN socket
on the main connections panel on the back
of your TV This cable isnot supplied. Also
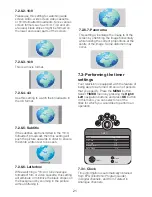
connect a stereo cable (3.5mm plug at each
end) between the audio output of your PC to
the PC AUDIO-IN on the main connections
panel on your TV. This cable is only required
if you want to listen to sounds from your PC.
You can adjust the volume level using
VOL+/
VOL-
buttons.
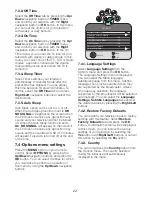
9.7.1-Transition to the PC mode
For your LCD-TV to switch to the monitor
(PC) mode, press the
SOURCE
button on
your remote control.
SOURCE
menu will be
displayed. Select
PC
by pressing the
Up/
Down
navigation buttons and press the
OK
button.
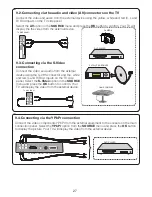
9.7.2-PC Access Setting
Enter into the
SETUP
menu from the Main
Menu by pressing the
MENU
button in the
PC mode. In order to make the necessary
settings in this menu, you can select the
headings with the
Up/Down
buttons on
your remote control to perform the following
monitor-related settings.
9.7.3-Auto Position
The most suitable geometric settings
in accordance with the entry mode are
configured by this function. For this operation,
just select the
Autoposition
tab and press
OK
button.
9.7.4-Horizontal Position
Horizontal position setting.
9.7.5-Vertical Position
Vertical position setting.
9.7.6-Size
This is the pixel clock frequency. User can
narrow down or enlarge the display by
selecting a desired value.
9.7.7-Phase
Using the
Right/Left
navigation buttons, you
can ensure that the s and shapes are exactly
consolidated on the PC image.
9.7.8-PICTURE FORMAT
You can select the PC image to be displayed
in 16:9 or 4:3 formats.
Содержание GML26W37HDF
Страница 35: ...Y3B 801...

