26
Chapter 5. Maintenance and Adjustment
5-1. Thermal Print Head Cleaning
Unclear printouts (some parts unable to print) may be
caused by dusty print head, ribbon stain, or label liner
glue, therefore when printing, it’s necessary to keep the
top cover closed. Also, check and prevent paper/label
from being stained or dusty to ensure print quality and
to prolong the print head life. Print head cleaning
instructions are as follows:
1. Open top cover.
2. Take out the ribbon.
3. Open the print head by lifting the Print Head Lever.
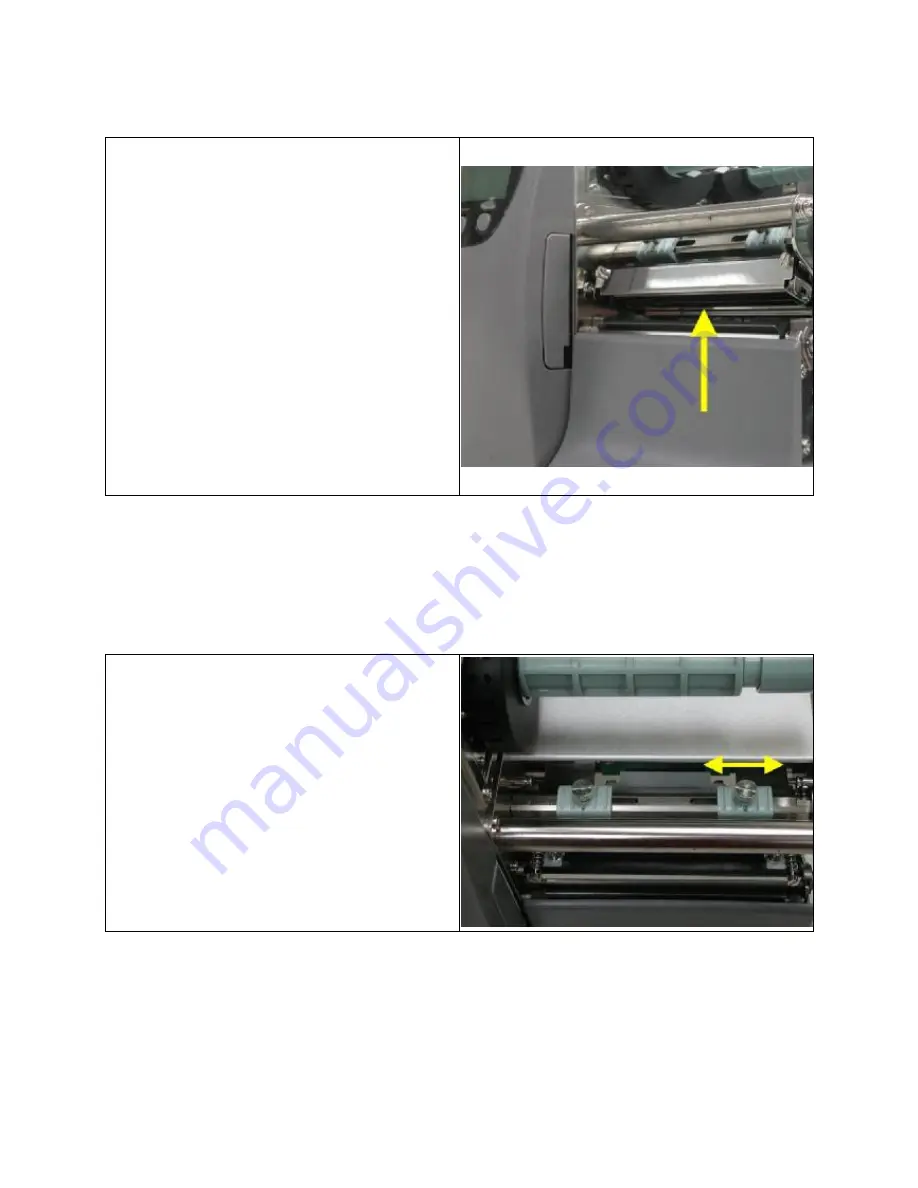
4. If on the print head (see yellow arrow) there’s label
pieces or other stain, please use a soft cloth with
industrial use alcohol to wipe away the stain.
Note:
(1) Weekly cleaning on the print head is recommended.
(2) When cleaning the print head with soft cloth, make
sure it does not have any metal or hard particles
attached on it.
5-2. Thermal Print Head Balance Adjustment
When printing with different label materials or using
different ribbon types, unbalanced print quality may
occur due to the media material differences, thus it’s
necessary to adjust the Thermal Print Head pressure.
1. Open top cover.
2. Take out the ribbon.
3. Open the Thermal Print Head by lifting the Thermal
Print Head Bar Handle.
Move the Thermal Print Head Balance Box on the right
side to change the print position. Normally, the wider
the paper, the right Thermal Print Head Balance Box is
farther to the right (out); the narrower the paper, the
right Thermal Print Head Balance Box is farther to the
left (in).


