202-INST-US-001 v1.0
–
11 Dec 2020
Need assistance? 833-SKYDOOR (833-759-3667) [email protected]
Page 14 of 25
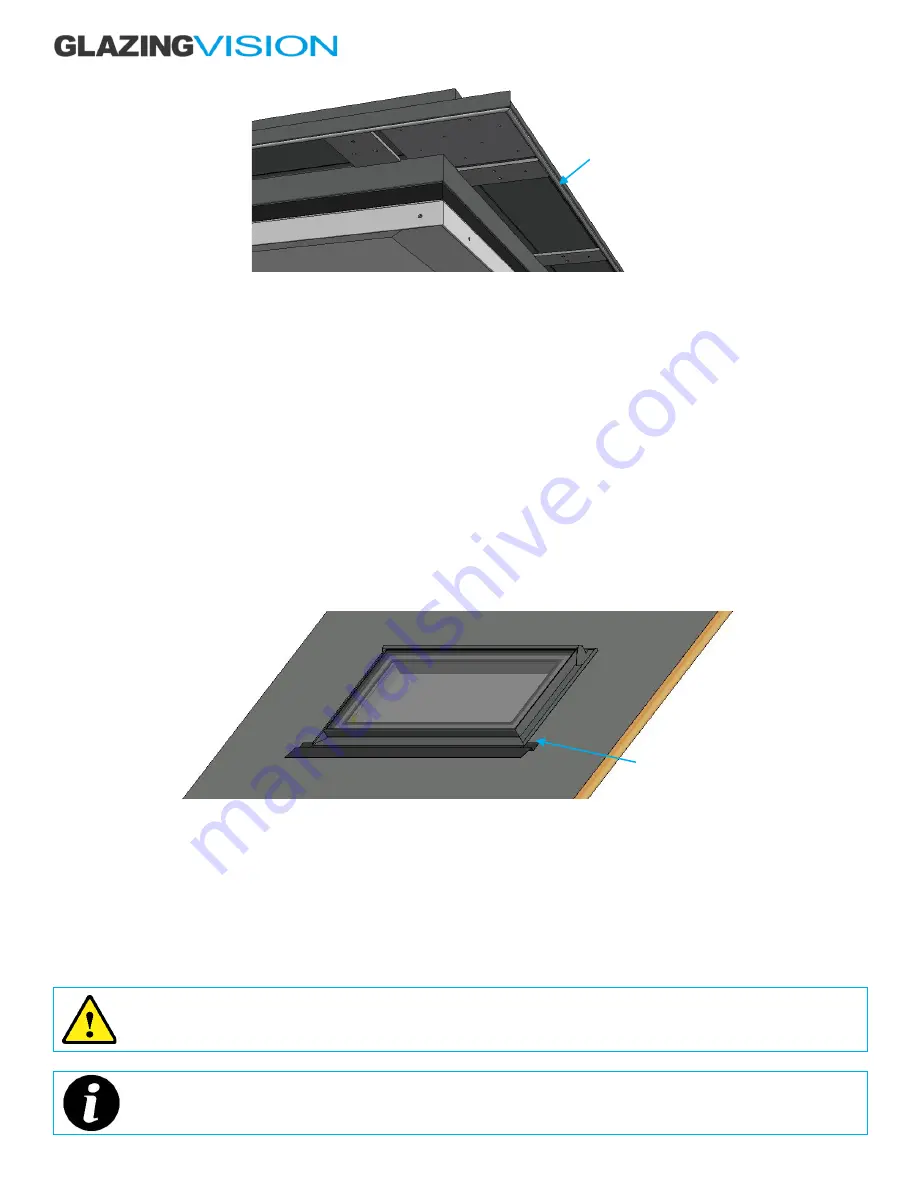
Figure 4c
–
Continuous butyl loop on the underside of the product
Fit the chosen lifting equipment to the unit and check that it is secure.
Carefully lift the product to the installation site (roof) using strops underneath the wooden build frame/bocks. This is to ensure that the
build frame/blocks do not separate from the product during the lift.
When on the roof the product should be lifted off the wooden build frame/blocks (remove the fixings first) and then gently lowered onto
the supporting structure ensuring that the cables are not kinked or snagged under the framework.
With the framework in contact with the supporting structure top and the majority of the weight still supported by the crane/lifting
equipment, adjust the position of the product on the supporting structure so that the internal framework is equally spaced and aligned
with the internal finishes. Take care when positioning the product during final installation, as once the weight of the unit has been placed
onto the sealants it adheres to the supporting structure making repositioning difficult.
Once satisfied that everything is correctly positioned, carefully release the weight of the product. Remove the crane and lifting
equipment.
Figure 4d
–
Place product centrally into aperture
Working inside the building, drill Ø
1/8”
pilot holes into the supporting structure through the pre-
drilled holes in the product’s framework.
Secure the product to the supporting structure using the woodscrews and packers provided in the hardware kit. The packers must fill
the entire gap between the supporting structure and product for each woodscrew. Care should be taken when tightening the fixings to
ensure the frame does not distort.
Position the packers as needed, to ensure that the product is centrally positioned, fix the product into place using the appropriate fixings
(woodscrews supplied).
If performing a dry run, screws through some of the fixing holes into the rafters can be used to temporarily hold the
product in place. The position of the product can be marked, and the product removed. The installation can then be
started.
If installing into an alternative material to wood, it may be necessary to source suitable wall plugs and/or fixings to use
instead of those provided.
Butyl
Product sits on top
of flashing, butyl and
silicone


