


37
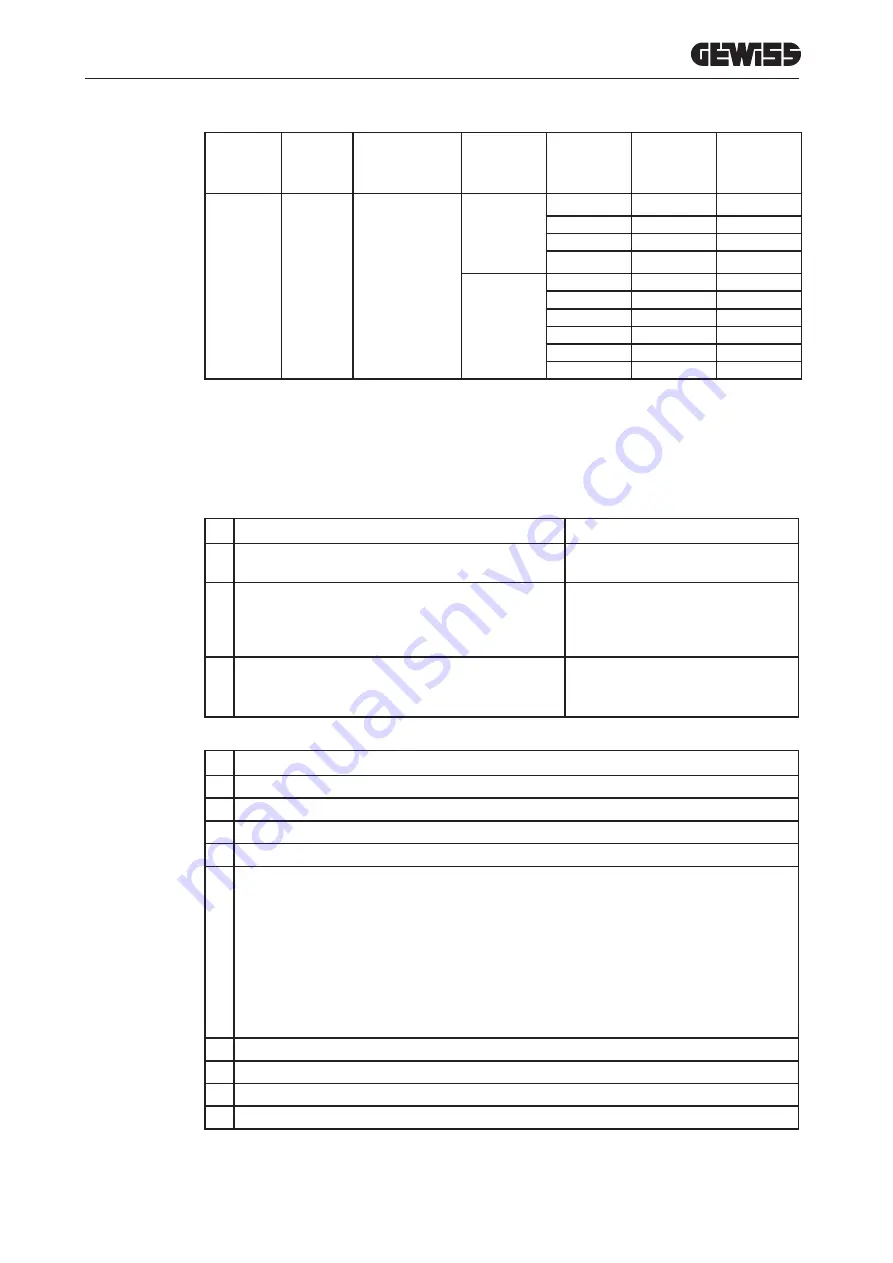
TYPE
VERSION
POWER SUPPLY
FACTORY
VALUE
NOMINAL
settable
value
Selector
position 1
VALUE 60%
Selector
position 2
VALUE 30%
FREE
CABLE OR
SOCK-
ET-OUTLET
SINGLE-PHASE
20
20
12
6
16
9.6
6
14
8.4
6
12
7.2
6
32
32
19.2
9.6
25
15
7.5
20
12
6
16
9.6
6
14
8.4
6
12
7.2
6
10.2.
RFID
The charging station activates the recharging session once an RFID card (enabled for charging - i.e. added to the
local list of authorised cards) has been swiped across the screen.
There are two ways of adding an RFID card to the local list:
METHOD 1
# Action to be carried out
RGB LED status
1 Swipe the MASTER key across the RFID scanner to enable
the storage phase
From fixed green to flashing white
2
Take each card that you want to add to the list and swipe
them across the RFID scanner.
The colour of the RGB LED indicates correct acquisition
Fixed green for 2 seconds
3 To quit the RFID card storage menu, swipe the MASTER key
twice across the RFID scanner.
From flashing white
to flashing red
to fixed green
METHOD 2
# Action to be carried out
1 Disconnect the power supply to the product by turning off the main switch
2 Open the charging station to access the electronic board
3 Remove the microSD card from its slot on the electronic board
4 Insert the microSD card in the specific slot on your PC, to open the folder
5
Create a .csv file called “RFID.csv”.
The file structure must be:
UID1;
UID2;
Example
A14HNL5T;
DZ47TBD5;
….
6 Save the file in the main directory of the microSD card
7 Insert the microSD card in the slot on the electronic board
8 Close the charging station and reconnect the power supply to launch the updating procedure
9 Once the command has been executed, the station will return to standby
Contact GEWISS SAT customer service for the UID codes of your RFID cards; you will be asked to give the number
on the cards.


