VMS / DVR / NVR Configurations
105
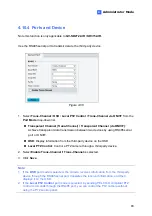
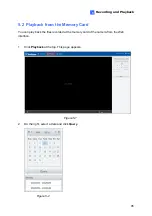
7
7.1.1 Customizing the Basic Settings on GV-DVR / NVR
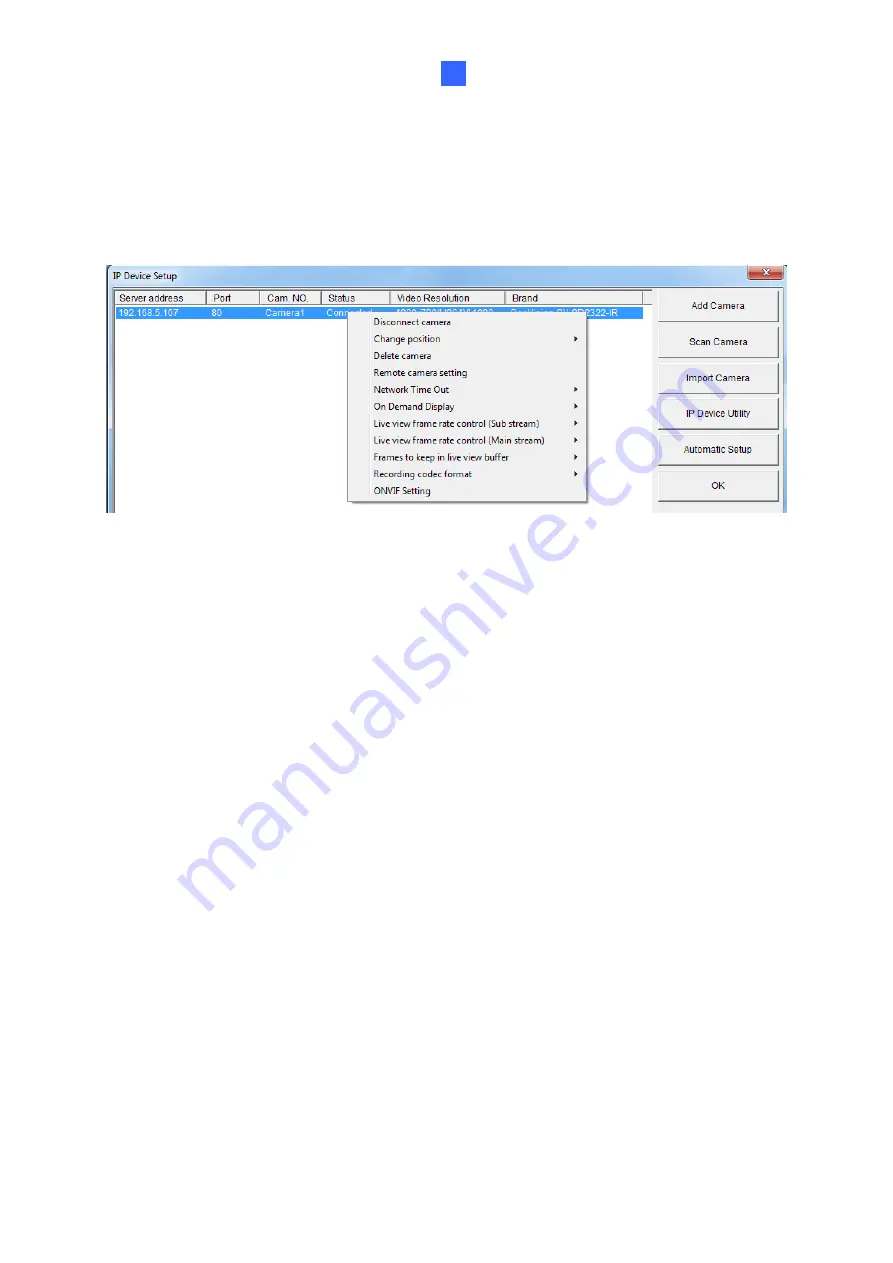
After the camera is connected and assigned with a display position, you can configure the
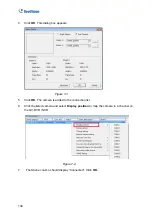
camera’s settings such as frame rate, codec type and resolution. Right-click the desired
camera to see the following list of options:
Figure 7-5
Network Time Out:
When network disconnection exceeds the specified time period, the
camera status will be displayed as Connection Lost.
On-Demand Display:
Enables automatic switching between main stream and sub
stream based on the size of camera image on screen.
Live-view frame rate control (Sub / Main):
Sets the frame rate of the stream to help
reduce the CPU usage. If you have set the codec to be MJPEG, select the number of
frames to allow in a second. If the codec selected is H.265 or H.264, select one of the
following options:
Maximum Live-view Frame Rate:
View the video at the maximum frame rate
possible.
Live-view Key Frame only:
You can choose to view the key frames of the videos
only instead of all frames on the live view. This option is related to the GOP setting
of the IP camera. For example, if the GOP value is set to 30, there is only one key
frame among 30 frames.
Frames to keep in live view buffer:
Specifies the number of frames to keep in the live
view buffer.
Recording Codec Format:
Select the codec to record in.


