Accessing the Camera
15
2
Chapter 2 Accessing the Camera
Once installed, the IP Speed Dome is accessible on a network. Follow these steps to
configure the network settings and access your surveillance images.
2.1 Installing on a Network
These instructions describe the basic connections to install the camera on the network.
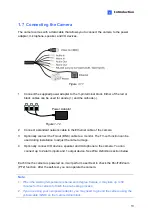
1. Using a standard network cable, connect the camera to your network.
2. Connect to power using the supplied power adapter.
3. You can now access the Web interface of the camera.
If the camera is installed in a LAN with DHCP server, use GV-IP Device Utility to look
up the camera’s dynamic IP address. See
2.1.1 Checking the Dynamic IP Address
.
If the camera is installed in a LAN without DHCP server, the default IP address
192.168.0.10
is applied. To assign a different static IP address, see
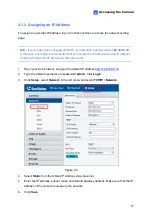
2.1.2 Assigning
an IP Address
.
Note:
You must set your browser to allow ActiveX Controls and perform a one-time
installation of the ActiveX component onto your computer at your first login.


