


4. When
the
status LED
turns green, the process of loading default
settings is completed and the camera is ready for use.
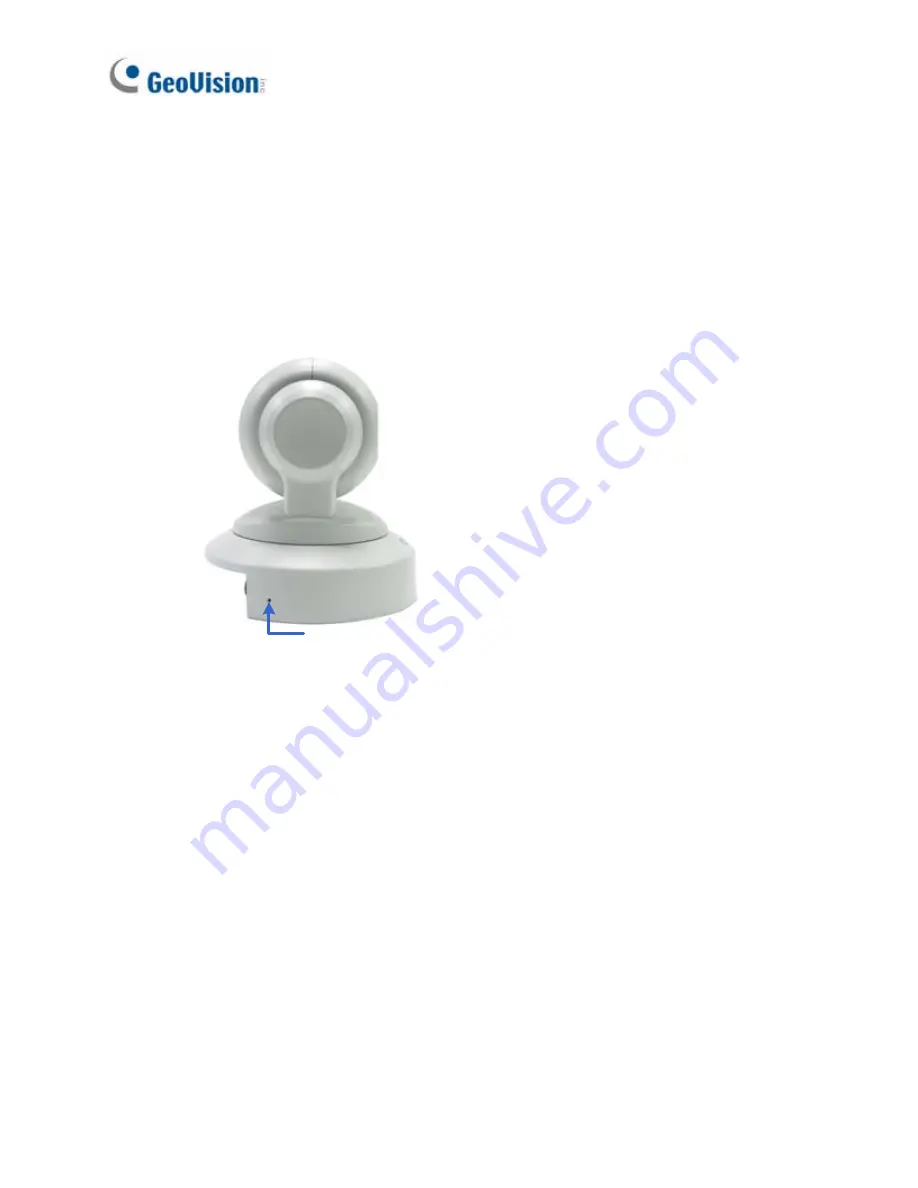
PT Camera
1. Keep the power and network cables connected to the camera.
2. Use a pin to press and hold the
default
button on the panel.
Default button
3. Release
the
default
button when the
status LED
blinks. This shall
take about 8 seconds.
4. When
the
status LED
turns orange, the process of loading default
settings is completed and the camera is ready for use.
246
Содержание GV-BX1200 Series
Страница 10: ...Pinhole Camera 247 viii...
Страница 157: ...Pan Adjustment Tilt Adjustment Rotational Adjustment 122...
Страница 168: ...Vandal Proof IP Dome Part II 13 13 2 Overview 1 2 3 4 5 6 8 7 9 10 12 11 13 14 133...
Страница 179: ...Tilt Adjustment Rotational Adjustment 144...
Страница 186: ...Target Vandal Proof IP Dome 14 14 2 Overview 1 2 3 4 5 6 13 12 10 7 8 9 14 11 151...
Страница 204: ...Fixed IP Dome 15 Pan Adjustment Tilt Adjustment Rotational Adjustment 169...
Страница 209: ...15 Place the housing cover on the camera body with the GeoVision logo pointing toward the front of the camera 174...
Страница 222: ...Cube Camera 17 7 Adjust the angles of the camera based on live view and fasten the indicated screw 187...
Страница 232: ...PT Camera 19 19 2 Overview 1 2 3 4 5 6 7 8 9 10 11 12 197...
Страница 241: ...M3 Screw x 2 M2 Screw GV IPCAM H 264 Software DVD GV NVR Software DVD Warranty Card 206...
Страница 242: ...Pinhole Camera 20 20 2 Overview Camera Lens 1 2 3 4 Main Body 6 7 8 9 4 5 207...
Страница 258: ...Accessing the Camera 21 6 Unplug the Ethernet cable 223...
Страница 263: ...22 The Web Interface 1 2 3 4 5 6 7 8 9 10 11 12 13 228...


