


GeneLink
T M
User Guide Ver1.4
l
GeneLink
TM
is a trademark of Genesys Logic, Inc.
l
For more information about products, please visit
www.shinny.com
or Email:
8
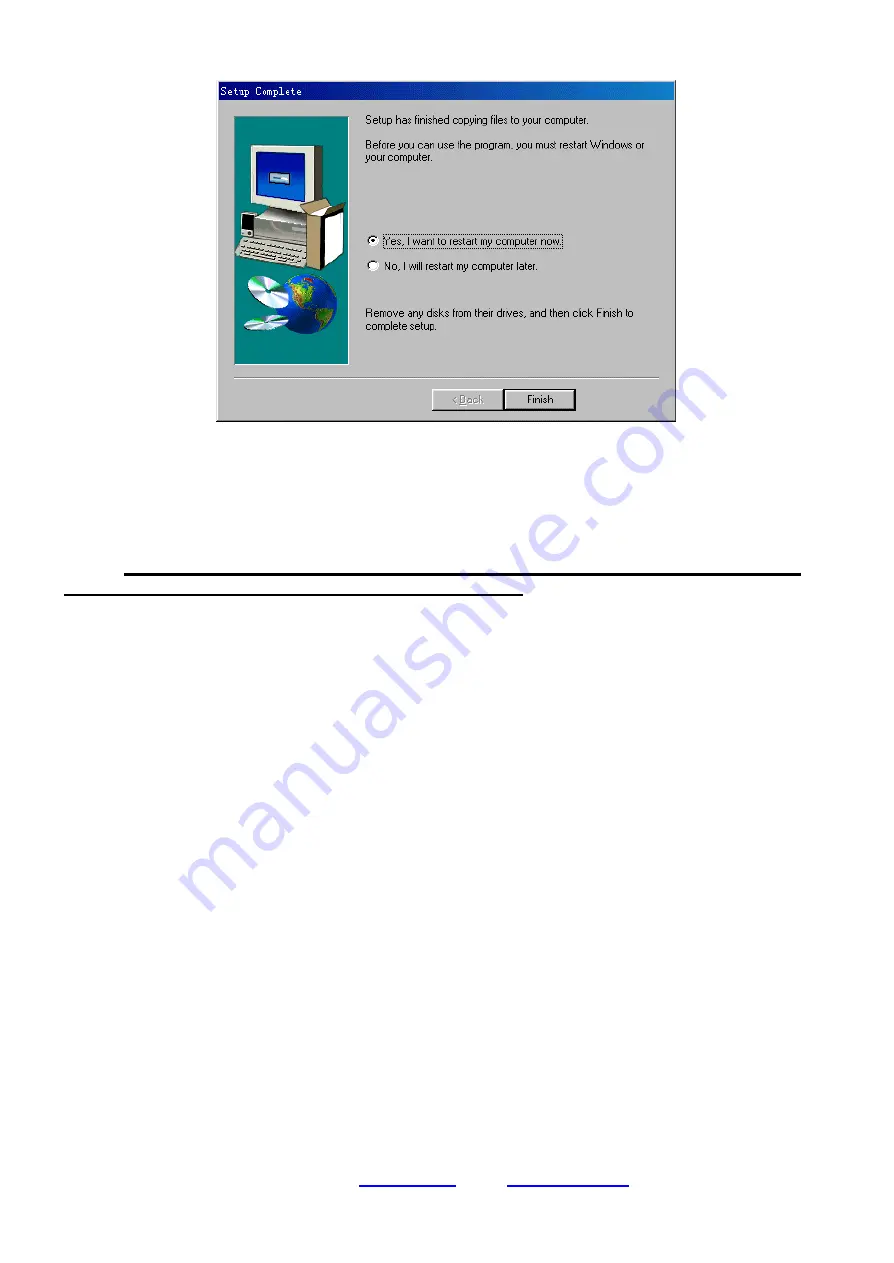
8. Remove the GeneLink
TM
setup diskette from your floppy disk drive. Select ‘
Yes, I want to
restart my computer now
’ radio button and click ‘
Finish
’ button to reboot your computer.
9. After you install Software Router, you also need to install GeneLink
TM
drivers for the
Desktop/Notebook that would like to connect to this “Software Router” ready computer. To
do that, please follow the instructions of “Build up your GeneLink
TM
LAN”.
Notice:
if you want to connect your GeneLink
TM
LAN to your existing Home/Office LAN,
you should use the same protocol for these two LANs.
For example, if your Home/Office
LAN uses TCP/IP protocol, you should also use TCP/IP protocol for your GeneLink
TM
LAN.
Otherwise, these two LANs cannot communicate to each other. The Setup Program installs
TCP/IP, NetBEUI and IPX protocols for GeneLink
TM
LAN by default. If your Home/Office LAN
uses other protocol, please install the same protocol for those computers within GeneLink
TM
LAN.
-
Connecting to Internet through GeneLink
TM
cable
If you would like to access Internet resources through GeneLink
TM
cable, here are something
you should notice:
a. You must define which computer should install GeneLink
TM
Software Router;
b. The computer which had installed GeneLink
TM
Software Router should have already
been connected to internet;
c. All clients which would like to access Internet resources through GeneLink
TM
cable
should have installed GeneLink
TM
driver.
Now we need to do some network configurations on the Desktop/Notebook which connect to
GeneLink
TM
Software Router to make your Internet access possible (maybe you need to consult
you Network Administrator for doing that):
a. If your existing HOME/OFFICE network is NOT using DHCP to assign client’s IP
address, your need to:
- Move your mouse pointer on Network Neighborhood icon and right click on it. You’ll
see a pop-up menu.