6
49-3000230 Rev 6
Throughout this manual, features and appearance may vary from your model.
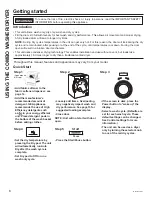
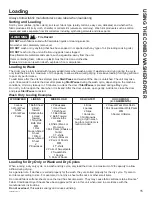
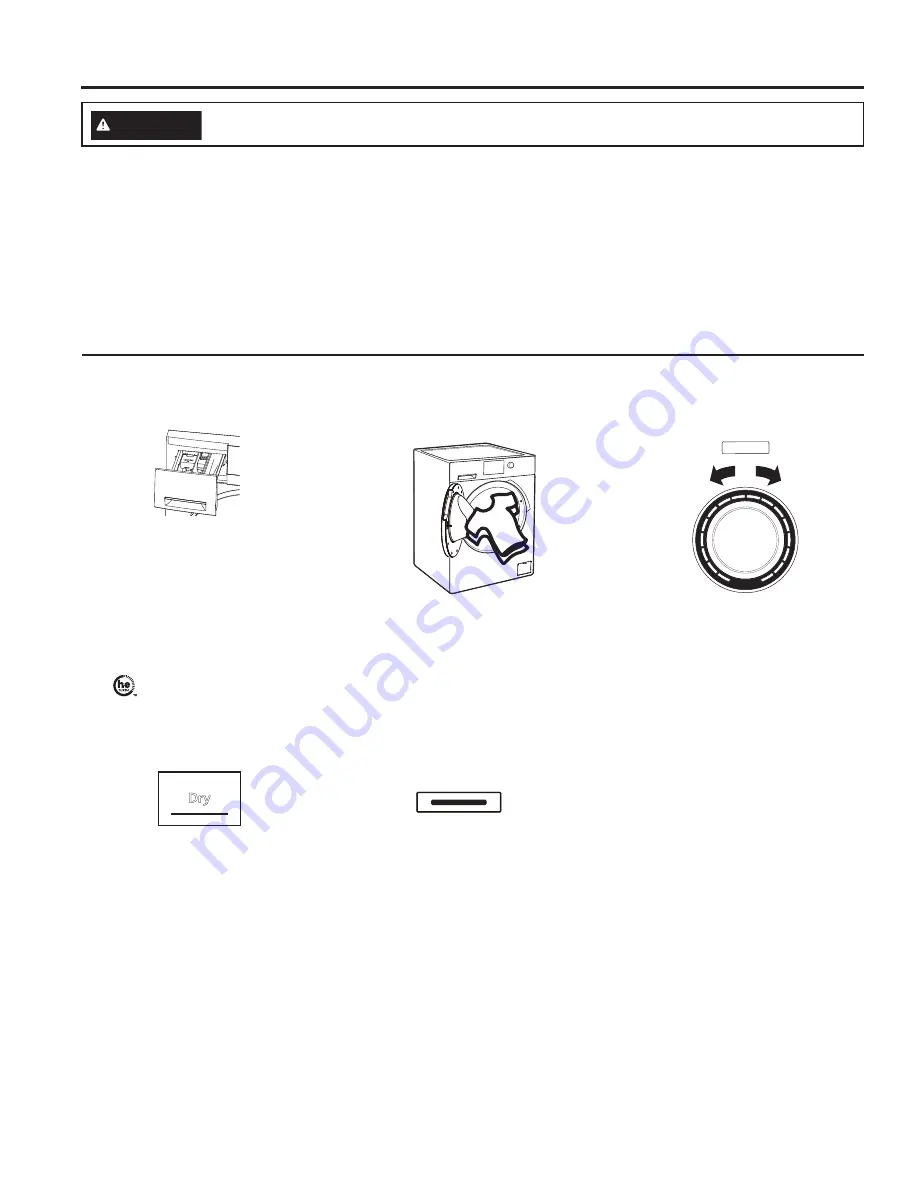
• Loosely add items. Overloading
may negatively impact wash and
dry performance. See page 15 for
suggested loading examples.
• Close door.
NOTE: Unit will not start with door
open.
Step 2
Step 3
Step 5
Step 1
• If the screen is dark, press the
Power button to “wake up” the
display.
• Select a wash cycle. (Defaults are
set for each wash cycle. These
default settings can be changed.
See Control settings for more
information.)
• The unit can be used as a dryer
only by turning the selector knob
to one of the red dry cycles.
• Press the Start/Pause button.
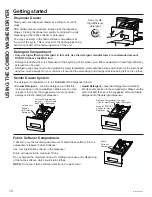
• Add fabric softener to the
fabric softener dispenser; see
page 14.
• Add the manufacturer’s
recommended amount of
detergent. GE Appliances
recommends the use of High
Efficiency detergents such
as
in your energy efficient
unit. Place detergent pods in
the bottom of the wash basket
before adding clothes.
To reduce the risk of fire, electric shock, or injury to persons, read the IMPORTANT SAFETY
INFORMATION before operating this appliance.
WARNING
Power
MAX
Liquid Only
MAX
(Appearance
will vary)
Getting started
Introduction
• This unit allows: wash only; dry only; wash and dry cycles.
• Fill the drum 2/3 full with laundry for best wash and dry performance. This allows air movement and proper drying.
A fully loaded drum will lead to longer dry times.
NOTE:
During Dry cycles temperatures in the unit can get very hot. For this reason, the door will lock during the dry
cycle and remain locked, after pausing or at the end of the cycle, until temperatures cool down. Forcing the door
open will result in a broken door mechanism.
• This unit uses condenser drying technology. This enables installation and use without a vent, but loads take
approximately 1.5 times longer to dry than a traditional vented dryer.
Quick Start
Step 4
• Set the dry temperature by
pressing the Dry pad. The unit
will automatically run Auto
Dry after the wash cycle is
complete.
• Set Dry pad to Off to run a
wash only cycle.
Start
Pause
Dry
USING THE COMBO W
A
SHER/DR
YER
Содержание GFQ14ESSNWW
Страница 13: ...49 3000230 Rev 6 13 Notes NOTES ...
Страница 30: ...30 49 3000230 Rev 6 NOTES Notes ...
Страница 62: ...30 49 3000230 Rev 6 NOTAS Notas ...
Страница 94: ...30 49 3000230 Rev 6 NOTES Notes ...

