


16
232001260G(10)
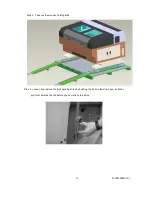
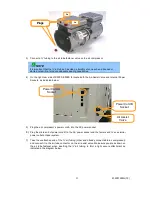
Step 9 Roll the machine out of the crate base to where you are going to setup.
Step 10 Remove the X-axis restraining strips.
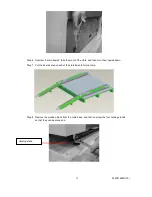
Step 11 Screw 4 holding stand on the ground and adjust the level.
Step 12 Save the crate for shipping in the future.
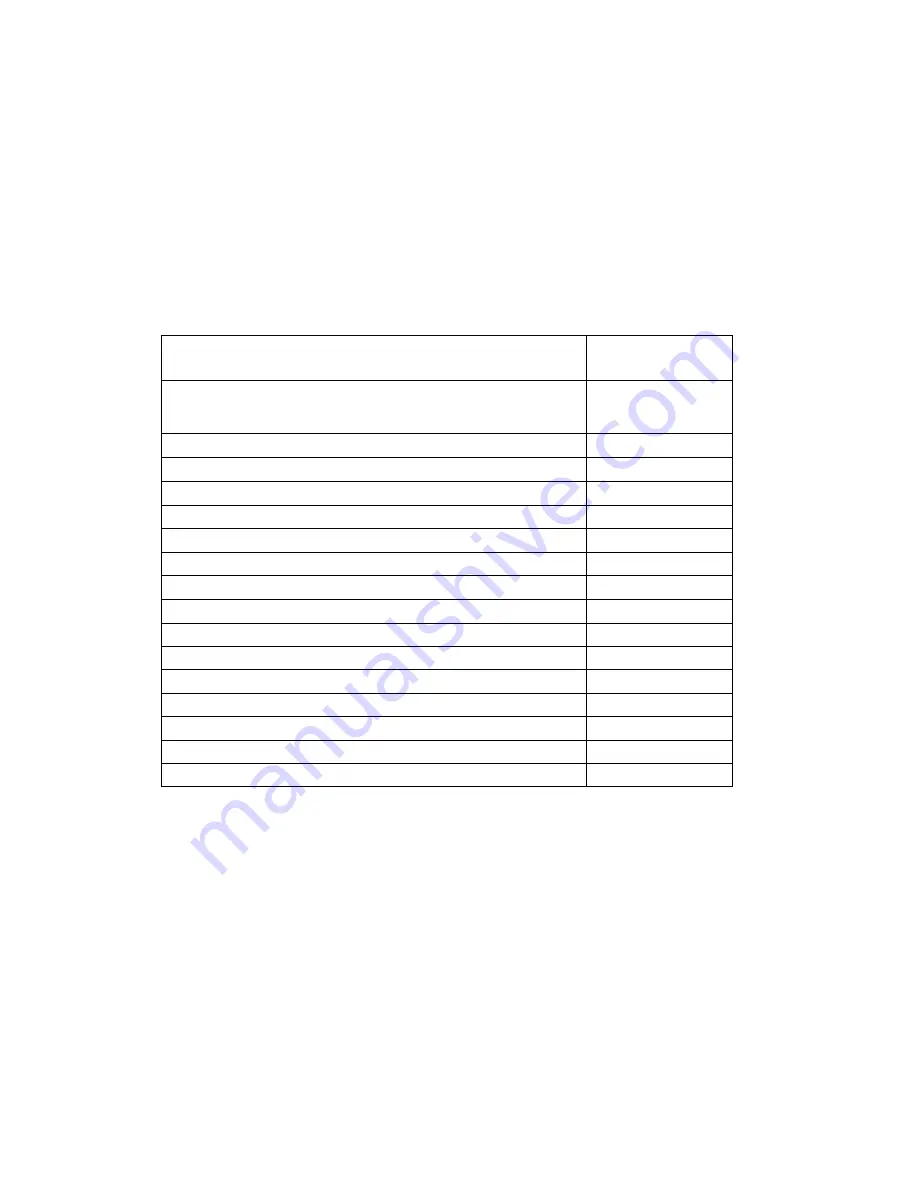
2.2 Contents and Accessories Checklist
Please check to ensure that all of the following items are included within the shipping crate. If any
of the following items are missing, immediately contact your local GCC distributor.
Item
Quantity
Main Power Cord
*Power installation requires a certified electrical technician.
1
USB Cable
1
Ethernet Cable
1
CO2 Goggle
1
Lens Cleaner
1
Cotton Swabs
1
Focusing Tool
1
Lens Cleaning Paper
1
Cutting Table Supporting Bars
15
Quality Promise Card
1
User's Guide Disk (Driver included )
1
QuickALIGN Switch
1
Key for Laser Firing Control
2
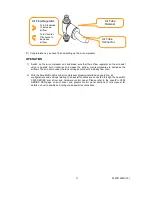
Hose Clamp 8 1/2"
4
Water Chiller Tubing - 7M (Diameter:1/2 inch)
1
Focal Lens Removal Tool
1
Содержание LaserPro X500 III-80Y
Страница 1: ...0 232001260G 10...
Страница 7: ...6 232001260G 10...
Страница 8: ...7 232001260G 10...
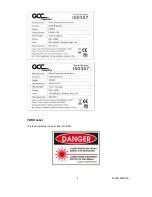
Страница 9: ...8 232001260G 10 CDRH Label This label indicates the class level of CDRH...
Страница 31: ...30 232001260G 10...
Страница 32: ...31 232001260G 10...
Страница 37: ...36 232001260G 10...
Страница 38: ...37 232001260G 10...
Страница 82: ...232001260G 10 81...
Страница 83: ...232001260G 10 82...
Страница 103: ...232001260G 10 102 Step 1 Produce the gray level background...
Страница 105: ...232001260G 10 104 Step 2 Produce three dimensional characters...


